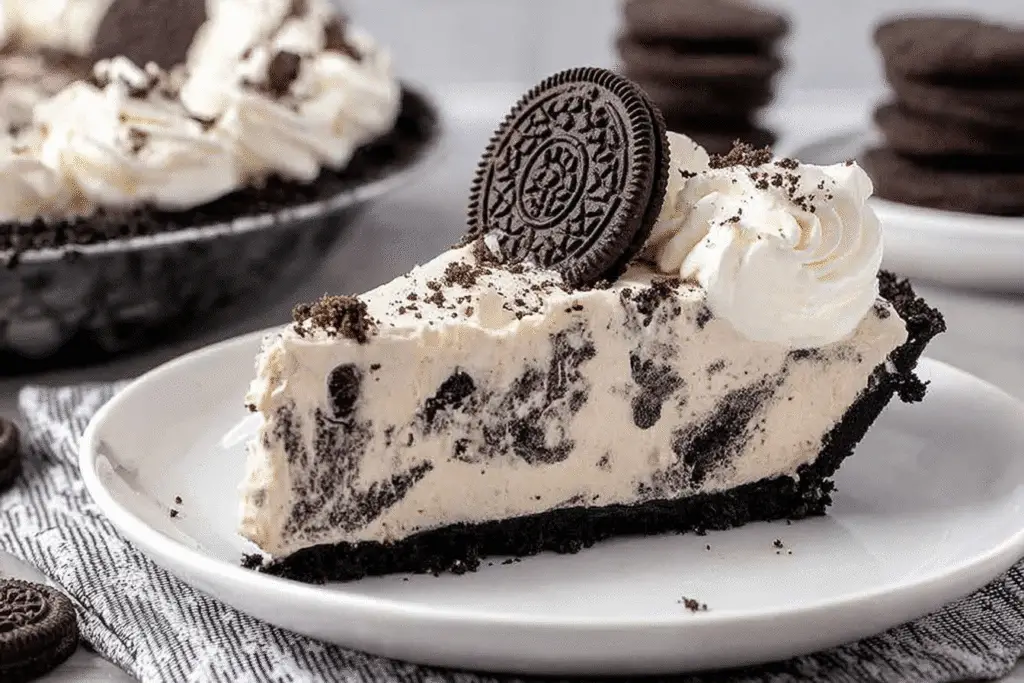
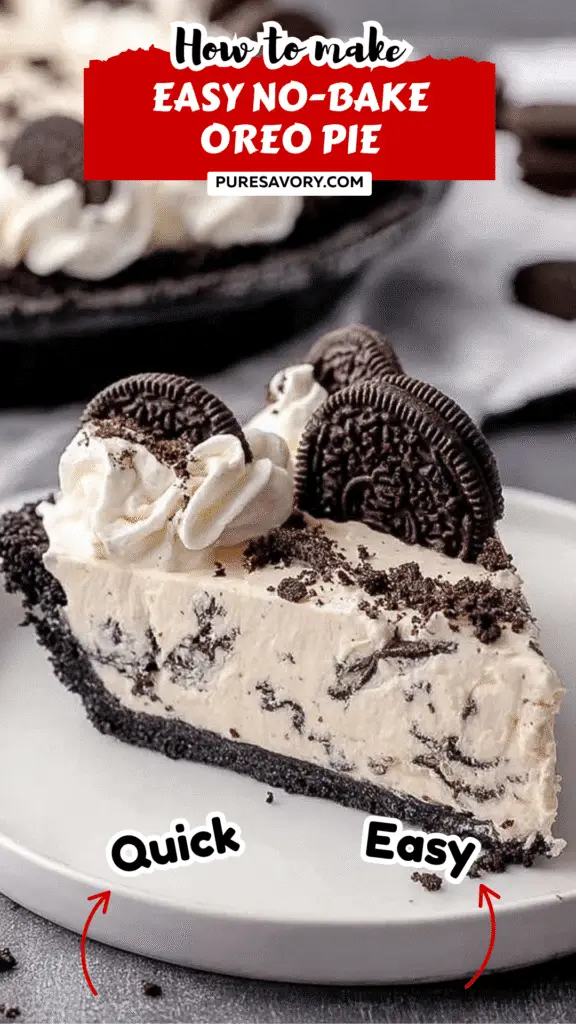
As a passionate home cook, I often find myself reminiscing about the simple joys of dessert. One of my all-time favorites is the Easy No-Bake Oreo Pie. This delightful treat brings back memories of family gatherings, where laughter and sweet aromas filled the air. The moment I take a slice, I’m transported to those sunny afternoons spent in the kitchen with my loved ones, crafting something delicious together.

The beauty of this Easy No-Bake Oreo Pie lies in its simplicity. With just a handful of ingredients, you can create a dessert that’s not only visually stunning but also incredibly satisfying. Imagine the rich, creamy filling paired with the crunchy, chocolatey crust—each bite is a perfect harmony of textures and flavors. It’s a dessert that speaks to the heart, making it ideal for any occasion.
Whether you’re a busy parent looking for a quick dessert or a novice cook wanting to impress your friends, this pie is your answer. It requires no baking, which means less time in the kitchen and more time enjoying the company of those you love. Plus, the kids can help with the fun part—crushing the Oreos! So, let’s dive into this delightful recipe that’s sure to become a staple in your home.
What is Easy No-Bake Oreo Pie?
The Easy No-Bake Oreo Pie is a delightful dessert that has captured the hearts of many, especially in American households. Its origins can be traced back to the rise of no-bake desserts in the mid-20th century, a time when convenience in cooking became increasingly popular. This pie is a perfect example of how simple ingredients can come together to create something extraordinary. With its creamy filling and crunchy crust, it embodies the essence of comfort food.
This dessert is not just about taste; it also reflects a cultural shift towards easy, accessible cooking. The use of Oreos, a beloved cookie brand, adds a nostalgic touch that resonates with both young and old. The Easy No-Bake Oreo Pie is a celebration of flavors and textures, making it a favorite for gatherings and family dinners. It’s a dish that invites everyone to indulge, creating moments of joy and connection around the table.
Why You’ll Love This Easy No-Bake Oreo Pie
- Convenience: No baking required, making it a quick and easy dessert option.
- Delicious Taste: The combination of creamy filling and crunchy Oreo crust is irresistible.
- Family-Friendly: Kids can help with the fun of crushing Oreos, making it a great family activity.
- Versatile: Perfect for any occasion, from casual weeknight dinners to festive celebrations.
Who It’s For
This Easy No-Bake Oreo Pie is ideal for busy families looking for a quick dessert solution, health-conscious cooks who appreciate simple ingredients, and food lovers who enjoy a sweet treat without the fuss of baking. Whether you’re a novice in the kitchen or a seasoned chef, this pie is designed to please everyone.
When to Cook It
Consider making this pie for a variety of occasions: weeknight dinners when you want to treat your family, birthday parties that call for a crowd-pleaser, or holiday gatherings where everyone deserves a sweet indulgence. It’s also a fantastic option for potlucks or picnics, as it can be made ahead of time and served chilled. No matter the occasion, this pie is sure to be a hit!
How to Make the Perfect Easy No-Bake Oreo Pie
Ingredients
- 24 Oreo cookies – the star of the show, providing a rich chocolate flavor.
- 1/2 cup unsalted butter, melted – binds the crust together for a perfect texture.
- 8 oz cream cheese, softened – adds creaminess and a slight tang to the filling.
- 1 cup powdered sugar – sweetens the filling and gives it a smooth consistency.
- 1 cup whipped topping – lightens the filling, making it airy and fluffy.
- 1/2 cup chocolate syrup – drizzled on top for an extra layer of chocolatey goodness.
Step-by-Step Instructions
- Crush the Oreo cookies: Place the cookies in a zip-top bag and crush them into fine crumbs using a rolling pin or your hands. The aroma of chocolate will fill the air!
- Make the crust: In a bowl, mix the crushed cookies with melted butter until well combined. Press this mixture firmly into the bottom of a pie dish to form a solid crust.
- Prepare the filling: In a separate bowl, beat the softened cream cheese and powdered sugar together until smooth and creamy. The mixture should be velvety and inviting.
- Fold in the whipped topping: Gently fold the whipped topping into the cream cheese mixture until fully combined. This will create a light and fluffy filling.
- Assemble the pie: Spread the cream cheese mixture evenly over the Oreo crust, smoothing the top with a spatula.
- Add the chocolate syrup: Drizzle chocolate syrup generously over the top of the pie, creating a beautiful finish.
- Chill: Refrigerate the pie for at least 4 hours before serving. This allows the flavors to meld and the pie to set perfectly.
For People with Diabetes: Sugar Substitutes
- Stevia: A natural sweetener that has no calories and is much sweeter than sugar.
- Monk fruit: Another natural option that provides sweetness without affecting blood sugar levels.
- Allulose: A low-calorie sugar that tastes like sugar but has minimal impact on blood glucose.
- Note: Avoid using honey or maple syrup as substitutes, as they can raise blood sugar levels significantly.

Tools You’ll Need
- Mixing bowls
- Electric mixer or whisk
- Pie dish
- Zip-top bag (for crushing Oreos)
- Rolling pin or heavy object (for crushing Oreos)
- Spatula
- Measuring cups and spoons
Top Tips from Well-Known Chefs
- Use Room Temperature Ingredients: Many chefs recommend using cream cheese at room temperature for a smoother filling. This helps avoid lumps and ensures a creamy texture.
- Chill Your Tools: For an extra fluffy whipped topping, chill your mixing bowl and beaters before whipping. This keeps the cream cold and helps it whip up faster.
- Experiment with Flavors: Consider adding a splash of vanilla extract or a pinch of salt to enhance the flavors of the filling. It can elevate the taste profile of your Easy No-Bake Oreo Pie.
- Layer It Up: For a fun twist, try layering the filling with additional crushed Oreos or chocolate chips. This adds texture and makes each slice even more delightful.
- Don’t Rush the Chilling: Allowing the pie to chill for the full 4 hours is crucial. This not only helps it set properly but also allows the flavors to meld beautifully.
Storing and Reheating Tips
- Refrigeration: Store any leftover Easy No-Bake Oreo Pie in an airtight container in the fridge for up to 5 days.
- Freezing: You can freeze the pie for up to 2 months. Wrap it tightly in plastic wrap and then in aluminum foil to prevent freezer burn.
- Thawing: To enjoy frozen pie, transfer it to the fridge and let it thaw overnight before serving.
- Serving: If the pie has been frozen, allow it to sit at room temperature for about 15-20 minutes before slicing for easier serving.
- Fresh Toppings: If you plan to store the pie, consider adding fresh whipped topping or chocolate syrup just before serving for the best presentation.
Common Mistakes to Avoid
- Not Crushing Oreos Finely: If the Oreo crumbs are too chunky, the crust may not hold together well. Aim for a fine crumb for a sturdy base.
- Skipping the Chilling Time: Rushing the chilling process can result in a pie that doesn’t set properly. Always allow at least 4 hours for the best texture.
- Using Cold Cream Cheese: Cold cream cheese can lead to lumps in your filling. Make sure it’s softened to room temperature for a smooth mixture.
- Overmixing the Filling: Overmixing can deflate the whipped topping, resulting in a denser filling. Gently fold the ingredients together to maintain fluffiness.
- Forgetting to Taste: Always taste your filling before spreading it on the crust. Adjust sweetness or flavor as needed to ensure it’s just right!
FAQs About Easy No-Bake Oreo Pie
Q: Can I make Easy No-Bake Oreo Pie ahead of time?
Yes, you can prepare this pie a day in advance. Just make sure to refrigerate it for at least 4 hours before serving.
Q: Is Easy No-Bake Oreo Pie suitable for vegetarians?
Yes, this pie is vegetarian-friendly as it contains no meat or meat-derived ingredients.
Q: Can I use gluten-free Oreos for this Easy No-Bake Oreo Pie?
It depends. If you need a gluten-free option, look for gluten-free Oreos, which can be used to make the crust.
Q: Is it possible to make Easy No-Bake Oreo Pie without cream cheese?
No, cream cheese is essential for the filling’s texture and flavor. However, you can try using a dairy-free cream cheese alternative if needed.
Q: Can I add other toppings to my Easy No-Bake Oreo Pie?
Yes, feel free to get creative! You can add crushed Oreos, chocolate chips, or fresh fruit on top for added flavor and texture.
Conclusion: Final Thoughts on Easy No-Bake Oreo Pie
The Easy No-Bake Oreo Pie is not just a dessert; it’s a delightful experience that brings joy to any gathering. With its creamy filling and crunchy crust, it’s a treat that everyone will love. I encourage you to try this recipe and share your thoughts in the comments below. If you enjoyed making this pie, don’t forget to share it with your friends and family—let’s spread the love for this delicious dessert!
Print
Easy No-Bake Oreo Pie: A Delicious and Simple Dessert Recipe You’ll Love!
- Total Time: 4 hours 20 minutes
- Yield: 8 servings 1x
- Diet: Vegetarian
Description
A delicious and simple dessert recipe that requires no baking and is perfect for Oreo lovers.
Ingredients
- 24 Oreo cookies
- 1/2 cup unsalted butter, melted
- 8 oz cream cheese, softened
- 1 cup powdered sugar
- 1 cup whipped topping
- 1/2 cup chocolate syrup
Instructions
- Crush the Oreo cookies into fine crumbs.
- Mix the crushed cookies with melted butter and press into the bottom of a pie dish to form the crust.
- In a bowl, beat the softened cream cheese and powdered sugar until smooth.
- Fold in the whipped topping until well combined.
- Spread the cream cheese mixture over the Oreo crust.
- Drizzle chocolate syrup on top.
- Refrigerate for at least 4 hours before serving.
Notes
- For a richer flavor, use double stuffed Oreos.
- Can be topped with additional whipped topping and crushed Oreos before serving.
- Prep Time: 20 minutes
- Cook Time: 0 minutes
- Category: Dessert
- Method: No-Bake
- Cuisine: American
Nutrition
- Serving Size: 1 slice
- Calories: 320
- Sugar: 25g
- Sodium: 200mg
- Fat: 18g
- Saturated Fat: 10g
- Unsaturated Fat: 6g
- Trans Fat: 0g
- Carbohydrates: 36g
- Fiber: 1g
- Protein: 3g
- Cholesterol: 30mg
Keywords: Easy No-Bake Oreo Pie
