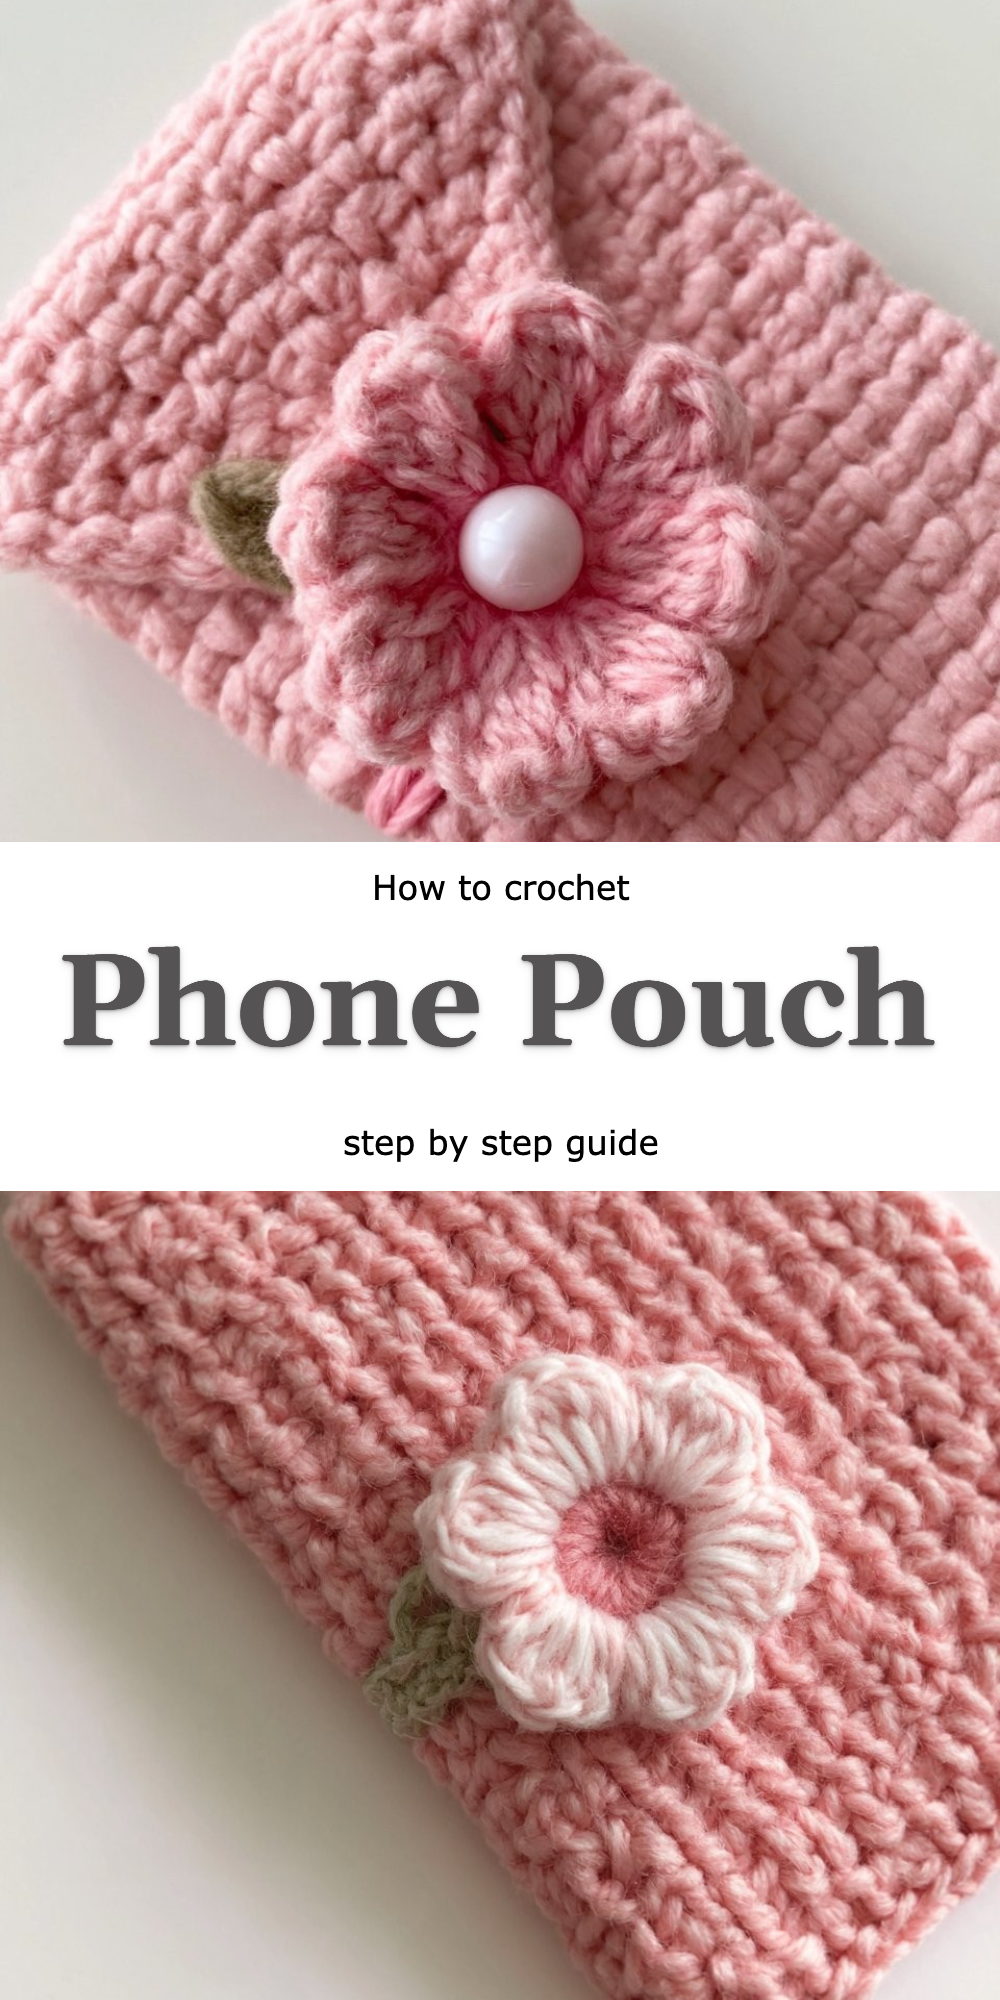
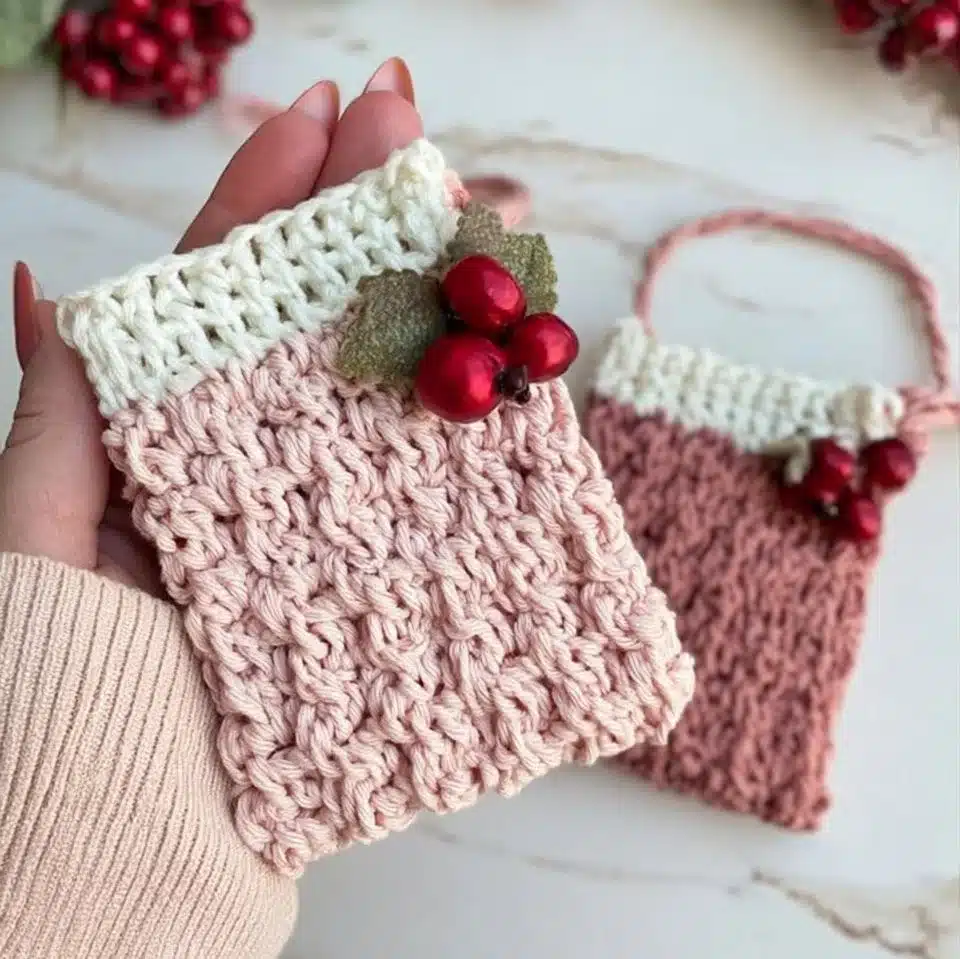
Phone Pouch
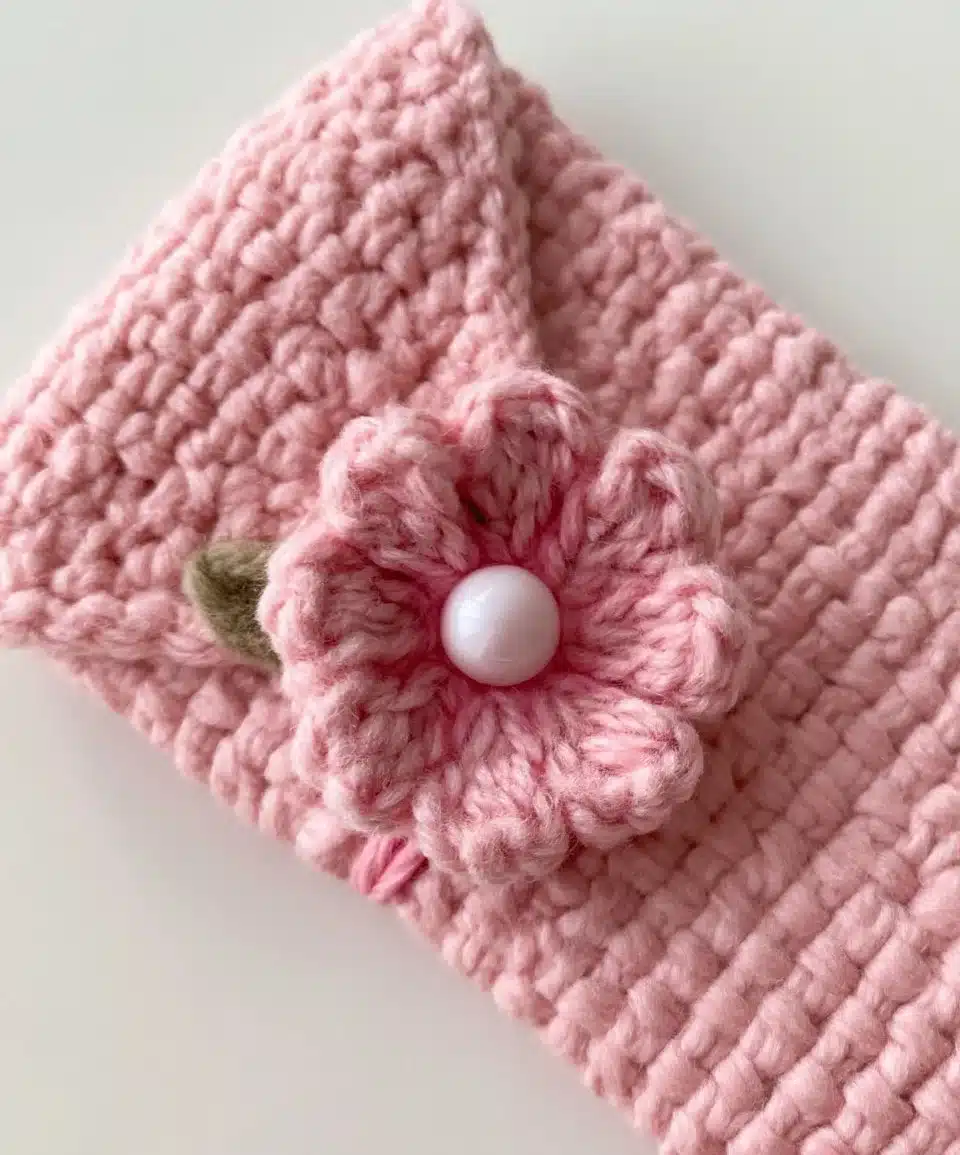
When I first considered making a Pink Phone Pouch, I couldn’t help but envision the soft pastel hues dancing through my mind. It’s not just any ordinary pouch; it cradles my phone in a delicate embrace, keeping it safe from scratches while adding a touch of whimsy to my everyday carry. As someone who cherishes the art of crochet, every stitch I weave feels like a warm hug, and the Pink Phone Pouch brings that sensation to life in the most delightful way.
What makes my Pink Phone Pouch different from a standard version is that I infuse it with love and creativity, using tactile techniques and charming patterns that elevate its appeal. This free pattern walks you through each step with care and patience, ensuring that even the most novice crocheter can create their unique pouch. Let’s dive in!
Why This Variation Feels Different
One of the techniques I employ in creating my Pink Phone Pouch transforms the fabric into a cozy, yet structured textile that hugs your phone just right. Unlike many regular pouches that lack personality, this variation embraces a tactile design, making it both functional and fashionable.
What makes this variation worth trying:
- Custom Fit: You measure your phone, so the pouch is tailored personally to you.
- Stylish Flair: It’s not just a protective case; it’s a fashion statement.
- Unique Texture: The yarn choice creates a soft yet durable fabric that feels lovely to touch.
- Personal Touch: Every stitch carries your unique creativity, making it a true reflection of your style.
What You’ll Need: Materials Table
Before we jump into crocheting, let’s gather our supplies. This ensures a smooth experience as you bring your Pink Phone Pouch to life.
| Item | Recommended Type | Approximate Amount |
|——————–|——————|——————–|
| Pink Yarn | Medium Weight (4) | 100-150 yards |
| Crochet Hook | Size H/8 (5.0 mm) | 1 |
| Scissors | Sharp | 1 |
| Yarn Needle | Blunt | 1 |
| Measuring Tape | Flexible | 1 |
Feel free to substitute materials where necessary; for instance, if you prefer a more eco-friendly option, organic cotton can provide a beautiful texture instead of traditional acrylic!
Sizing Guide
If you have a specific phone model, then getting the measurements just right is crucial. Here’s a quick guide to help you:
| Phone Model | Width (inches) | Height (inches) |
|———————|—————-|——————|
| iPhone 12/13 | 2.82 | 5.78 |
| Samsung Galaxy S21 | 2.8 | 6.2 |
| Google Pixel 5 | 2.73 | 5.7 |
Remember, everyone crochets differently, so creating a swatch to check your gauge before you start is always a wise choice.
Step-by-Step: How to Crochet the Pink Phone Pouch
Let’s break it down into manageable steps as we create your lovely Pink Phone Pouch.
Step 1: Measure the Size of Your Phone to Determine the Dimensions of the Pouch
- Measure the width of your phone using your measuring tape.
- Record the height of your phone.
- Add an extra inch for seam allowance (if desired) to both measurements.
Step 2: Start with a Foundation Chain that Matches the Width of Your Phone
- Chain a number of stitches equal to the width measurement you recorded (plus your seam allowance).
- Join the last chain to the first with a slip stitch to form the base.
Step 3: Work in Rounds or Rows, Depending on Your Desired Style, Ensuring to Maintain the Dimensions as You Build
- Decide whether to work in rounds for a seamless pouch or rows for a more traditional style.
- Work the first round or row in single crochet (sc) to maintain a firm base.
- Continue crocheting until the piece measures the height of your phone (plus the seam allowance).
Step 4: Continue Crocheting Until the Pouch Reaches the Required Height
- Single crochet in each stitch of the previous round/row.
- Count your stitches while working to maintain consistent tension.
- Repeat until your pouch reaches the desired height.
Step 5: At the Top, Create a Flap or Edging if Desired
- Decide your preference: a flap that folds over or a simple edging.
- For a flap, chain a few additional stitches and then work back in rows to form the extension.
- For edging, work a round of double crochet (dc) around the top for a decorative trim.
Step 6: Finish Off by Weaving in Any Loose Ends and Ensuring a Secure Closure
- Cut the yarn, leaving a tail.
- Thread the tail through a yarn needle.
- Weave in the ends securely into the pouch to prevent unraveling.
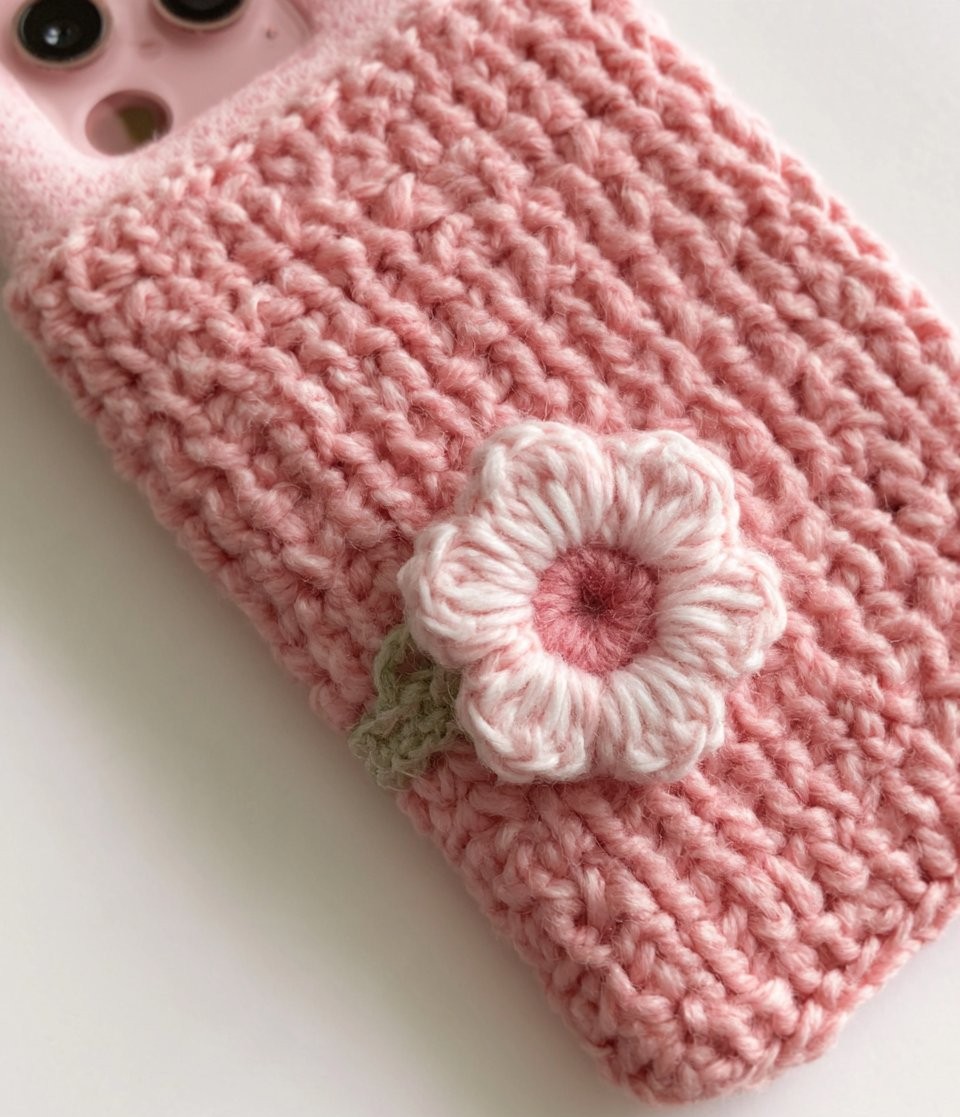
- Optional: Add a button or snap for a closure.
Tips for Clean, Even Crocheting
- Maintain Consistent Tension: Keep your grip even throughout, ensuring stitches are uniform.
- Track Your Stitches: Use stitch markers to help count rounds, keeping everything aligned.
- Practice Swatching: Create a small practice square to ensure your tension matches the desired gauge.
- Keep Stitches Aligned: Rotate your work regularly to prevent it from twisting as you crochet.
Common Mistakes to Avoid
- Incorrect Sizing — might lead to a pouch that’s too tight or too loose.
- Skipping Stitches — results in uneven edges or decreased pouch integrity.
- Forgetting to Weave in Ends — can lead to unraveling or loose stitches over time.
- Working Too Tightly — causes discomfort in handling and makes it hard to fit the phone.
Frequently Asked Questions
What is the Pink Phone Pouch?
It is a personalized crochet pouch designed to hold your phone snugly while showcasing your creativity.
What yarn should I use for my pouch?
A medium weight acrylic or cotton yarn provides the perfect balance of durability and softness.
Is this technique difficult compared to a standard pouch pattern?
Not at all! This pattern is great for beginners, with clear, step-by-step instructions to follow.
How much yarn will I need?
Approximately 100-150 yards of medium-weight yarn should suffice, depending on your dimensions.
Can I adapt this technique for other projects?
Absolutely! The techniques used can easily adapt to create other crochet items like tablet cases or small bags.
Conclusion
Creating your Pink Phone Pouch is not just a project; it’s a delightful journey that brings warmth and creativity into your life. The combination of personalized fit and cheerful color makes it a worthy addition to your crochet repertoire.
I encourage you to grab your supplies and start working on your unique pouch today. Don’t forget to share your finished piece with the crochet community; I can’t wait to see the beautiful creations you craft!