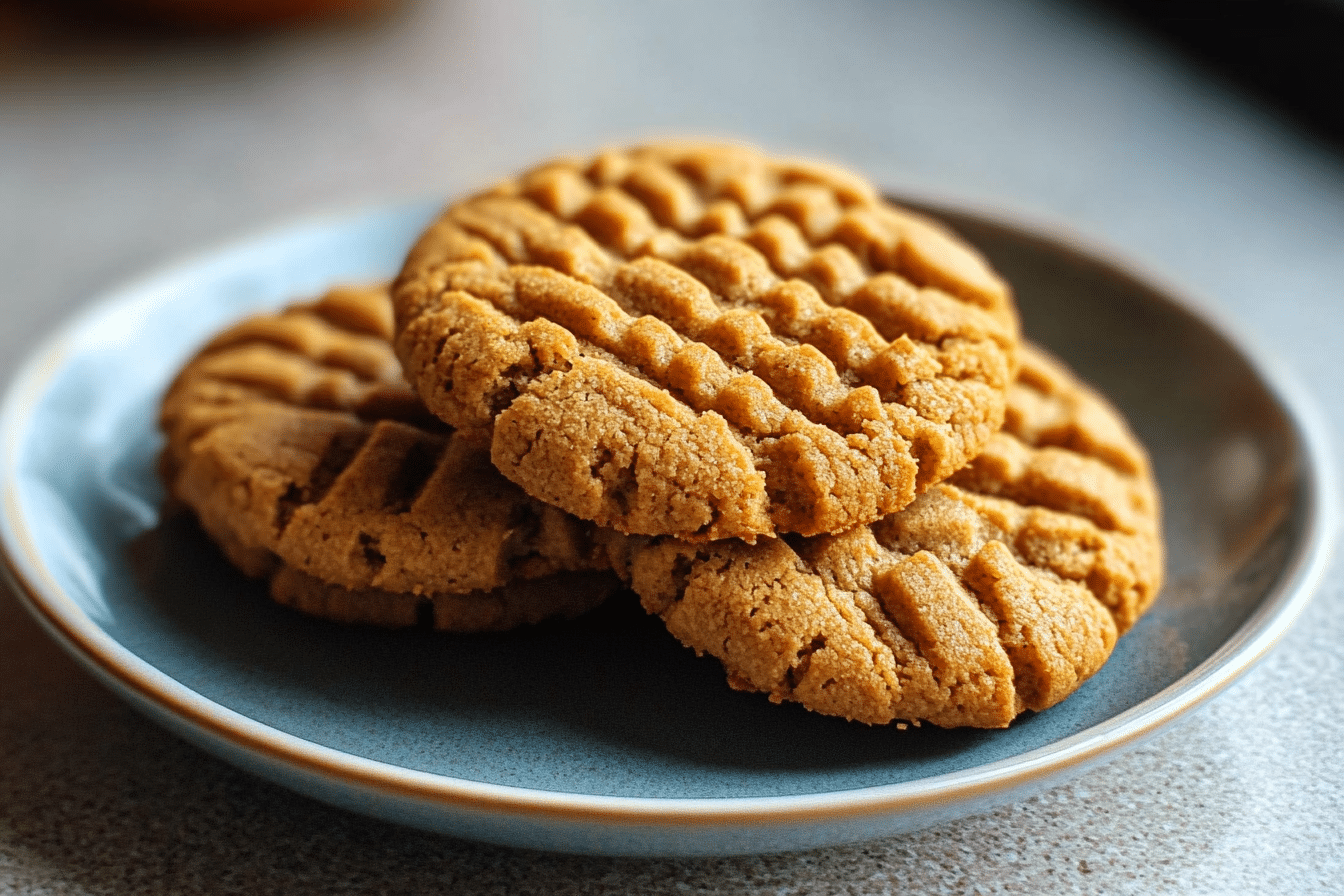
As a passionate home cook, there’s something magical about the aroma of freshly baked cookies wafting through my kitchen. My 10-Minute Peanut Butter Cookies are a delightful reminder of my childhood, where every bite was a warm hug from my mom.
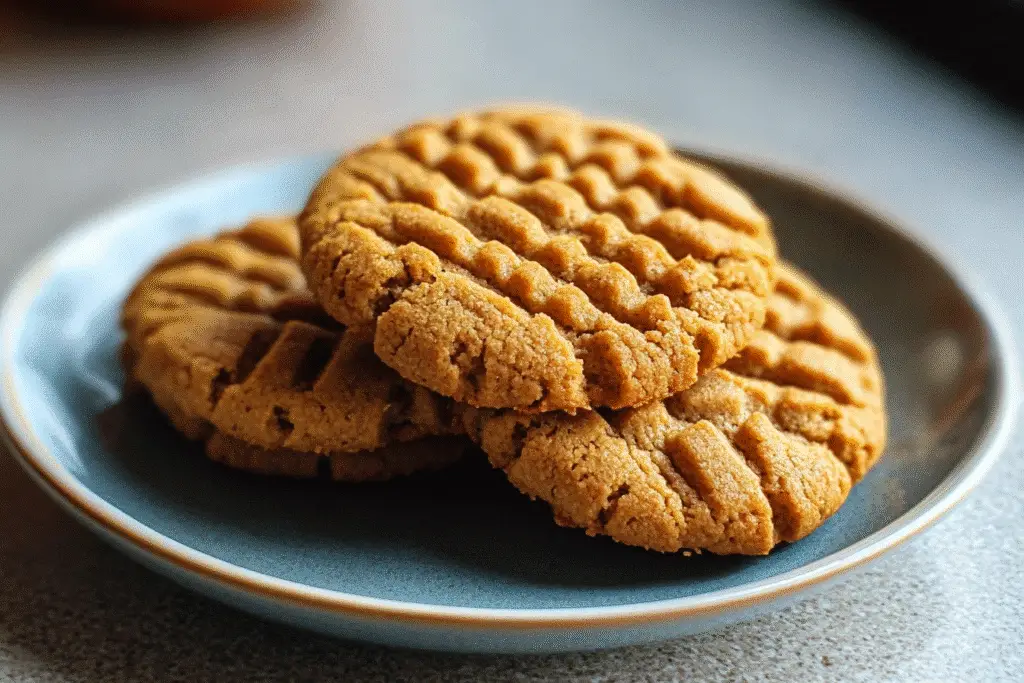
With just four simple ingredients, these cookies come together in a flash, making them perfect for busy weeknights or spontaneous cravings. Imagine the rich, nutty flavor of peanut butter melting in your mouth, paired with a hint of sweetness that dances on your taste buds. Trust me, once you try these 10-Minute Peanut Butter Cookies, they’ll become a staple in your home, just like they are in mine!
What You’ll Find Here
What are 10-Minute Peanut Butter Cookies?
The origins of peanut butter cookies can be traced back to the early 20th century in the United States, where they quickly became a beloved treat. These 10-Minute Peanut Butter Cookies are a delightful fusion of simplicity and flavor, showcasing the versatility of peanut butter in American baking. The recipe is rooted in the tradition of using pantry staples, making it accessible for families across generations.
Peanut butter itself has a rich history, with roots in South America and Africa, where peanuts were first cultivated. When it made its way to the United States, it became a staple ingredient, especially during the Great Depression, due to its affordability and nutritional value. Today, peanut butter cookies are not just a nostalgic treat; they represent comfort and home, often enjoyed during family gatherings or as an after-school snack.
These cookies are not only quick to prepare but also offer a delightful texture that is both chewy and slightly crisp. The combination of peanut butter and sugar creates a sweet, nutty flavor that is universally loved. Whether you’re a busy parent looking for a quick dessert or a college student craving a late-night snack, these 10-Minute Peanut Butter Cookies are sure to satisfy your sweet tooth while bringing a taste of tradition to your table.
Why You’ll Love This 10-Minute Peanut Butter Cookies
- Quick and Easy: With just 10 minutes of baking time, these cookies are perfect for those last-minute cravings or unexpected guests.
- Delicious Flavor: The rich, nutty taste of peanut butter combined with a hint of sweetness creates a cookie that’s hard to resist.
- Healthier Option: Packed with protein from peanut butter, these cookies can be a more nutritious treat compared to traditional desserts.
- Family-Friendly: Kids love helping to make these cookies, making it a fun activity for the whole family to enjoy together.
- Customizable: You can easily add chocolate chips, nuts, or dried fruit to suit your family’s preferences!
Who It’s For
These 10-Minute Peanut Butter Cookies are ideal for busy families looking for a quick dessert, health-conscious cooks wanting a nutritious snack, and food lovers who appreciate the simplicity of homemade treats. Whether you’re a parent juggling work and kids or a college student needing a late-night pick-me-up, this recipe fits perfectly into your lifestyle.
When to Cook It
These cookies are perfect for a variety of occasions! Bake them for:
- Weeknight snacks when you need a sweet treat after dinner.
- School lunches to surprise your kids with a homemade dessert.
- Quick treats for unexpected guests or gatherings.
- Late-night cravings when you want something comforting and delicious.
How to Make the Perfect 10-Minute Peanut Butter Cookies
Ingredients
To create these delightful 10-Minute Peanut Butter Cookies, you’ll need just four simple ingredients:
- 1 cup peanut butter: This is the star of the show! It provides that rich, nutty flavor and chewy texture. You can use creamy or crunchy, depending on your preference.
- 1 cup sugar: This adds sweetness and helps the cookies achieve that lovely golden color. For a healthier option, consider using coconut sugar.
- 1 egg: The egg binds the ingredients together, giving the cookies structure. If you need a vegan alternative, try using a flax egg (1 tablespoon ground flaxseed mixed with 2.5 tablespoons water).
- 1 teaspoon vanilla extract: This enhances the overall flavor, adding a warm, aromatic note. Feel free to swap it with almond extract for a different twist!
Optional add-ins include chocolate chips, chopped nuts, or dried fruit to customize your cookies to your liking.
Step-by-Step Instructions
- Preheat your oven: Set it to 350°F (175°C) to ensure your cookies bake evenly.
- Mix the ingredients: In a mixing bowl, combine the peanut butter, sugar, egg, and vanilla extract. Use a wooden spoon or electric mixer to blend until smooth and creamy.
- Shape the cookies: Drop spoonfuls of the dough onto a baking sheet lined with parchment paper. Leave some space between each cookie, as they will spread slightly while baking.
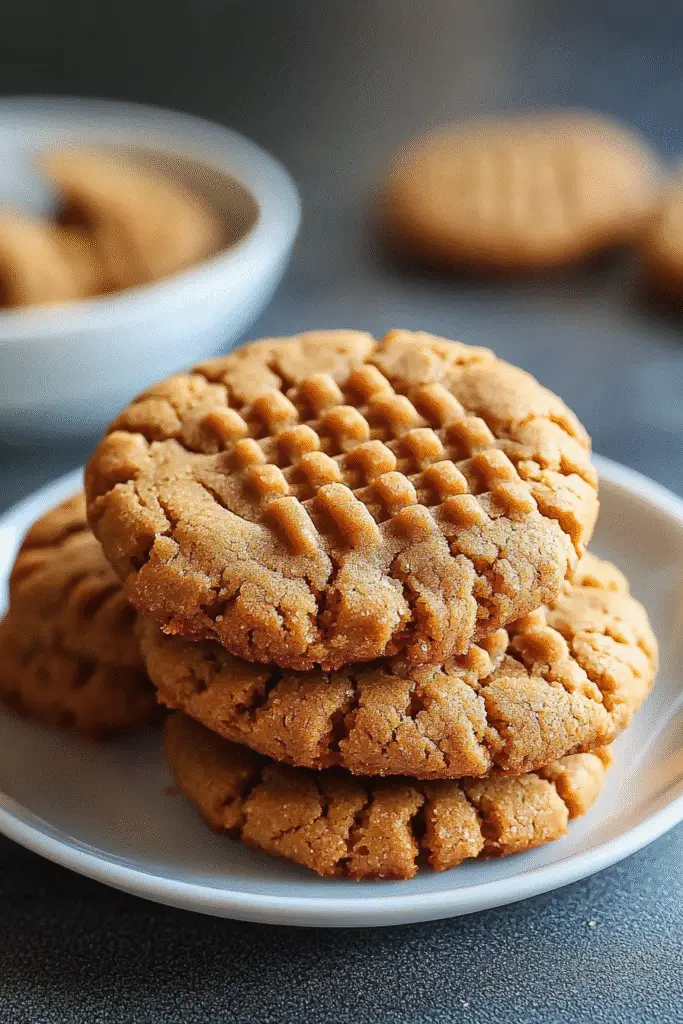
- Flatten with a fork: Gently press each cookie with a fork to create a crisscross pattern, which not only looks pretty but also helps them bake evenly.
- Bake: Place the baking sheet in the oven and bake for 8-10 minutes, or until the edges are golden brown. The center may look slightly soft, but they will firm up as they cool.
- Cool: Allow the cookies to cool on the baking sheet for a few minutes before transferring them to a wire rack to cool completely. This step is crucial for achieving the perfect texture!
For People with Diabetes: Sugar Substitutes
If you’re looking for sugar substitutes, consider using stevia, monk fruit, erythritol, or allulose. These options provide sweetness without the same impact on blood sugar levels. However, I advise against using honey or maple syrup, as they can spike glucose levels.
Tools You’ll Need
- Mixing Bowl: A medium-sized bowl works best for combining your ingredients. If you don’t have one, any large container will do!
- Measuring Cups: Accurate measurements are key! Use standard measuring cups for the peanut butter and sugar. If you’re in a pinch, a coffee mug can serve as a makeshift measuring cup.
- Fork: This is essential for creating that classic crisscross pattern on your cookies. If you don’t have a fork, you can use the back of a spoon instead.
- Baking Sheet: A standard baking sheet lined with parchment paper ensures easy cleanup and prevents sticking. If you don’t have parchment paper, lightly greasing the baking sheet will work too.
- Oven: Preheat your oven to 350°F (175°C) for the perfect baking temperature. If you have a toaster oven, it can also do the job for smaller batches!
- Wire Rack: This is great for cooling your cookies evenly. If you don’t have one, a plate or cutting board can serve as a temporary cooling surface.
Tips from Well-Known Chefs
When it comes to baking the perfect 10-Minute Peanut Butter Cookies, I’ve gathered some invaluable tips from renowned chefs that can elevate your cookie game. These insights not only enhance flavor but also ensure a delightful texture that will impress your family and friends.
- Use Fresh Ingredients: Chef Julia Child always emphasized the importance of using fresh ingredients. Make sure your peanut butter is fresh and free from any additives for the best flavor.
- Chill the Dough: According to pastry chef Dominique Ansel, chilling your cookie dough for about 30 minutes can help the flavors meld and result in a chewier texture. If you have a little extra time, give it a try!
- Experiment with Nut Butters: Chef Alton Brown suggests trying different nut butters, like almond or cashew, for a unique twist on the classic peanut butter cookie. This can add a new layer of flavor that your taste buds will love.
- Don’t Overbake: Renowned baker Dorie Greenspan advises keeping a close eye on your cookies as they bake. Remove them from the oven when they’re just golden around the edges; they will continue to firm up as they cool.
- Incorporate Sea Salt: Chef Thomas Keller swears by a sprinkle of flaky sea salt on top of cookies before baking. This enhances the sweetness and adds a delightful contrast to the rich peanut butter flavor.
By incorporating these chef-approved hacks, you’ll not only create delicious 10-Minute Peanut Butter Cookies but also impress everyone with your newfound baking skills!
Delicious Variations to Customize Your Peanut Butter Cookies
One of the best things about these cookies is their versatility! You can easily customize your 10-Minute Peanut Butter Cookies to suit your taste preferences or dietary needs. Here are some delightful variations to consider:
- Chocolate Chip Delight: Add ½ cup of semi-sweet or dark chocolate chips to the dough for a rich, indulgent twist. The combination of peanut butter and chocolate is a classic that never disappoints!
- Nutty Crunch: Mix in ½ cup of chopped nuts, such as walnuts or pecans, for added texture and flavor. This variation not only enhances the crunch but also boosts the nutritional value.
- Dried Fruit Fusion: Incorporate ½ cup of dried cranberries, raisins, or chopped dates for a sweet and chewy surprise in every bite. This adds a fruity note that pairs beautifully with the nutty flavor of peanut butter.
- Spiced Up: For a warm, cozy flavor, add 1 teaspoon of cinnamon or a pinch of nutmeg to the dough. This will give your cookies a delightful spiced aroma that’s perfect for fall or winter baking.
- Vegan Version: Substitute the egg with a flax egg (1 tablespoon ground flaxseed mixed with 2.5 tablespoons water) and use maple syrup instead of sugar for a vegan-friendly treat that still tastes amazing!
- Peanut Butter Swirl: For an extra peanut butter punch, swirl in an additional ¼ cup of peanut butter into the dough before baking. This creates a marbled effect and intensifies the peanut flavor.
Feel free to mix and match these variations to create your own signature cookie! The beauty of baking is that you can experiment and find the perfect combination that your family will love. Each variation brings a unique twist to the classic 10-Minute Peanut Butter Cookies, making them even more enjoyable!
Top Tips for Perfecting Your 10-Minute Peanut Butter Cookies
As I’ve baked my fair share of 10-Minute Peanut Butter Cookies, I’ve gathered some expert techniques and cooking hacks that can elevate your cookie game to new heights. Here are my top tips to ensure your cookies turn out perfectly every time:
- Measure Accurately: Precision is key in baking! Use dry measuring cups for the peanut butter and sugar, and make sure to level off the ingredients for consistent results.
- Room Temperature Ingredients: For a smoother dough, let your egg and peanut butter sit at room temperature for about 15 minutes before mixing. This helps them blend more easily and creates a better texture.
- Don’t Skip the Fork: The classic crisscross pattern not only looks appealing but also helps the cookies bake evenly. Press down gently to avoid flattening them too much.
- Watch the Baking Time: Every oven is different! Start checking your cookies at the 8-minute mark. They should be golden around the edges but still soft in the center. They’ll firm up as they cool.
- Cool on the Sheet: Allow your cookies to cool on the baking sheet for a few minutes before transferring them to a wire rack. This helps them set and prevents breakage.
- Experiment with Flavors: Don’t be afraid to add a pinch of sea salt or a splash of almond extract for a unique twist. These small additions can enhance the overall flavor profile of your cookies.
- Store Properly: To keep your cookies fresh, store them in an airtight container at room temperature. If you want to keep them longer, freeze them in a single layer and transfer to a freezer bag for up to three months.
By incorporating these tips into your baking routine, you’ll not only create delicious 10-Minute Peanut Butter Cookies but also impress your family and friends with your newfound baking prowess!
Storing and Reheating Tips
Once you’ve baked your delicious 10-Minute Peanut Butter Cookies, you’ll want to ensure they stay fresh and tasty for as long as possible. Here are some clear and practical tips for storing and reheating your cookies:
Storing Your Cookies
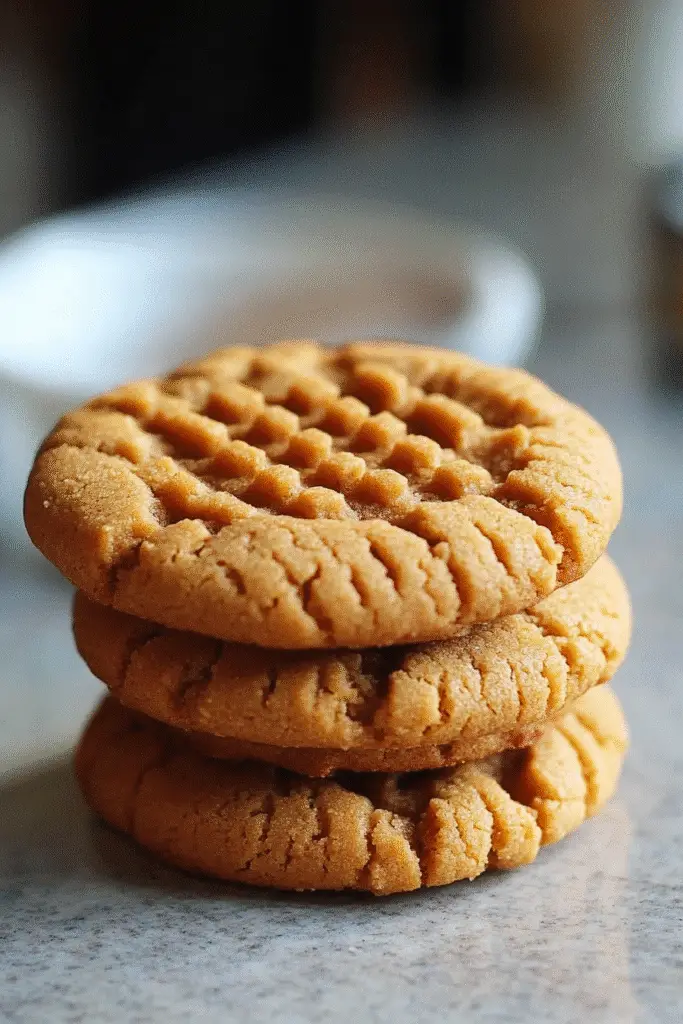
- Room Temperature: Store your cookies in an airtight container at room temperature for up to a week. This keeps them soft and chewy, ready for snacking anytime!
- Refrigerator: If you prefer a firmer texture, you can store them in the fridge. Just be sure to keep them in an airtight container to prevent them from drying out. They’ll last for about 10 days in the fridge.
- Freezer: For longer storage, freeze your cookies! Place them in a single layer on a baking sheet to freeze for about an hour, then transfer them to a freezer-safe bag or container. They can be stored for up to three months. Just label the bag with the date for easy reference!
Reheating Your Cookies
- Microwave: To enjoy a warm cookie, pop one in the microwave for about 10-15 seconds. This will soften it up and bring back that fresh-baked taste!
- Oven: For a more evenly heated cookie, preheat your oven to 350°F (175°C) and place the cookies on a baking sheet. Heat for about 5 minutes, or until warmed through.
By following these storing and reheating tips, you can savor your 10-Minute Peanut Butter Cookies for days to come, ensuring that every bite is just as delightful as the first!
Helpful Notes
As you embark on your journey to create these delightful 10-Minute Peanut Butter Cookies, here are some extra clarifications and tips to ensure your baking experience is smooth and enjoyable:
- Ingredient Prep: Make sure your peanut butter is at room temperature for easier mixing. If it’s too thick, you can microwave it for a few seconds to soften it up.
- Substitutions: If you’re out of sugar, you can use brown sugar for a deeper flavor and a chewier texture. For a healthier twist, consider using honey or agave syrup, but remember to adjust the liquid content in your recipe.
- Gluten-Free Option: This recipe is naturally gluten-free! Just ensure that your peanut butter is free from any additives that may contain gluten.
- Cultural References: Peanut butter cookies are a staple in American households, often associated with childhood memories and family gatherings. They are a comforting treat that transcends generations, making them a perfect addition to any family recipe collection.
- Allergy Considerations: If you’re baking for someone with nut allergies, you can substitute peanut butter with sunflower seed butter. It provides a similar texture and flavor without the allergens.
These helpful notes will guide you through the process, ensuring that your 10-Minute Peanut Butter Cookies turn out perfectly every time. Happy baking!
Common Mistakes to Avoid
- Overmixing the Dough: Mixing too much can lead to tough cookies. Blend just until the ingredients are combined for a tender texture.
- Not Preheating the Oven: Skipping this step can result in uneven baking. Always preheat your oven to ensure your 10-Minute Peanut Butter Cookies bake perfectly.
- Using Cold Ingredients: Cold peanut butter or eggs can make it difficult to achieve a smooth dough. Let them sit at room temperature for better mixing.
- Ignoring Baking Time: Every oven is different! Keep an eye on your cookies and remove them when the edges are golden to avoid overbaking.
- Not Allowing Cookies to Cool: Transferring cookies to a wire rack too soon can cause them to break. Let them cool on the baking sheet for a few minutes first.
FAQs About 10-Minute Peanut Butter Cookies
Q: Can I make 10-Minute Peanut Butter Cookies without an egg?
Yes, you can! Substitute the egg with a flax egg (1 tablespoon ground flaxseed mixed with 2.5 tablespoons water) for a vegan-friendly option that works beautifully in this recipe.
Q: Are 10-Minute Peanut Butter Cookies gluten-free?
Yes, this recipe is naturally gluten-free! Just ensure that your peanut butter is free from any additives that may contain gluten.
Q: Can I use natural peanut butter for 10-Minute Peanut Butter Cookies?
It depends. Natural peanut butter can be used, but make sure it’s well-stirred and not too oily. This will help achieve the right texture in your cookies.
Q: How long do 10-Minute Peanut Butter Cookies last?
Yes, when stored in an airtight container at room temperature, these cookies can last up to a week, keeping their delightful texture and flavor!
Q: Can I add chocolate chips to my 10-Minute Peanut Butter Cookies?
Yes! Adding chocolate chips is a delicious way to enhance the flavor of your cookies. Just mix in about ½ cup of your favorite chocolate chips before baking.
Conclusion: Final Thoughts on 10-Minute Peanut Butter Cookies
As I reflect on my journey with these 10-Minute Peanut Butter Cookies, I’m reminded of the joy they bring to my family and friends. Each bite is a delicious reminder of home, comfort, and the simple pleasures in life. I encourage you to try this quick and easy recipe, and I promise it will become a cherished part of your baking repertoire.
Whether you’re whipping them up for a special occasion or just because, these cookies are sure to bring smiles all around. I’d love to hear about your baking adventures! Please share your thoughts in the comments below or tag me on social media with your creations. Happy baking!
Print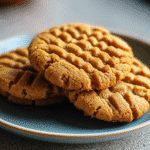
10-Minute Peanut Butter Cookies
- Total Time: 15 minutes
- Yield: 12 cookies 1x
- Diet: Vegetarian
Description
A simple and quick recipe for making delicious peanut butter cookies in just 10 minutes.
Ingredients
- 1 cup peanut butter
- 1 cup sugar
- 1 egg
- 1 teaspoon vanilla extract
Instructions
- Preheat your oven to 350°F (175°C).
- In a mixing bowl, combine peanut butter, sugar, egg, and vanilla extract.
- Mix until well combined.
- Drop spoonfuls of the dough onto a baking sheet lined with parchment paper.
- Flatten each cookie with a fork, creating a crisscross pattern.
- Bake for 8-10 minutes or until the edges are golden.
- Let cool on the baking sheet for a few minutes before transferring to a wire rack.
Notes
- For a softer cookie, bake for the shorter time.
- Store cookies in an airtight container for up to a week.
- Prep Time: 5 minutes
- Cook Time: 10 minutes
- Category: Dessert
- Method: Baking
- Cuisine: American
Nutrition
- Serving Size: 1 cookie
- Calories: 100
- Sugar: 10g
- Sodium: 50mg
- Fat: 5g
- Saturated Fat: 1g
- Unsaturated Fat: 4g
- Trans Fat: 0g
- Carbohydrates: 10g
- Fiber: 1g
- Protein: 3g
- Cholesterol: 10mg
