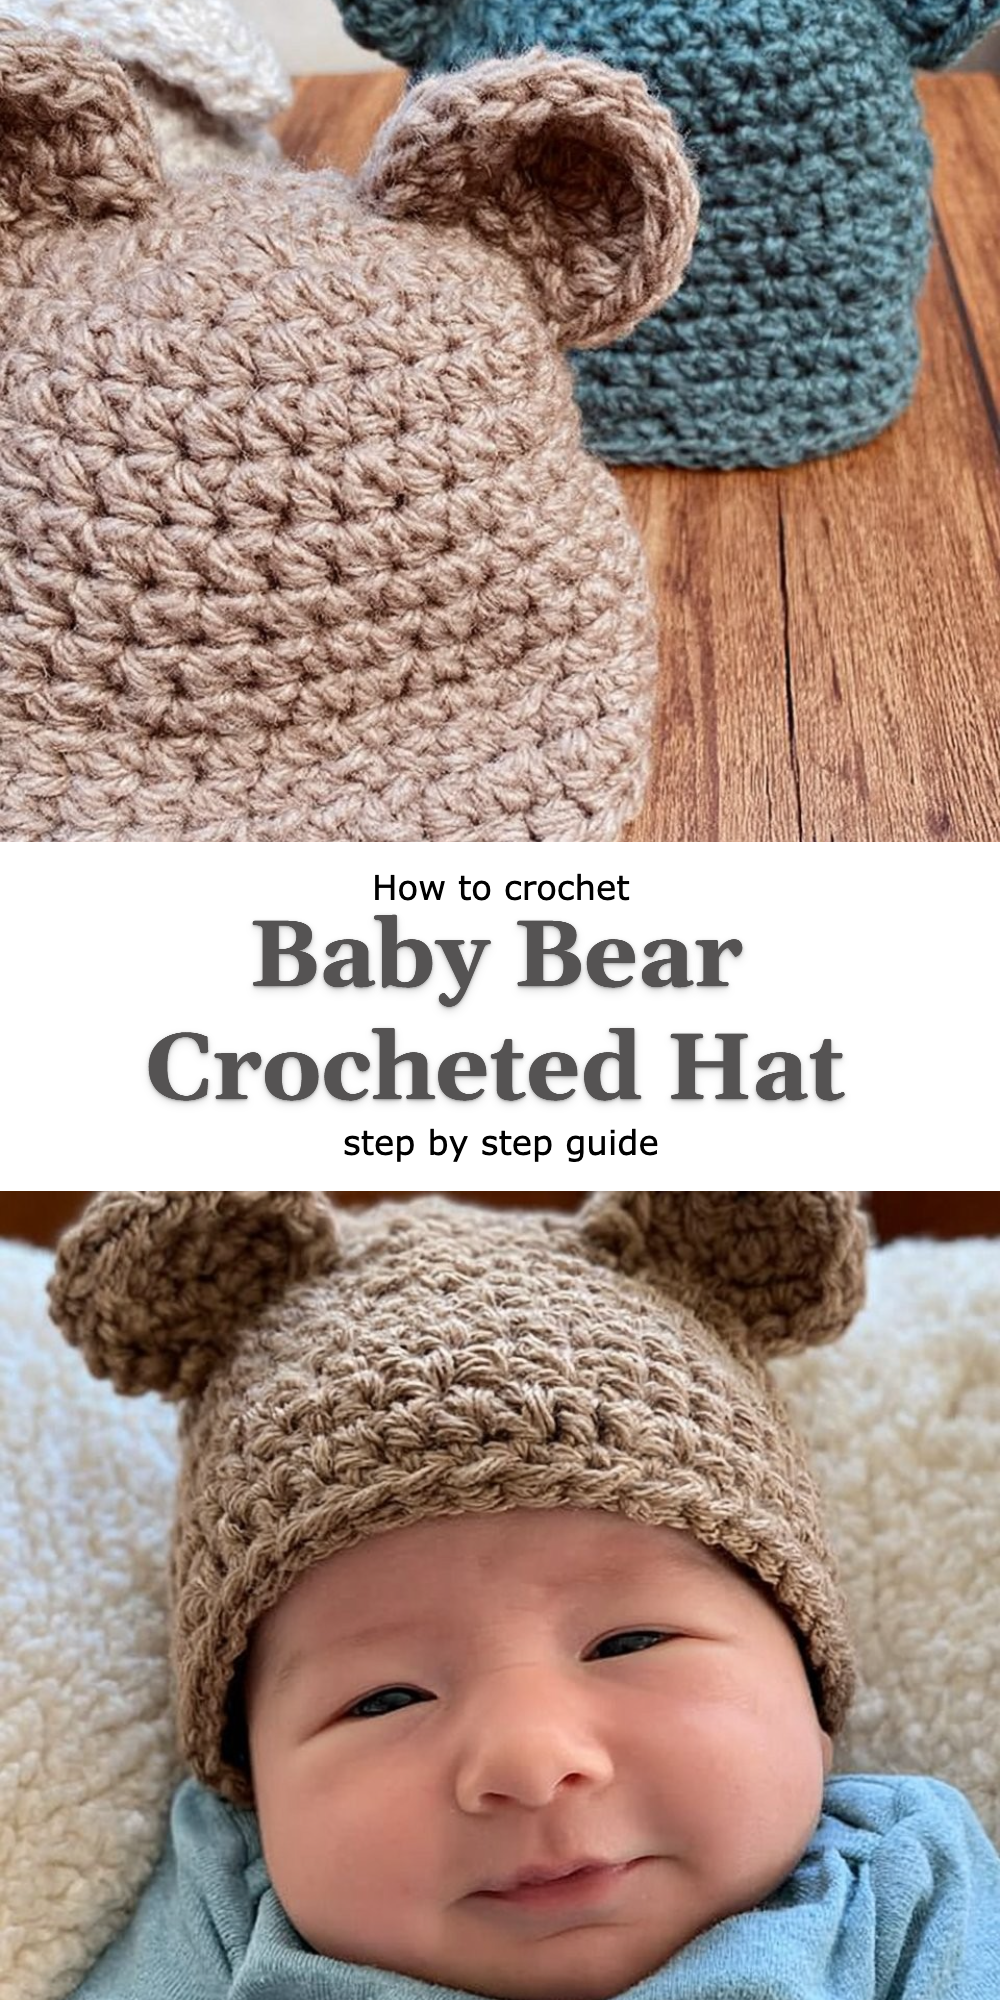
Baby Bear Crocheted Hat
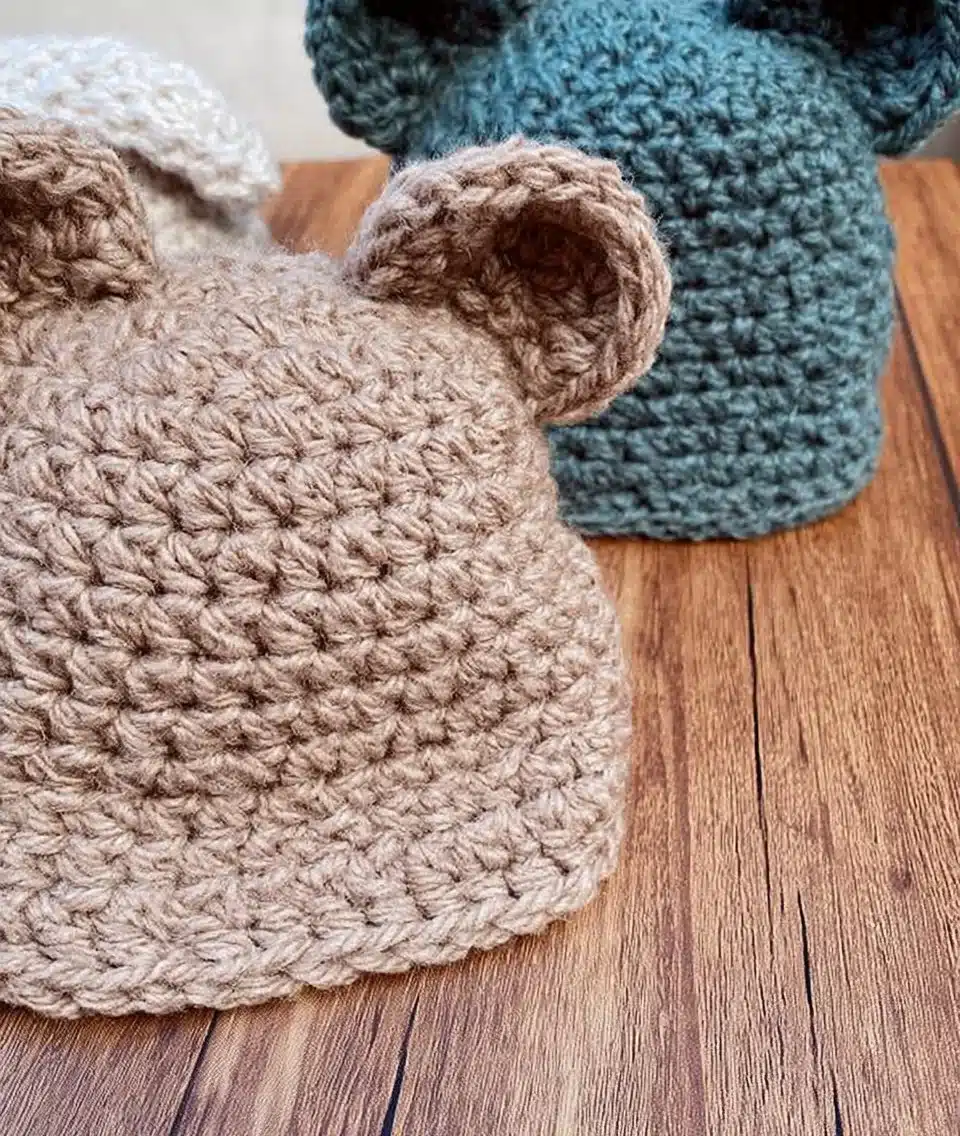
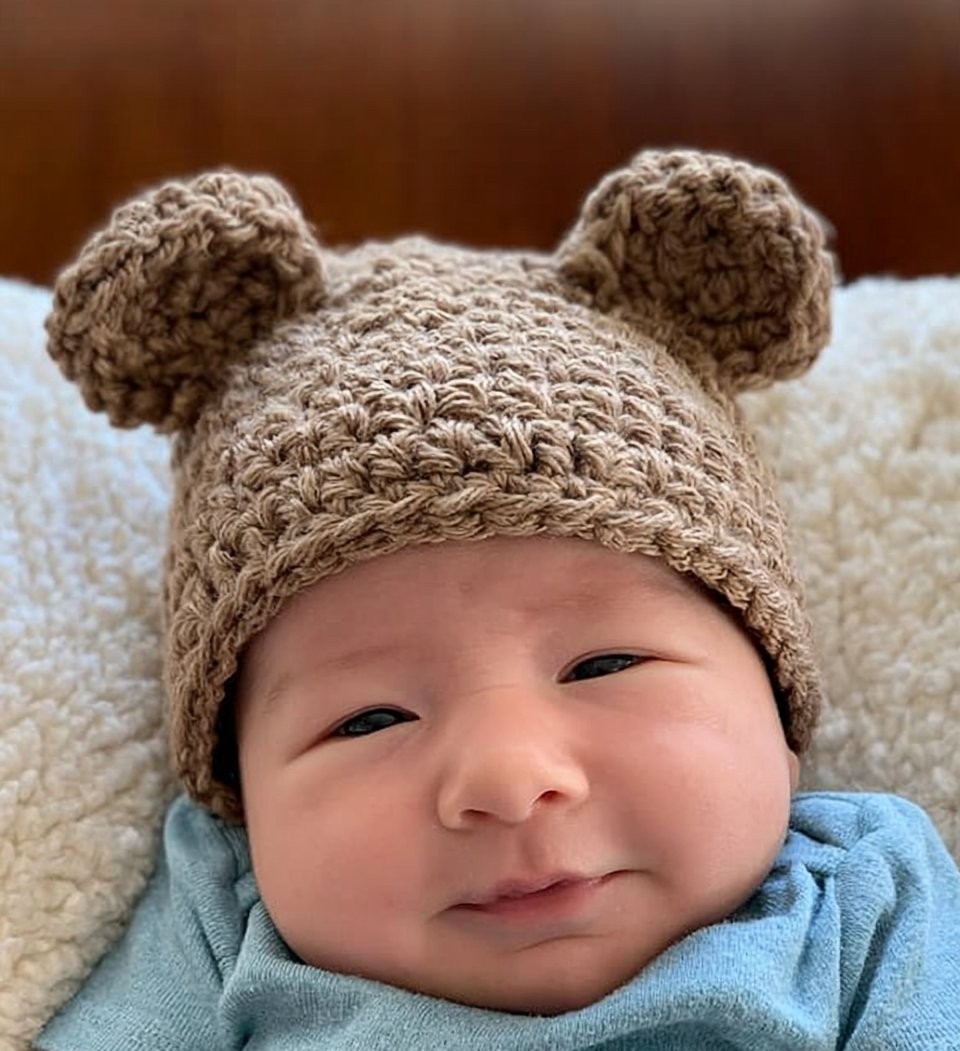
The joy of crafting a Baby Bear Crocheted Hat fills my heart with warmth each time I pick up my yarn and hook. This isn’t just a regular hat; it’s a delightful piece that transforms the wearer into an adorable little teddy bear, complete with charming ears that peek from the top. What makes this Baby Bear Crocheted Hat so special is the texture and whimsical flair it brings compared to standard hats—it’s a little snug, a little soft, and oh-so-cozy.
This free pattern is designed with the budding crochet enthusiast in mind. You’ll be guided through each technique step by step, ensuring that even the first-timer can achieve a beautiful masterpiece by the end. So gather your materials, and let’s jump into the world of crochet magic!
Why the Baby Bear Crocheted Hat Feels Different
The Baby Bear Crocheted Hat employs a unique technique that adds a softness and gentleness to the fabric, setting it apart from standard hat patterns. The incorporation of double crochet stitches creates a light, fluffy feel, emulating the softness of a bear’s fur.
What makes this variation worth trying:
- Unique Design: The bear ears add an element of cuteness, making it a fun accessory for little ones.
- Versatile Sizing: Adapt the pattern for different head sizes, ensuring it fits snugly.
- Perfect Gift: Ideal for baby showers or birthdays, the hat is bound to be a cherished keepsake.
- Fun to Make: Enjoy the tactile pleasure of creating something whimsical; it’s a joyful project!
What You’ll Need: Materials Table
Before diving into your crochet adventure, gather your supplies for a seamless and enjoyable experience.
| Item | Recommended Type | Approximate Amount |
|—————————–|———————-|——————–|
| Yarn | Soft, Baby-Friendly | 100-150 yards |
| Crochet Hook | Size H (5.0 mm) | 1 |
| Scissors | Sharp | 1 |
| Yarn Needle | Standard | 1 |
| Pattern for Baby Bear Hat | Included Free | 1 |
If you prefer variations, you could opt for cotton instead of wool for a cooler fabric perfect for summer wear.
Sizing Guide
The Baby Bear Crocheted Hat can be adjusted to fit various age ranges, making it perfect for any baby in your life.
| Size/Age Range | Head Circumference |
|——————|——————-|
| Newborn | 13-14 inches |
| 0-3 Months | 14-16 inches |
| 3-6 Months | 16-18 inches |
| 6-12 Months | 18-19.5 inches |
Always make a gauge swatch to ensure the best fit for your little one!
Step-by-Step: How to Crochet the Baby Bear Crocheted Hat
Step 1: Start the Base/Crown/Foundation
- Chain 4 stitches, then join into a ring with a slip stitch.
- Work 8 single crochets (sc) into the ring.
- Tighten the ring, ensuring your stitches are snug.
- Join with a slip stitch to the first sc to close the round.
Step 2: Crochet the Core Technique Section
- Chain 2 (this acts as your first double crochet).
- Work 2 double crochets (dc) in each stitch around.
- Join with a slip stitch to the top of the starting chain.
- Chain 2 again—this will be your new base for the next round.
Step 3: Crochet the Shaping/Assembly Section
- Increase by working 1 dc in the first stitch, followed by 2 dc in the next. Continue this around.
- As you reach the end, join with a slip stitch.
- Repeat the process of double crochet rounds until the hat reaches the desired height.
- Try it on to ensure it fits snugly on the child’s head.
Step 4: Create Bear Ears
- Chain 4 and join into a ring.
- Work 6 sc into the ring, joining like before.
- Continue with rounds of increases until the ears reach a diameter of about 2-3 inches.
- Fasten off and leave a long tail for sewing.
Step 5: Attach Bear Ears
- Position the ears on top of the hat, about 2-3 inches apart.
- Sew using the yarn needle, attaching firmly while keeping it balanced.
- Finish off by weaving in any loose ends with a yarn needle.
- Inspect your work for any adjustments needed!
Tips for Clean, Even Crochet
- Maintain Consistent Tension: Keep your grip steady; this avoids puckering or loose stitches.
- Use a Stitch Marker: Mark the beginning of each row to track your progress easily.
- Practice on a Swatch: Create a small sample to check your gauge before starting on the hat.
- Align Your Stitches: Ensure each round is level for a polished finish.
Common Mistakes to Avoid
- Skipping Gauge Swatch — leads to an ill-fitting hat.
- Over-tightening Stitches — results in a stiff fabric that won’t fit.
- Not Counting Rounds — can cause mismatched lengths between the body and ears.
- Neglecting to Weave Ends — leads to unraveling after washing.
Frequently Asked Questions
What is the Baby Bear Crocheted Hat technique?
This technique involves using double crochet stitches to create a light and fluffy texture, ideal for a cozy, cute finish.
What type of yarn should I use?
Opt for soft, baby-friendly yarn to ensure comfort for the little one wearing it. Acrylic or cotton blends work great, too.
How does this crochet pattern differ in difficulty?
It’s slightly more advanced than basic hats due to the shaping and ear creation, but it remains accessible for beginners willing to learn.
How much yarn will I need?
You’ll need about 100-150 yards of yarn, depending on the size you’re making.
Can I use this technique for other projects?
Absolutely! The methods used in the Baby Bear Crocheted Hat can be adapted for various other patterns, adding a delightful twist to your crochet repertoire.
Conclusion
Creating the Baby Bear Crocheted Hat is a rewarding experience that results in a sweet and cuddly addition to any little one’s wardrobe. The unique design and joyful process make it a wonderful project worth diving into.
I encourage you to embrace your creativity and bring this pattern to life; it’s not just about the end product but also the love and warmth woven into each stitch. Don’t forget to share your finished piece with the crochet community and inspire others! Happy crocheting!