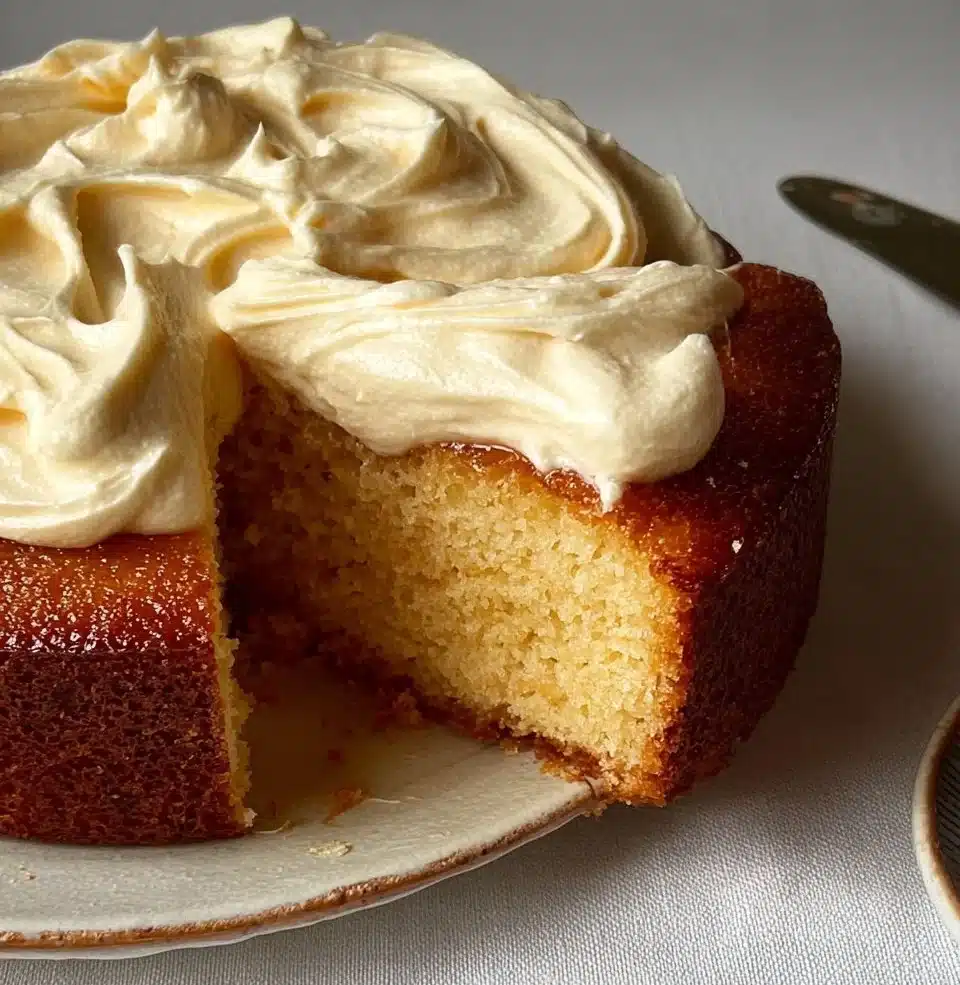
Banana Pudding: A Delightful and Easy Recipe for Everyone to Enjoy

This post may contain affiliate links, learn more.
Ah, banana pudding! The first time I tasted this delightful dessert was at my grandmother’s kitchen table. I remember the warm summer afternoon, the sun streaming through the window, and the sweet aroma of ripe bananas mingling with the creamy vanilla pudding. Each spoonful was a perfect balance of soft, velvety pudding, crunchy vanilla wafers, and tender banana slices. It was a moment that felt like a warm hug, and I knew then that banana pudding would always hold a special place in my heart.
Banana pudding is more than just a dessert; it’s a comforting classic that brings families together. Whether it’s a holiday gathering, a backyard barbecue, or a simple weeknight dinner, this dish has a way of evoking nostalgia and joy. The layers of creamy pudding and fresh bananas create a delightful texture that dances on your palate, while the vanilla wafers add a satisfying crunch. It’s a dessert that appeals to both kids and adults alike, making it a beloved staple in many households.
As I prepare this banana pudding in my own kitchen now, I can’t help but think of the laughter and stories shared over bowls of this sweet treat. It’s a reminder that food has the power to connect us, to create memories, and to bring a little bit of joy into our lives. So, let’s dive into this easy and delightful recipe that will surely become a favorite in your home, just as it has in mine!
What is Banana Pudding?
Banana pudding is a beloved dessert that traces its roots back to the Southern United States, where it has become a staple at family gatherings and celebrations. This delightful treat combines layers of creamy vanilla pudding, fresh bananas, and crunchy vanilla wafers, creating a harmonious blend of textures and flavors. The origins of banana pudding can be linked to the 19th century, when recipes began to appear in cookbooks, showcasing the use of bananas, which were becoming more widely available in the U.S. thanks to trade routes.
Over the years, banana pudding has evolved, with variations popping up across the country and even around the globe. In some regions, you might find it made with homemade custard instead of instant pudding, while others may add a layer of meringue on top for a delightful finish. Regardless of the variation, the essence of banana pudding remains the same: it’s a comforting dessert that brings people together, evoking memories of home and family.
Why You’ll Love This Banana Pudding
- Easy to Prepare: With just a few simple ingredients and no baking required, this recipe is perfect for busy cooks.
- Delightful Taste: The combination of sweet bananas, creamy pudding, and crunchy wafers creates a flavor explosion in every bite.
- Health-Conscious Options: You can easily swap ingredients to make it lighter or accommodate dietary needs.
- Universal Appeal: This dessert is loved by both kids and adults, making it a hit at any gathering.
Who It’s For
This banana pudding recipe is ideal for busy families looking for a quick and satisfying dessert. It’s also perfect for dessert lovers who appreciate a classic treat that’s easy to whip up. Whether you’re hosting a potluck, celebrating a birthday, or simply craving something sweet, this recipe caters to anyone seeking a delicious and comforting dessert.
When to Cook It
Banana pudding is versatile enough to be served on various occasions. Here are some perfect moments to enjoy this delightful dessert:
- Weeknight Dinners: A sweet ending to a busy day.
- Potlucks: A crowd-pleaser that’s sure to impress your friends.
- Holiday Gatherings: A nostalgic treat that brings back fond memories.
- Summer Barbecues: A refreshing dessert that complements grilled dishes perfectly.
How to Make the Perfect Banana Pudding
Ingredients
To create a delightful banana pudding that will impress your family and friends, gather the following ingredients:
- 4 ripe bananas
- 1 box (5.1 oz) instant vanilla pudding mix
- 2 cups cold milk
- 1 cup heavy cream
- 1/2 cup powdered sugar
- 1 teaspoon vanilla extract
- 1 box (12 oz) vanilla wafers
Each ingredient plays a crucial role in achieving that creamy, dreamy texture and sweet flavor. The ripe bananas add natural sweetness and a lovely texture, while the instant vanilla pudding mix provides a quick and easy base. If you’re looking for alternatives, you can use homemade pudding for a richer flavor or swap out the heavy cream for whipped topping to lighten it up. Additionally, if you prefer a gluten-free option, consider using gluten-free vanilla wafers.
Step-by-Step Instructions
Now, let’s dive into the simple steps to make this classic dessert:
- In a large bowl, whisk together the instant vanilla pudding mix and cold milk until smooth. The mixture should thicken nicely, creating a luscious base.
- In another bowl, whip the heavy cream, powdered sugar, and vanilla extract until soft peaks form. This step adds a light, airy texture to your pudding.
- Gently fold the whipped cream into the pudding mixture until well combined. This is where the magic happens, as the two mixtures come together to create a creamy delight.
- In a serving dish, layer the vanilla wafers, sliced bananas, and pudding mixture. Repeat the layers until all ingredients are used, finishing with pudding on top. The layers create a beautiful presentation and a delightful mix of textures.
- Chill in the refrigerator for at least 4 hours before serving to allow the flavors to meld. This step is essential for achieving that perfect, chilled dessert experience.
As you prepare this banana pudding, the aroma of vanilla and fresh bananas will fill your kitchen, making it hard to resist sneaking a taste!
For People with Diabetes: Sugar Substitutes
If you’re looking to make this banana pudding more diabetes-friendly, consider using sugar substitutes. Here are some great options:
- Stevia: A natural sweetener that has no calories and won’t spike blood sugar levels.
- Monk Fruit: Another natural sweetener that is low in calories and has a minimal effect on blood sugar.
- Allulose: A low-calorie sugar that tastes like sugar but is not metabolized by the body, making it a great option.
It’s best to avoid honey and maple syrup, as they contain high sugar content that can affect blood sugar levels. With these alternatives, you can enjoy a delicious banana pudding without compromising on taste!
Tools You’ll Need
To make your banana pudding effortlessly, gather the following essential tools:
- Mixing Bowls: A large bowl for mixing the pudding and a separate bowl for whipping the cream.
- Whisk: A sturdy whisk to combine the pudding mix and milk smoothly.
- Electric Mixer: For whipping the heavy cream to soft peaks quickly and easily.
- Spatula: A rubber spatula for folding the whipped cream into the pudding mixture without deflating it.
- Serving Dish: A clear glass dish or trifle bowl to showcase the beautiful layers of your banana pudding.
- Refrigerator: Essential for chilling the pudding to allow the flavors to meld and the texture to set.
Having these tools on hand will make your banana pudding preparation smooth and enjoyable, allowing you to focus on creating a delicious dessert!
Top Tips from Well-Known Chefs
To elevate your banana pudding to the next level, I’ve gathered some simple, chef-approved hacks that will ensure your dessert is nothing short of perfection. These tips will help you master the art of layering and enhance the flavors, making your banana pudding a standout treat!
1. Perfect Your Layers
One of the keys to a beautiful banana pudding is the layering technique. Here’s how to do it right:
- Start with Wafers: Begin with a layer of vanilla wafers at the bottom of your serving dish. This creates a sturdy base and prevents the pudding from becoming too soggy.
- Alternate Layers: Layer sliced bananas, followed by the pudding mixture, and then repeat. This not only looks appealing but also ensures that every bite has a mix of flavors and textures.
- Finish with Pudding: Always end with a layer of pudding on top. This helps to seal in the bananas and wafers, keeping them fresh and flavorful.
2. Enhance the Flavor
To take your banana pudding to new heights, consider these flavor enhancements:
- Add a Pinch of Salt: A small pinch of salt in the pudding mixture can enhance the sweetness and balance the flavors beautifully.
- Use Ripe Bananas: The riper the bananas, the sweeter and more flavorful your pudding will be. Look for bananas with a few brown spots for the best taste.
- Incorporate a Splash of Rum or Bourbon: For an adult twist, add a tablespoon of rum or bourbon to the pudding mixture. It adds depth and a hint of warmth that pairs wonderfully with the bananas.
3. Chill for the Best Texture
Patience is key when it comes to banana pudding. Here’s why:
- Chill Time: Allow your banana pudding to chill in the refrigerator for at least 4 hours, or even overnight. This not only helps the flavors meld but also allows the pudding to set properly, resulting in a creamier texture.
- Serve Cold: Always serve banana pudding cold. The refreshing chill enhances the dessert experience, especially on warm days.
By incorporating these tips from culinary experts, you’ll create a banana pudding that’s not only delicious but also visually stunning. Your family and friends will be asking for seconds, and you’ll feel like a true dessert connoisseur!
Storing and Reheating Tips
Proper storage is essential to keep your banana pudding fresh and delicious. Here are some practical tips for storing and, if necessary, reheating your delightful dessert:
- Refrigeration: Store your banana pudding in an airtight container in the refrigerator. This will help maintain its creamy texture and prevent it from absorbing any odors from other foods.
- Chill Time: Banana pudding can be kept in the fridge for up to 3 days. However, for the best flavor and texture, it’s best enjoyed within the first 24-48 hours after making it.
- Freezing: While banana pudding can be frozen, it’s important to note that the texture may change once thawed. If you choose to freeze it, do so in an airtight container, leaving some space for expansion. It can be frozen for up to 2 months.
- Thawing: To thaw frozen banana pudding, transfer it to the refrigerator and allow it to thaw overnight. Avoid thawing at room temperature to maintain food safety.
- Serving After Storage: If the pudding has been stored for a while, give it a gentle stir before serving to reintroduce the creamy texture. You can also add a dollop of fresh whipped cream on top for an extra touch!
By following these storage tips, you can enjoy your banana pudding at its best, whether it’s freshly made or saved for later!
Common Mistakes to Avoid
When making banana pudding, it’s easy to overlook a few key details that can affect the final result. Here are some common pitfalls to watch out for:
- Overmixing the Pudding: Mixing the pudding too vigorously can lead to a grainy texture. Gently whisk until just combined to maintain that smooth, creamy consistency.
- Using Unripe Bananas: Unripe bananas lack the sweetness and flavor that ripe bananas provide. Look for bananas with a few brown spots for the best taste and texture.
- Not Chilling Long Enough: Skipping the chilling time can result in a runny pudding. Allow at least 4 hours in the refrigerator for the flavors to meld and the pudding to set properly.
- Layering Incorrectly: Failing to layer the ingredients properly can lead to a soggy dessert. Start with wafers, then bananas, and finish with pudding to create a balanced texture.
- Using Low-Quality Ingredients: The quality of your ingredients matters! Opt for fresh bananas, good vanilla extract, and high-quality pudding mix for the best flavor.
Avoiding these common mistakes will help you create a banana pudding that’s not only delicious but also visually appealing. Happy cooking!
FAQs About Banana Pudding
As you embark on your banana pudding journey, you might have a few questions. Here are some common queries answered to help you along the way:
- Can I use homemade pudding for a richer flavor? Yes, you can absolutely use homemade pudding! It adds a depth of flavor that elevates your banana pudding to a whole new level.
- Does banana pudding need to be baked? No, banana pudding is a no-bake dessert. The beauty of this recipe lies in its simplicity and ease of preparation.
- What’s the best texture for banana pudding? It depends on your personal preference! Some people enjoy a creamy, soft texture, while others prefer a firmer consistency. Adjust the chilling time to achieve your desired texture.
Feel free to reach out with any other questions or share your own tips and tricks for making the perfect banana pudding!
Conclusion: Final Thoughts on Banana Pudding
As we wrap up this delightful journey into the world of banana pudding, I hope you feel inspired to create your own version of this classic dessert. Whether you stick to the traditional recipe or add your unique twist, banana pudding is a dish that brings joy and comfort to any table. I invite you to share your own banana pudding stories and variations in the comments below. Let’s celebrate the memories and flavors that this beloved dessert has created in our lives. Happy cooking, and may your banana pudding always be creamy and delicious!
Print
Banana Pudding: A Delightful and Easy Recipe for Everyone to Enjoy
- Total Time: 4 hours 20 minutes
- Yield: 8 servings 1x
- Diet: Vegetarian
Description
A simple and delicious banana pudding recipe that is perfect for any occasion.
Ingredients
- 4 ripe bananas
- 1 box (5.1 oz) instant vanilla pudding mix
- 2 cups cold milk
- 1 cup heavy cream
- 1/2 cup powdered sugar
- 1 teaspoon vanilla extract
- 1 box (12 oz) vanilla wafers
Instructions
- In a large bowl, whisk together the instant vanilla pudding mix and cold milk until smooth.
- In another bowl, whip the heavy cream, powdered sugar, and vanilla extract until soft peaks form.
- Fold the whipped cream into the pudding mixture until well combined.
- In a serving dish, layer the vanilla wafers, sliced bananas, and pudding mixture. Repeat the layers until all ingredients are used, finishing with pudding on top.
- Chill in the refrigerator for at least 4 hours before serving to allow the flavors to meld.
Notes
- For a richer flavor, you can use homemade pudding instead of instant.
- Feel free to add a layer of crushed cookies or nuts for added texture.
- This dessert can be made a day in advance for convenience.
- Prep Time: 20 minutes
- Cook Time: 0 minutes
- Category: Dessert
- Method: No-Bake
- Cuisine: American
Nutrition
- Serving Size: 1 serving
- Calories: 250
- Sugar: 15g
- Sodium: 150mg
- Fat: 10g
- Saturated Fat: 5g
- Unsaturated Fat: 3g
- Trans Fat: 0g
- Carbohydrates: 35g
- Fiber: 1g
- Protein: 3g
- Cholesterol: 30mg