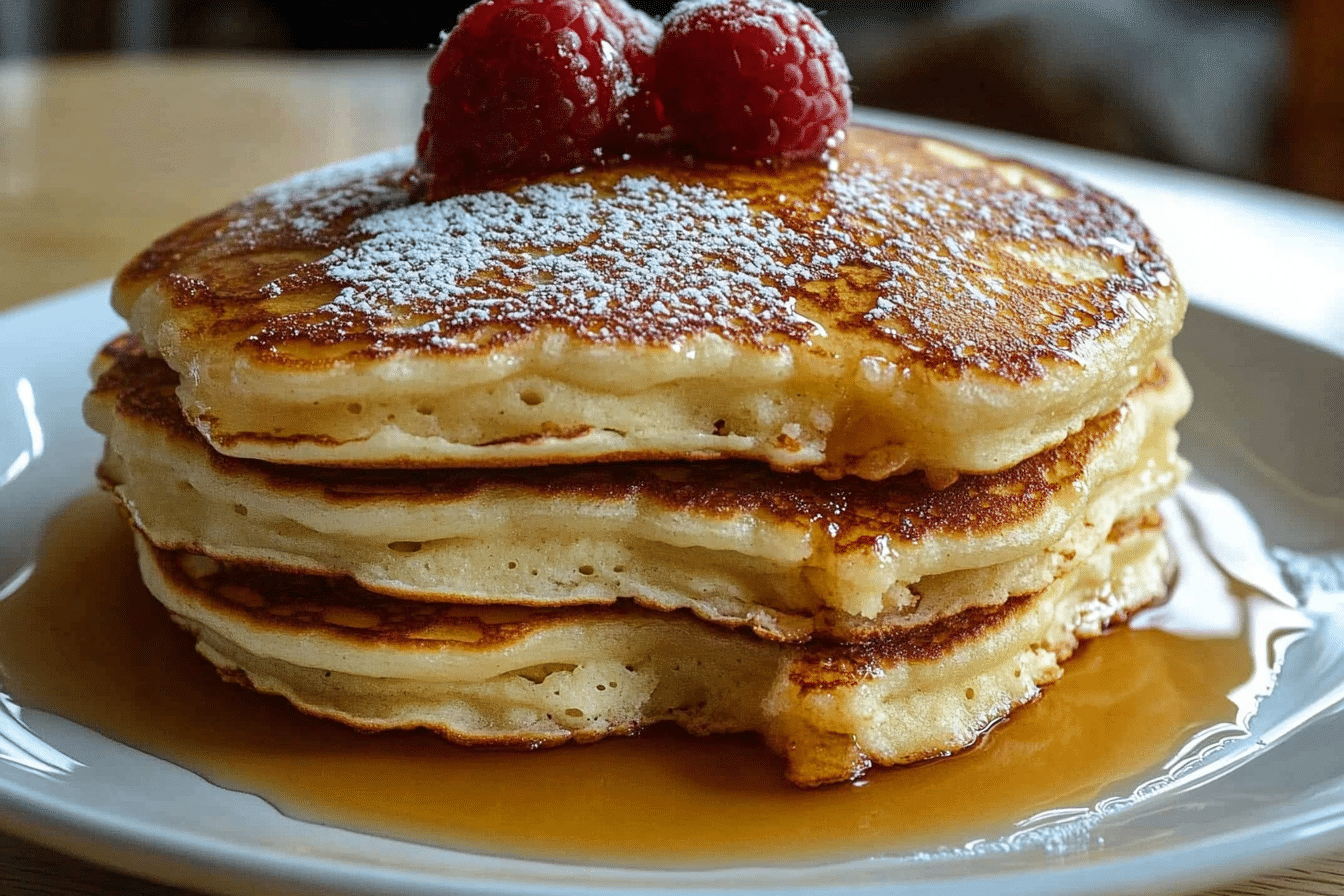
There’s something magical about waking up to the aroma of buttermilk pancakes sizzling on the griddle. As a child, I remember weekends filled with laughter and the sound of my mom flipping pancakes, their fluffy bodies rising like little clouds.
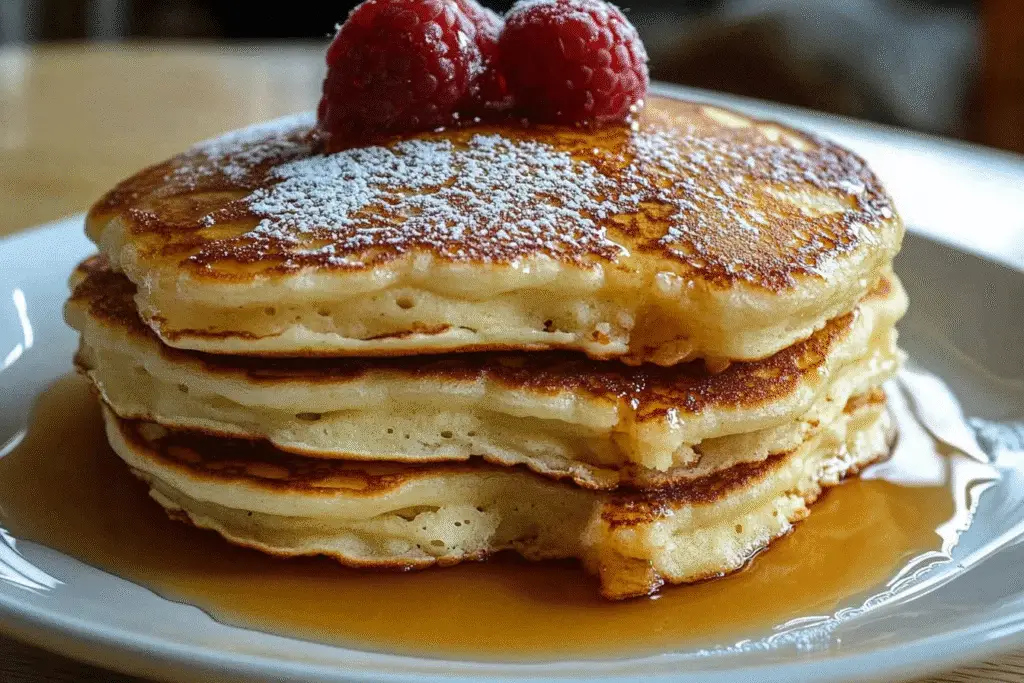
The first bite, warm and buttery, would melt in my mouth, drizzled with syrup that danced on my taste buds. Today, I carry that tradition into my own kitchen, crafting buttermilk pancakes that not only nourish but also create cherished memories. Join me as we explore this delightful recipe that promises to make your breakfast mornings truly special.
What You’ll Find Here
What is Buttermilk Pancakes?
Buttermilk pancakes have a rich history that dates back to early American settlers who adapted traditional European recipes to suit their new environment. The use of buttermilk, a byproduct of churning butter, not only adds a delightful tang but also contributes to the pancakes’ signature fluffiness. This ingredient is a staple in Southern cooking, where it’s celebrated for its ability to tenderize and enhance flavors.
Globally, pancakes take on various forms, from the delicate French crêpes to the hearty Russian blini. However, the American buttermilk pancakes stand out for their light, airy texture and comforting taste. They are often served with a variety of toppings, such as fresh fruits, whipped cream, or even savory options like bacon, making them a versatile choice for any meal of the day.
In many households, these pancakes symbolize warmth and togetherness, often enjoyed during family gatherings or lazy Sunday mornings. The cultural significance of buttermilk pancakes extends beyond just food; they represent a moment of connection, a shared experience that brings loved ones together around the breakfast table.
Why You’ll Love This Buttermilk Pancakes
- Fluffy and Delicious: The secret to these buttermilk pancakes lies in the buttermilk, which creates a light, airy texture that melts in your mouth.
- Quick and Easy: With just a few simple ingredients, you can whip up a batch in under 30 minutes, making them perfect for busy mornings.
- Customizable: Whether you prefer classic maple syrup or want to add fresh berries or chocolate chips, these pancakes can be tailored to suit every taste.
- Family-Friendly: Kids and adults alike adore these pancakes, making them a hit for family breakfasts or brunch gatherings.
- Healthier Option: Using buttermilk not only adds flavor but also provides probiotics, making these pancakes a more nutritious choice compared to regular pancakes.
Who It’s For
This recipe is perfect for busy families looking for a quick breakfast solution, health-conscious cooks who want to incorporate nutritious ingredients, and food lovers eager to explore delightful flavors. Whether you’re a novice in the kitchen or a seasoned chef, these buttermilk pancakes will bring joy to your table.
When to Cook It
These buttermilk pancakes are ideal for any occasion! Serve them on lazy weekend mornings, as a special treat for birthdays, or even for a cozy weeknight dinner. They can transform an ordinary meal into a delightful experience, making every moment feel like a celebration.
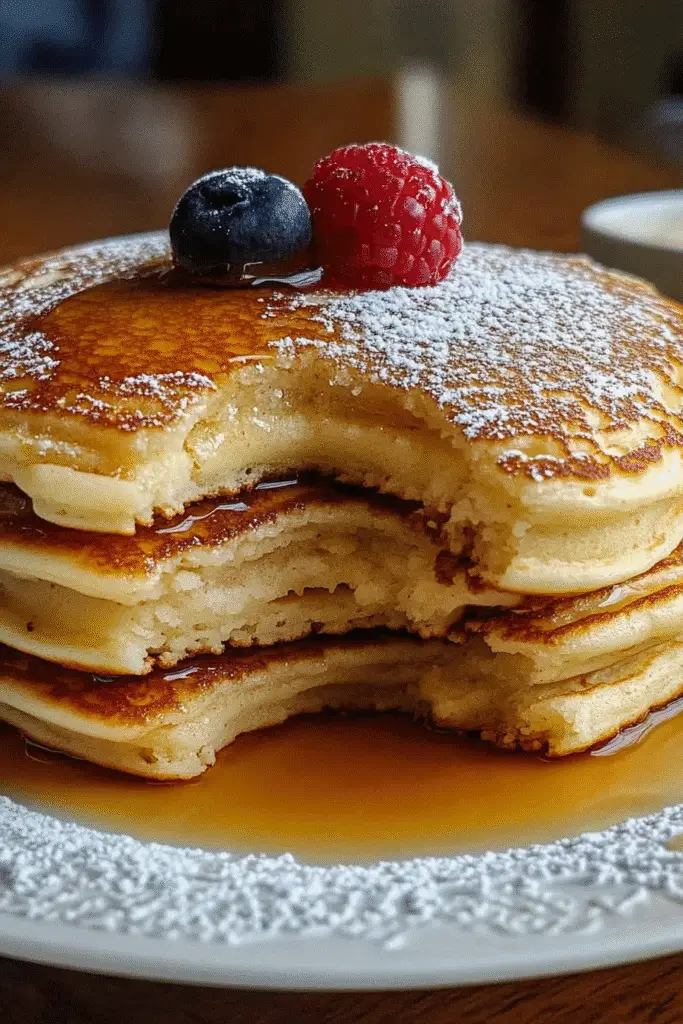
How to Make the Perfect Buttermilk Pancakes
Ingredients
- 1 cup all-purpose flour: The base of your pancakes, providing structure. You can substitute with whole wheat flour for a healthier option.
- 2 tablespoons sugar: Adds sweetness. For a healthier alternative, consider using coconut sugar.
- 1 teaspoon baking powder: This helps the pancakes rise and become fluffy.
- 1/2 teaspoon baking soda: Works with the acidity of buttermilk to create a light texture.
- 1/4 teaspoon salt: Enhances the flavors of the other ingredients.
- 1 cup buttermilk: The star ingredient that gives these pancakes their signature tang and fluffiness. If you don’t have buttermilk, you can make a substitute by mixing 1 cup of milk with 1 tablespoon of vinegar or lemon juice.
- 1 large egg: Binds the ingredients together and adds richness.
- 2 tablespoons melted butter: Adds flavor and moisture. You can use vegetable oil as a substitute if desired.
Step-by-Step Instructions
- In a large bowl, whisk together the flour, sugar, baking powder, baking soda, and salt until well combined.
- In another bowl, mix the buttermilk, egg, and melted butter until smooth and creamy.
- Pour the wet ingredients into the dry ingredients and stir gently until just combined; be careful not to overmix, as this can lead to dense pancakes.
- Heat a non-stick skillet over medium heat and lightly grease it with butter or oil.
- Pour 1/4 cup of batter onto the skillet for each pancake. Watch as the batter sizzles and begins to bubble, releasing a delightful aroma.
- Cook until bubbles form on the surface, then flip and cook until golden brown on the other side, about 2-3 minutes per side.
- Serve warm with your favorite toppings, such as maple syrup, fresh fruit, or a dollop of whipped cream.
For People with Diabetes: Sugar Substitutes
If you’re looking to reduce sugar, consider using stevia, monk fruit, erythritol, or allulose as alternatives. These options provide sweetness without the calories. However, it’s best to avoid honey or maple syrup, as they can spike blood sugar levels.
Tools You’ll Need
- Mixing Bowls: A set of medium and large mixing bowls will help you combine your ingredients easily. If you don’t have mixing bowls, any large container will do.
- Whisk: A whisk is essential for blending your dry and wet ingredients smoothly. If you don’t have one, a fork can work in a pinch!
- Non-Stick Skillet or Griddle: This is crucial for cooking your buttermilk pancakes evenly. If you don’t have a non-stick option, a well-seasoned cast-iron skillet will also do the trick.
- Measuring Cups and Spoons: Accurate measurements are key to perfect pancakes. If you’re in a bind, you can use any cup or spoon as a makeshift measure, just keep it consistent.
- Spatula: A flat spatula is perfect for flipping your pancakes without breaking them. If you don’t have one, a large spoon can help, but be gentle!
- Cooling Rack: While not necessary, a cooling rack can help keep your pancakes warm and prevent them from getting soggy. If you don’t have one, a plate will work just fine.
Tips from Well-Known Chefs
When it comes to making the perfect buttermilk pancakes, even the pros have some invaluable tips to share. Here are a few chef-approved hacks that will elevate your pancake game:
- Let the Batter Rest: Chef Thomas Keller, renowned for his culinary expertise, suggests letting your pancake batter rest for about 10 minutes. This allows the gluten to relax, resulting in even fluffier pancakes.
- Use a Scale for Precision: Chef Alton Brown emphasizes the importance of weighing your ingredients for accuracy. This ensures consistent results every time you whip up a batch of buttermilk pancakes.
- Experiment with Flavors: Chef Ina Garten encourages creativity in the kitchen. Try adding a splash of vanilla extract or a pinch of cinnamon to your batter for an extra layer of flavor that will delight your taste buds.
- Perfect Your Flip: Chef Jamie Oliver recommends waiting until you see bubbles forming on the surface of the pancake before flipping. This indicates that the pancake is ready to be turned, ensuring a golden-brown finish.
- Keep Them Warm: Chef Emeril Lagasse suggests placing cooked pancakes on a baking sheet in a warm oven (around 200°F) while you finish cooking the rest. This keeps them warm and ready to serve without losing that fluffy texture.
By incorporating these tips from culinary experts, you’ll not only enhance your buttermilk pancakes but also gain confidence in your cooking skills. Happy flipping!
Delicious Variations to Customize Your Pancakes
One of the best things about pancakes is their versatility. You can easily transform your buttermilk pancakes into a variety of delightful flavors that cater to different tastes and dietary preferences. Here are some creative variations to inspire your next breakfast adventure:
- Blueberry Bliss: Fold in a cup of fresh or frozen blueberries into the batter for a burst of fruity flavor. The juicy berries will create pockets of sweetness that complement the fluffy pancakes perfectly.
- Chocolate Chip Indulgence: Add a handful of semi-sweet or dark chocolate chips to the batter for a decadent treat. These pancakes are perfect for special occasions or when you want to satisfy a sweet tooth.
- Banana Nut Delight: Mash one ripe banana and mix it into the batter along with a sprinkle of chopped walnuts. This variation adds natural sweetness and a delightful crunch, making it a wholesome choice.
- Cinnamon Roll Pancakes: Incorporate a swirl of cinnamon and brown sugar into the batter. After pouring the batter onto the skillet, use a toothpick to create a swirl pattern. Top with a cream cheese glaze for a true cinnamon roll experience.
- Vegan Pancakes: Substitute the egg with a flaxseed meal (1 tablespoon of flaxseed mixed with 2.5 tablespoons of water) and use almond milk instead of buttermilk. These pancakes are just as fluffy and delicious while being plant-based.
- Gluten-Free Option: Replace all-purpose flour with a gluten-free flour blend. Ensure that your baking powder is gluten-free as well. This way, everyone can enjoy a stack of fluffy pancakes without worry.
Feel free to mix and match these variations or come up with your own unique combinations. The possibilities are endless, and each twist on the classic buttermilk pancakes will create a new family favorite!
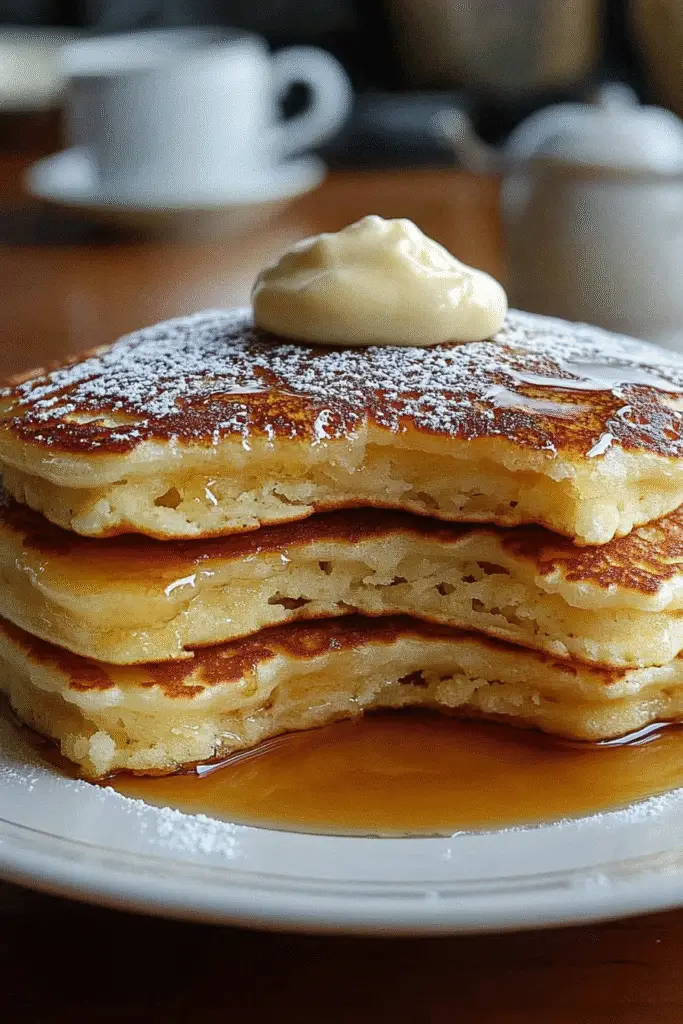
Top Tips for Perfecting Your Buttermilk Pancakes
Creating the perfect buttermilk pancakes is an art, and with a few expert techniques and cooking hacks, you can elevate your breakfast game to new heights. Here are some tried-and-true tips that I’ve gathered over the years, along with a few cultural secrets that will make your pancakes truly unforgettable:
- Use Fresh Ingredients: Always check the expiration dates on your baking powder and baking soda. Fresh leavening agents are crucial for achieving that fluffy texture in your buttermilk pancakes.
- Don’t Overmix: When combining your wet and dry ingredients, mix until just combined. A few lumps are perfectly fine! Overmixing can lead to tough pancakes, so be gentle.
- Temperature Matters: Ensure your skillet is at the right temperature before pouring in the batter. A drop of water should sizzle and evaporate quickly. If it’s too hot, your pancakes will burn; too cool, and they’ll be dense.
- Rest the Batter: Allowing your batter to rest for 5-10 minutes before cooking can make a significant difference. This resting period helps the flour absorb the liquid, resulting in lighter pancakes.
- Experiment with Toppings: While maple syrup is a classic, don’t hesitate to explore other toppings. Try yogurt, honey, or a fruit compote for a refreshing twist. In some cultures, pancakes are served with savory toppings like cheese or smoked salmon!
- Keep Them Warm: If you’re making a large batch, keep your pancakes warm in a low oven (around 200°F) while you finish cooking. This way, they’ll stay fluffy and delicious until it’s time to serve.
- Use a Cookie Scoop: For perfectly sized pancakes, use a cookie scoop to portion out the batter. This ensures uniformity in size and cooking time, making your pancakes look as good as they taste.
- Incorporate Local Flavors: If you’re feeling adventurous, try adding spices or flavors that reflect your cultural background. A pinch of cardamom or nutmeg can add a unique twist that pays homage to your heritage.
By incorporating these tips into your cooking routine, you’ll not only master the art of buttermilk pancakes but also create a breakfast experience that your family will cherish. Happy cooking!
Storing and Reheating Tips
Once you’ve whipped up a delicious batch of buttermilk pancakes, you might find yourself with leftovers. No need to worry! Here’s how to store and reheat them so they stay just as fluffy and delightful as when they were first made.
Storing in the Fridge
If you plan to enjoy your pancakes within a few days, simply place them in an airtight container or wrap them tightly in plastic wrap. They can be stored in the refrigerator for up to 3 days. Just make sure to separate layers with parchment paper to prevent sticking.
Freezing for Later
For longer storage, freezing is a great option! Allow the pancakes to cool completely, then stack them with parchment paper in between each pancake to prevent them from sticking together. Place the stack in a freezer-safe bag or container, and they can be stored for up to 2 months. Be sure to label the bag with the date for easy reference!
Reheating Tips
When you’re ready to enjoy your buttermilk pancakes again, here are a few methods to reheat them:
- Microwave: Place a pancake on a microwave-safe plate and cover it with a damp paper towel. Heat for about 20-30 seconds, or until warmed through. This method keeps them moist.
- Oven: Preheat your oven to 350°F (175°C). Arrange the pancakes in a single layer on a baking sheet and cover with aluminum foil. Heat for about 10-15 minutes, or until warmed through. This method helps maintain their fluffy texture.
- Skillet: Heat a non-stick skillet over medium-low heat. Add a small amount of butter or oil, then place the pancakes in the skillet. Cook for 1-2 minutes on each side until warmed through and slightly crispy on the edges.
With these simple storing and reheating tips, you can enjoy your buttermilk pancakes any time, making breakfast a breeze even on the busiest of mornings!
Helpful Notes
As you embark on your journey to create the perfect buttermilk pancakes, here are some extra clarifications and tips to ensure your cooking experience is smooth and enjoyable:
Ingredient Prep
- Buttermilk: If you don’t have buttermilk on hand, you can easily make a substitute by mixing 1 cup of milk (whole or low-fat) with 1 tablespoon of white vinegar or lemon juice. Let it sit for about 5-10 minutes until it thickens slightly.
- Eggs: For the best results, use eggs at room temperature. This helps them incorporate better into the batter, leading to fluffier pancakes.
- Butter: Melt your butter gently to avoid burning. You can do this in the microwave or on the stovetop. Allow it to cool slightly before adding it to the batter to prevent cooking the egg.
Substitutions
- Flour: If you’re looking for a gluten-free option, consider using a 1:1 gluten-free flour blend. Just ensure it contains xanthan gum for the best texture.
- Sweeteners: If you prefer a lower-calorie option, you can substitute sugar with stevia or monk fruit sweetener. Just remember to adjust the quantity according to the sweetness level of the substitute.
- Milk Alternatives: For a dairy-free version, almond milk or oat milk can be used in place of buttermilk. Just add a splash of vinegar or lemon juice to mimic the acidity of buttermilk.
Cultural References
In many cultures, pancakes are a beloved breakfast staple, each with its unique twist. For instance, in France, crêpes are thin and often filled with sweet or savory ingredients, while in Japan, fluffy soufflé pancakes have become a trendy treat. Embracing these cultural influences can inspire you to experiment with your buttermilk pancakes, perhaps by adding matcha powder for a Japanese flair or incorporating spices like cardamom for a Middle Eastern touch.
By keeping these helpful notes in mind, you’ll not only enhance your cooking skills but also create buttermilk pancakes that reflect your personal taste and culinary heritage. Enjoy the process and happy cooking!
Common Mistakes to Avoid
- Overmixing the Batter: One of the most common pitfalls is overmixing the batter. This can lead to tough, dense pancakes instead of the light and fluffy texture you desire. Mix until just combined, and don’t worry about a few lumps!
- Skipping the Resting Period: Failing to let the batter rest for 5-10 minutes can result in less fluffy pancakes. This short break allows the flour to hydrate and the gluten to relax, leading to a better texture.
- Cooking on Too High Heat: Cooking your pancakes on high heat can cause the outsides to burn while leaving the insides undercooked. Aim for medium heat, and adjust as necessary to ensure even cooking.
- Not Using Fresh Ingredients: Using expired baking powder or baking soda can prevent your pancakes from rising properly. Always check the freshness of your leavening agents for the best results.
- Neglecting to Grease the Pan: Skipping the greasing step can lead to pancakes sticking to the skillet, making flipping a challenge. Lightly grease your skillet with butter or oil before pouring in the batter.
FAQs About Buttermilk Pancakes
Q: Can I use regular milk instead of buttermilk for pancakes?
Yes, you can use regular milk, but the pancakes may not be as fluffy. To mimic buttermilk, add 1 tablespoon of vinegar or lemon juice to 1 cup of milk and let it sit for 5-10 minutes before using.
Q: Are buttermilk pancakes healthier than regular pancakes?
It depends on the ingredients you use. Buttermilk adds a tangy flavor and can provide probiotics, making them a slightly healthier option compared to pancakes made with regular milk.
Q: Can I make buttermilk pancakes ahead of time?
Yes, you can make buttermilk pancakes ahead of time. Store them in the fridge for up to 3 days or freeze them for up to 2 months. Just reheat them before serving for the best texture.
Q: Do buttermilk pancakes freeze well?
Yes, buttermilk pancakes freeze well! Just make sure to separate them with parchment paper and store them in an airtight container or freezer bag to prevent sticking.
Q: Can I add ingredients like chocolate chips or fruit to the batter?
Yes, you can absolutely add chocolate chips, blueberries, or other fruits to your buttermilk pancake batter. Just fold them in gently before cooking for a delicious twist!
Conclusion: Final Thoughts on Buttermilk Pancakes
As we wrap up our journey through the world of buttermilk pancakes, I hope you feel inspired to create your own fluffy stacks that bring joy to your breakfast table. These pancakes are more than just a meal; they are a canvas for memories, laughter, and love shared with family and friends. I encourage you to experiment with flavors, toppings, and variations that reflect your unique taste. If you try this recipe, please share your thoughts and any delicious twists you come up with in the comments below. Happy cooking, and may your mornings be filled with warmth and sweetness!
Print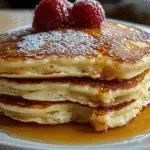
Buttermilk Pancakes
- Total Time: 25 minutes
- Yield: Serves 4
- Diet: Vegetarian
Description
A delightful recipe for making fluffy buttermilk pancakes that are perfect for breakfast.
Ingredients
- 1 cup all-purpose flour
- 2 tablespoons sugar
- 1 teaspoon baking powder
- 1/2 teaspoon baking soda
- 1/4 teaspoon salt
- 1 cup buttermilk
- 1 large egg
- 2 tablespoons melted butter
Instructions
- In a large bowl, whisk together the flour, sugar, baking powder, baking soda, and salt.
- In another bowl, mix the buttermilk, egg, and melted butter until well combined.
- Pour the wet ingredients into the dry ingredients and stir until just combined; do not overmix.
- Heat a non-stick skillet over medium heat and lightly grease it.
- Pour 1/4 cup of batter onto the skillet for each pancake.
- Cook until bubbles form on the surface, then flip and cook until golden brown on the other side.
- Serve warm with your favorite toppings.
Notes
- For extra fluffiness, let the batter rest for 5-10 minutes before cooking.
- Try adding blueberries or chocolate chips to the batter for variation.
- Prep Time: 10 minutes
- Cook Time: 15 minutes
- Category: Breakfast
- Method: Griddle
- Cuisine: American
Nutrition
- Serving Size: 2 pancakes
- Calories: 350
- Sugar: 8g
- Sodium: 400mg
- Fat: 12g
- Saturated Fat: 6g
- Unsaturated Fat: 4g
- Trans Fat: 0g
- Carbohydrates: 50g
- Fiber: 1g
- Protein: 8g
- Cholesterol: 70mg
Keywords: Buttermilk Pancakes
