Easter Eggs
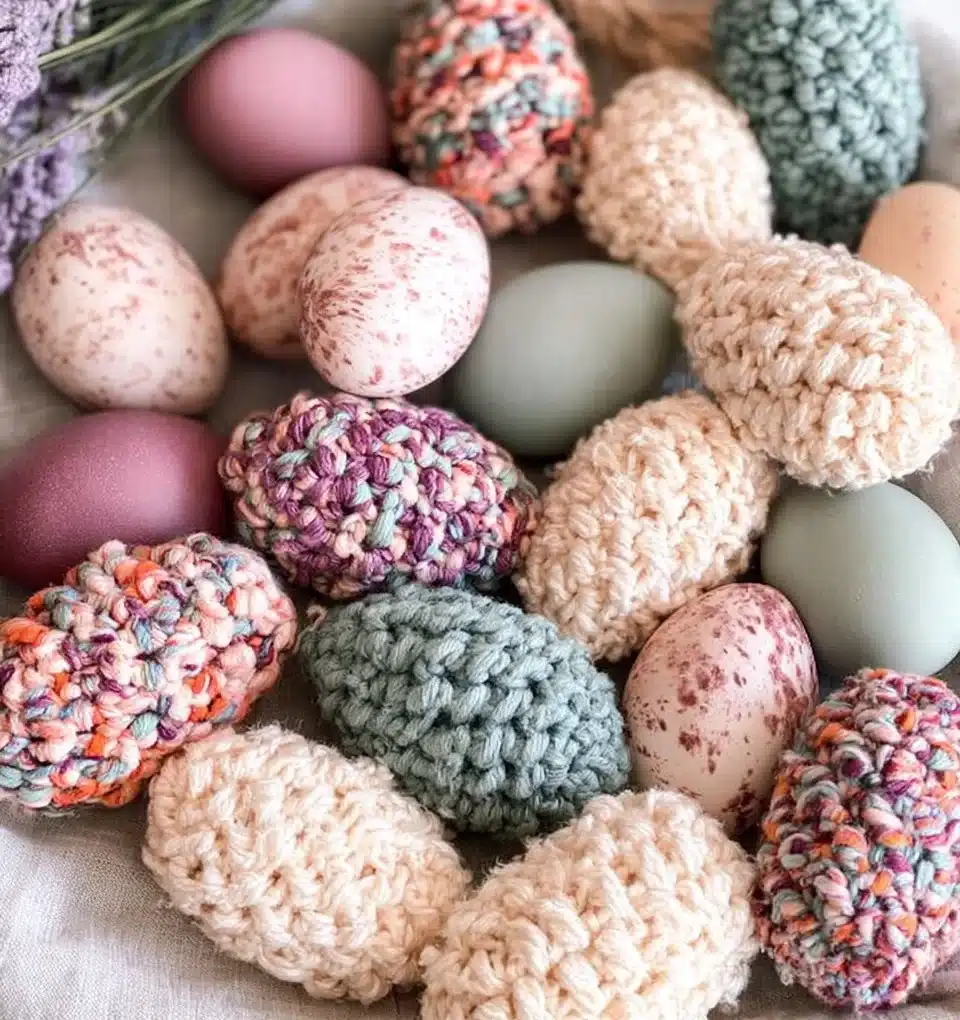
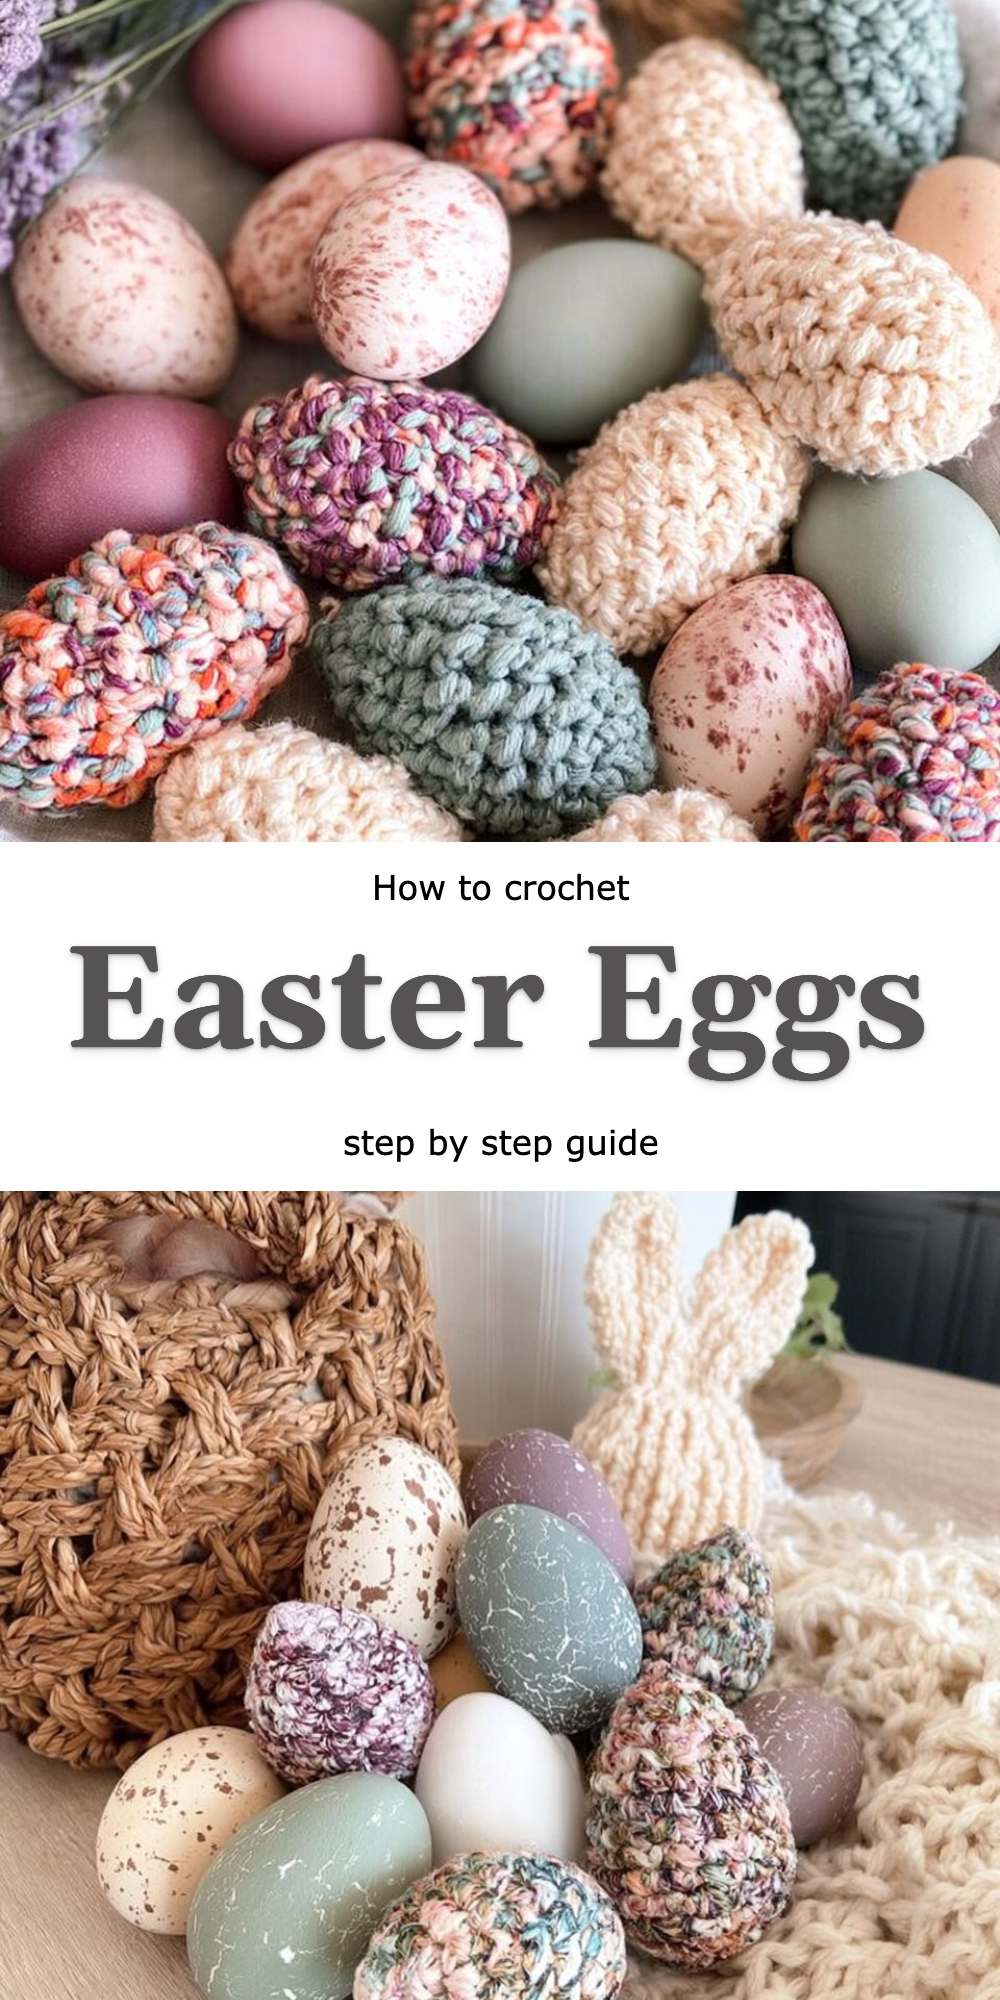
There’s something incredibly graceful and whimsical about the season of spring. With blossoms bursting open and nature waking from its winter slumber, what could be more delightful than creating your very own Rustic Farmhouse Easter Eggs? These charming, textured eggs are a delightful twist on standard Easter decor, elevating the tradition into something tailored for your personal aesthetic, combining rustic charm with modern comfort.
In this free pattern, I’ll guide you step by step through the process of crafting these enchanting eggs. No need to worry if you’re a beginner; the techniques are approachable and friendly, making it easy for even the newest crocheters to embrace the joy of creating Rustic Farmhouse Easter Eggs.
Why Crochet Feels Different
The beauty of crocheting these eggs lies in the unique techniques used, giving them a distinctive feel that sets them apart from standard versions. By utilizing the Wool Ease Thick & Quick yarn and working in the round, you can achieve a delightful plushness that feels warm and inviting to the touch.
What makes this variation worth trying:
- Textural Appeal: The yarn creates a sumptuous texture that’s perfect for tactile enjoyment.
- Quick Completion: With thick yarn, each egg comes together in a flash, allowing for multiple creations in a single session.
- Versatile Design: Customize your eggs with colors and patterns to fit your home decor perfectly.
- Memorable Gifts: These Easter eggs make for wonderful, heartfelt gifts for friends and loved ones.
What You’ll Need: Materials Table
Before we dive into the crochet magic, let’s gather our supplies. Having everything ready will simplify your crafting experience.
| Item | Recommended Type | Approximate Amount |
|————————|——————————|————————|
| Wool Ease Thick & Quick yarn | Bulky, Acrylic blend | Approximately 1-2 skeins for a set of 3 sizes |
| Crochet hook | Size P (11.5 mm) | 1 |
| Stuffing for eggs | Polyester fiberfill | Enough to fill all eggs |
Feel free to explore substitutions, like pairing wool with acrylic, depending on your preference and budget.
Sizing Guide
To create a delightful array of Rustic Farmhouse Easter Eggs, you’ll want to have differing sizes. Here’s a quick guide to help you navigate the dimensions:
| Size | Height/Width (approx.) |
|————|————————-|
| Small | 3 inches |
| Medium | 4 inches |
| Large | 5 inches |
Tip: Swatching the yarn can help gauge your tension and ensure your eggs come out to the right size.
Step-by-Step: How to Crochet the Rustic Farmhouse Easter Eggs
Let’s get rolling—literally! Follow these detailed steps to bring your Rustic Farmhouse Easter Eggs to life.
Step 1: Start the Foundation
- Chain 2 to begin.
- Work 6 single crochet (sc) into the 2nd chain from the hook.
- Join the last sc to the first one with a slip stitch (sl st).
Step 2: Crochet the Shaping Rounds
- Round 1: Increase in each stitch (12 sc total).
- Round 2: 1 sc in the first stitch, 2 sc in the next – repeat around (18 sc total).
- Round 3: 2 sc in the first stitch, 1 sc in the next two stitches – repeat (24 sc total).
Step 3: Create the Body
- Rounds 4-7: Work 1 sc in each stitch (24 sc each round).
- Round 8: 1 sc in the first three stitches, 2 sc in the next – repeat (30 sc total).
Step 4: Begin Decreasing
- Rounds 9: 2 sc in the first stitch, 1 sc in the next four stitches – repeat (36 sc total).
- Rounds 10-12: Continue 1 sc in each stitch.
- Round 13: Reduce to 18 sc total for closure.
Step 5: Add Stuffing and Close
- Fasten off your work.
- Stuff the egg with polyester fiberfill until it’s full but still soft.
- Use a tapestry needle to carefully close the hole with a whip stitch.
Step 6: Create the Fillable Version
- To make an egg with an opening, repeat steps 1-5, but before closing, leave a gap and attach a button or toggle closure.
Step 7: Add the Finishing Touches
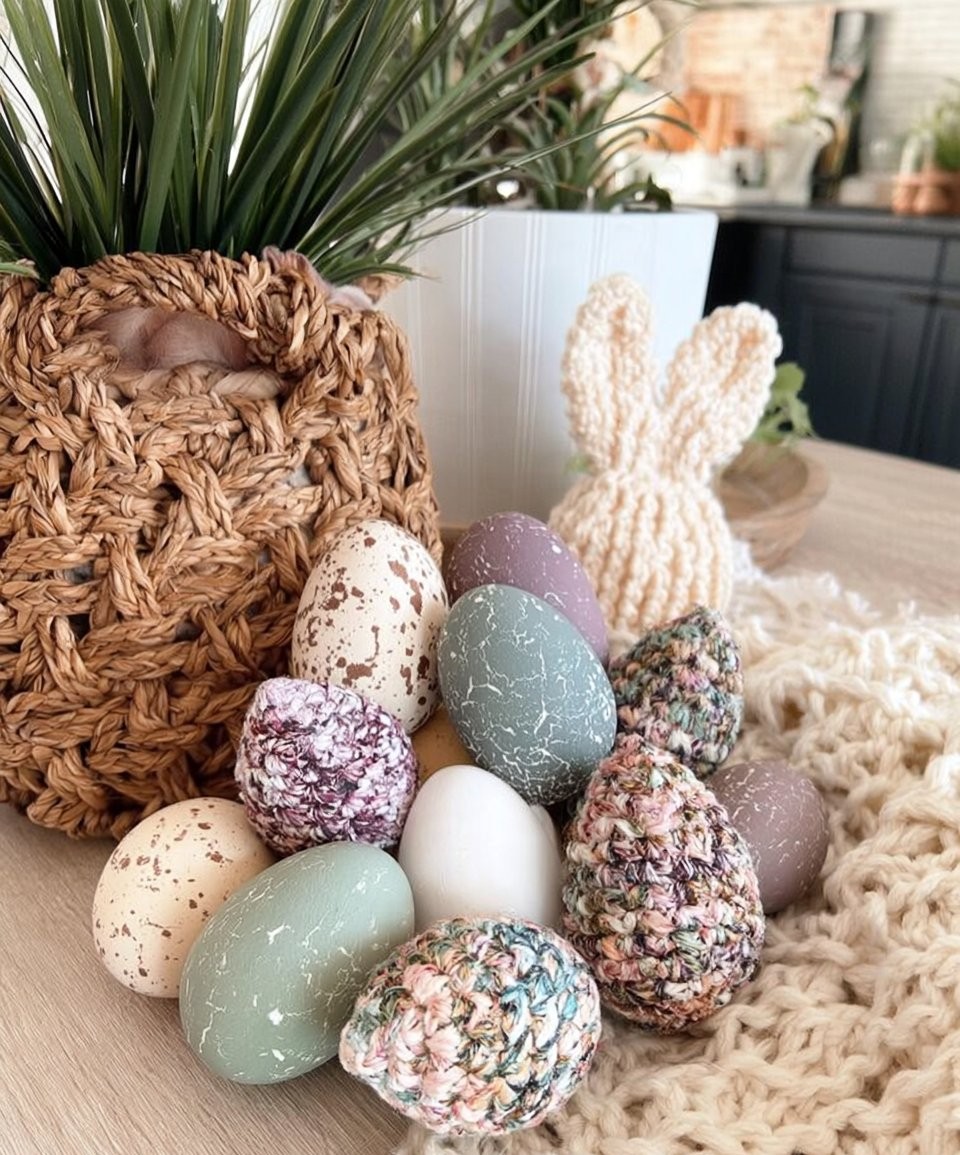
- You can embellish your eggs using embroidery or additional crochet techniques—think flowers or stripes!
Use the step-by-step video tutorial for detailed guidance throughout the construction process.
Tips for Clean, Even Crocheting
- Monitor Your Tension: Maintain a consistent tension for a uniform finish.
- Track Your Stitches: Use a stitch marker to keep track of your rounds.
- Practice with a Swatch: Create a test square to perfect your technique before starting the eggs.
- Align Your Stitches: Keep your crochet stitches aligned for a neat appearance.
Common Mistakes to Avoid
- Skipping stitches — leads to uneven edges.
- Tightening your yarn too much — makes it difficult to pull stitches through.
- Overstuffing — causes an unnatural shape.
- Forgetting to count rounds — results in irregular sizes.
Frequently Asked Questions
What is the unique technique used for these Rustic Farmhouse Easter Eggs?
The technique involves working in the round to create seamless shapes, offering a plush texture typical of thicker yarn.
What type of yarn is best?
I highly recommend Wool Ease Thick & Quick for its balance of softness and durability.
Is it difficult compared to standard crochet patterns?
Not at all! The techniques used here are beginner-friendly, making the crafting of Rustic Farmhouse Easter Eggs approachable for all skill levels.
How much yarn will I need for multiple eggs?
Typically, 1-2 skeins will be sufficient for a set of three eggs of varying sizes.
Can this technique apply to other patterns?
Absolutely! The in-the-round technique is versatile and can be used for numerous projects like bowls, hats, and stuffed toys.
Conclusion
Creating Rustic Farmhouse Easter Eggs is a heartwarming project that combines the tactile joy of crochet with the seasonal charm of Easter decor. Each egg you craft can be a reflection of your personal style and creativity. So go ahead, gather your yarn, make those delightful eggs, and don’t forget to share your finished pieces with our lovely community—we’d love to see your unique creations!