Farmhouse Bunny
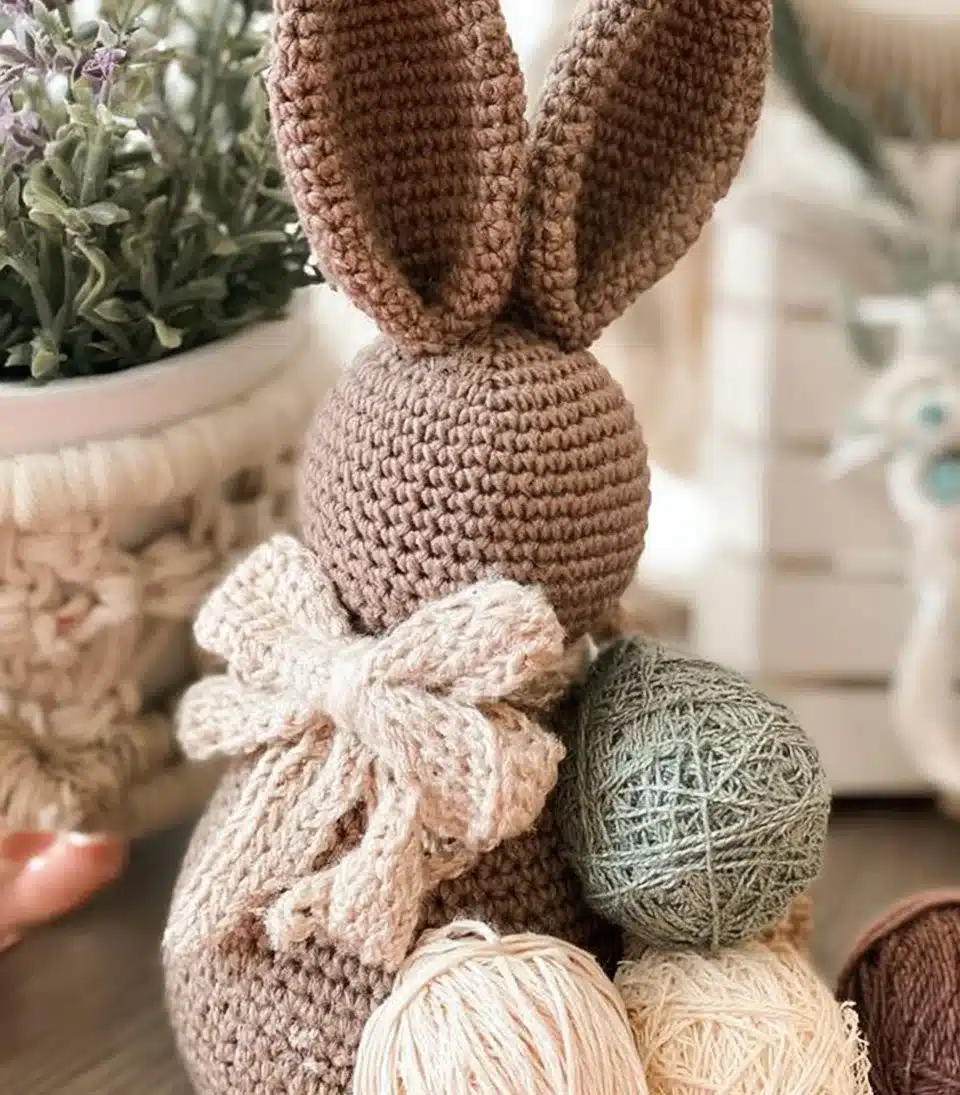
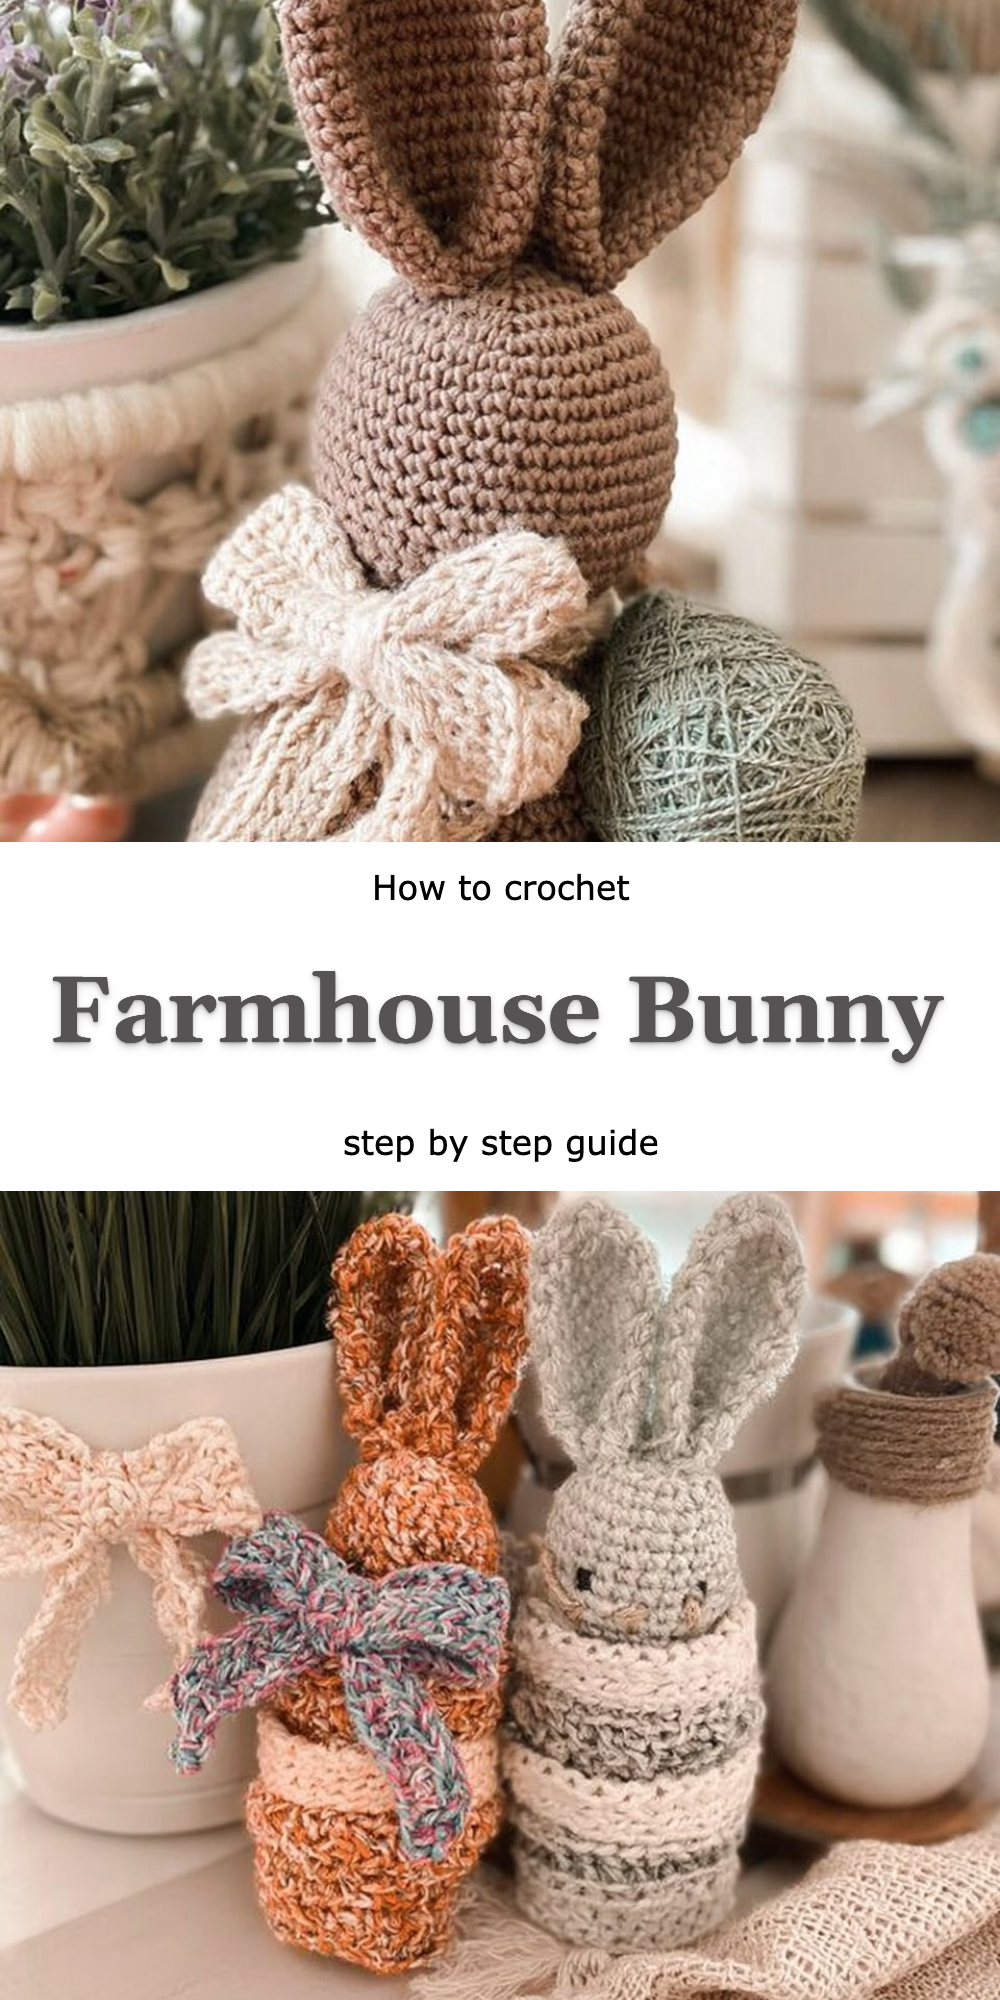
Creating a Rustic Farmhouse Bunny is like breathing life into a piece of art, a celebration of the comforting, rustic charm that warms our hearts. Each curve and edge of the bunny I craft brings joy and nostalgia for the simple pleasures of spring. This delightful project sets itself apart from standard bunnies with its unique blend of wood textures and the thoughtful addition of fabric, encapsulating the essence of farmhouse style.
In this free pattern, I’ll take you step by step through the process of making your very own Rustic Farmhouse Bunny. Whether you’re a seasoned artisan or a first-time maker, the techniques are approachable and rewarding, guiding you to create a cherished centerpiece for your home.
Why Rustic Farmhouse Bunny Feels Different
The Rustic Farmhouse Bunny stands out because of its combination of natural materials and heartfelt craftsmanship. The tactile feel of the wood, the soft fabric for the ears, and the homey paint job create a sensory experience that’s entirely distinct from run-of-the-mill decorations.
What makes this variation worth trying:
- Charming Aesthetics: The rustic appeal elevates your decor while capturing timeless beauty.
- Personalization: Each bunny can be customized with your choice of colors and patterns to reflect your style.
- Handmade Touch: Crafted by you, each piece carries a personal story and warmth.
- Durability: With sturdy construction, this bunny will bring joy for years to come.
What You’ll Need: Materials Table
Gathering your supplies is the first step towards creating your Rustic Farmhouse Bunny. Here’s a helpful list of what you’ll need:
| Item | Recommended Type | Approximate Amount | |————————|——————|——————–| | Wood | Pine or Cedar | 1 board | | Paint | Non-toxic Acrylic| 1 small bottle | | Paintbrush | Flat or Round | 1 | | Sandpaper | Medium Grit | 1 sheet | | Fabric for Ears | Cotton or Felt | 1 square | | Scissors | Sharp | 1 | | Glue | Fabric Glue | 1 bottle |
For a delightful trade-off, consider swapping wood for sturdy cardboard, allowing a similar creative experience with less hassle.
Sizing Guide
This project doesn’t have size variants, but you can adjust the measurements based on your preference for height and width.
Step-by-Step: How to Create the Rustic Farmhouse Bunny
Step 1: Cut the Wood into the Shape of a Bunny
- Sketch your bunny shape on the wood using a pencil.
- Use a saw to carefully cut the shape out, adhering to your sketch.
- Remove any excess wood pieces for a cleaner outline.
Step 2: Sand the Edges to Smooth Out Any Rough Spots
- Take your sandpaper and gently sand down the edges of the cut wood to remove splinters.
- Ensure all corners are rounded and safe for handling.
- Wipe down the wood with a damp cloth to remove sawdust.
Step 3: Paint the Bunny in a Color of Your Choice
- Select your favorite color of non-toxic acrylic paint.
- Apply a base coat using a brush, ensuring even coverage.
- Let it dry as per the instructions on the paint label, usually around 1-2 hours.
- Add a second coat if desired for a richer color.
Step 4: Cut Fabric for the Ears and Glue It to the Bunny
- Choose a fabric that complements your painted bunny.
- Cut two equal pieces of fabric, each shaped like bunny ears.
- Apply a thin layer of fabric glue to the bottom of each ear.
- Attach the ears to the top of the bunny’s head, holding them in place briefly until set.
Step 5: Allow Everything to Dry Before Displaying
- Let the bunny sit for at least 2 hours to ensure everything adheres well.
- Find a charming spot on your mantel or coffee table to display your creation.
- Enjoy the beauty it brings to your home as a centerpiece or embellishment.
Tips for Clean, Even Crafting
- Maintain tension: Keeping an even tension helps tighten your joints and creates a polished look.
- Track your stitches: Use a row counter or notebook to keep track of your steps and stitch count.
- Practice swatches: Make small samples when experimenting with colors or patterns to ensure satisfaction.
- Align your pieces: Double-check that all components are even and symmetrical for a professional finish.
Common Mistakes to Avoid
- Skipping measurements — leads to uneven cuts and shapes.
- Neglecting sanding — results in rough edges that can be unsafe.
- Rushing the paint — causes streaks and inconsistent coverage.
- Forgetting to secure the ears — leads to them falling off after a short time.
- Ignoring drying times — causes parts to shift and reduces overall quality.
Frequently Asked Questions
What is the Rustic Farmhouse Bunny? The Rustic Farmhouse Bunny is a charming handcrafted decoration, combining wood and fabric for a unique farmhouse aesthetic.
What materials should I use? Use materials like pine for the bunny, non-toxic acrylic paint, and cotton or felt for the ears to maintain a rustic look and feel.
Is this project more difficult than a standard bunny? While it has a few more steps, the techniques used are beginner-friendly, making it accessible to crafters of all skill levels.
How much yardage will I need? You’ll need a small square of fabric for the ears and minimal wood, as this is primarily a woodworking project with minimal fabric requirements.
Can I use this technique for other patterns? Absolutely! The blend of materials and creative assembly can be adapted for a variety of seasonal decorations.
Conclusion
Creating a Rustic Farmhouse Bunny is a beautiful way to welcome the warmth of seasonal decorations into your home. With its unique textures and personalized touches, this project not only enhances your decor but also offers an engaging crafting experience.
I hope you dive in and create your version of this charming bunny! Share your finished piece with the community, as I would love to see how your creativity shines through each handmade detail.