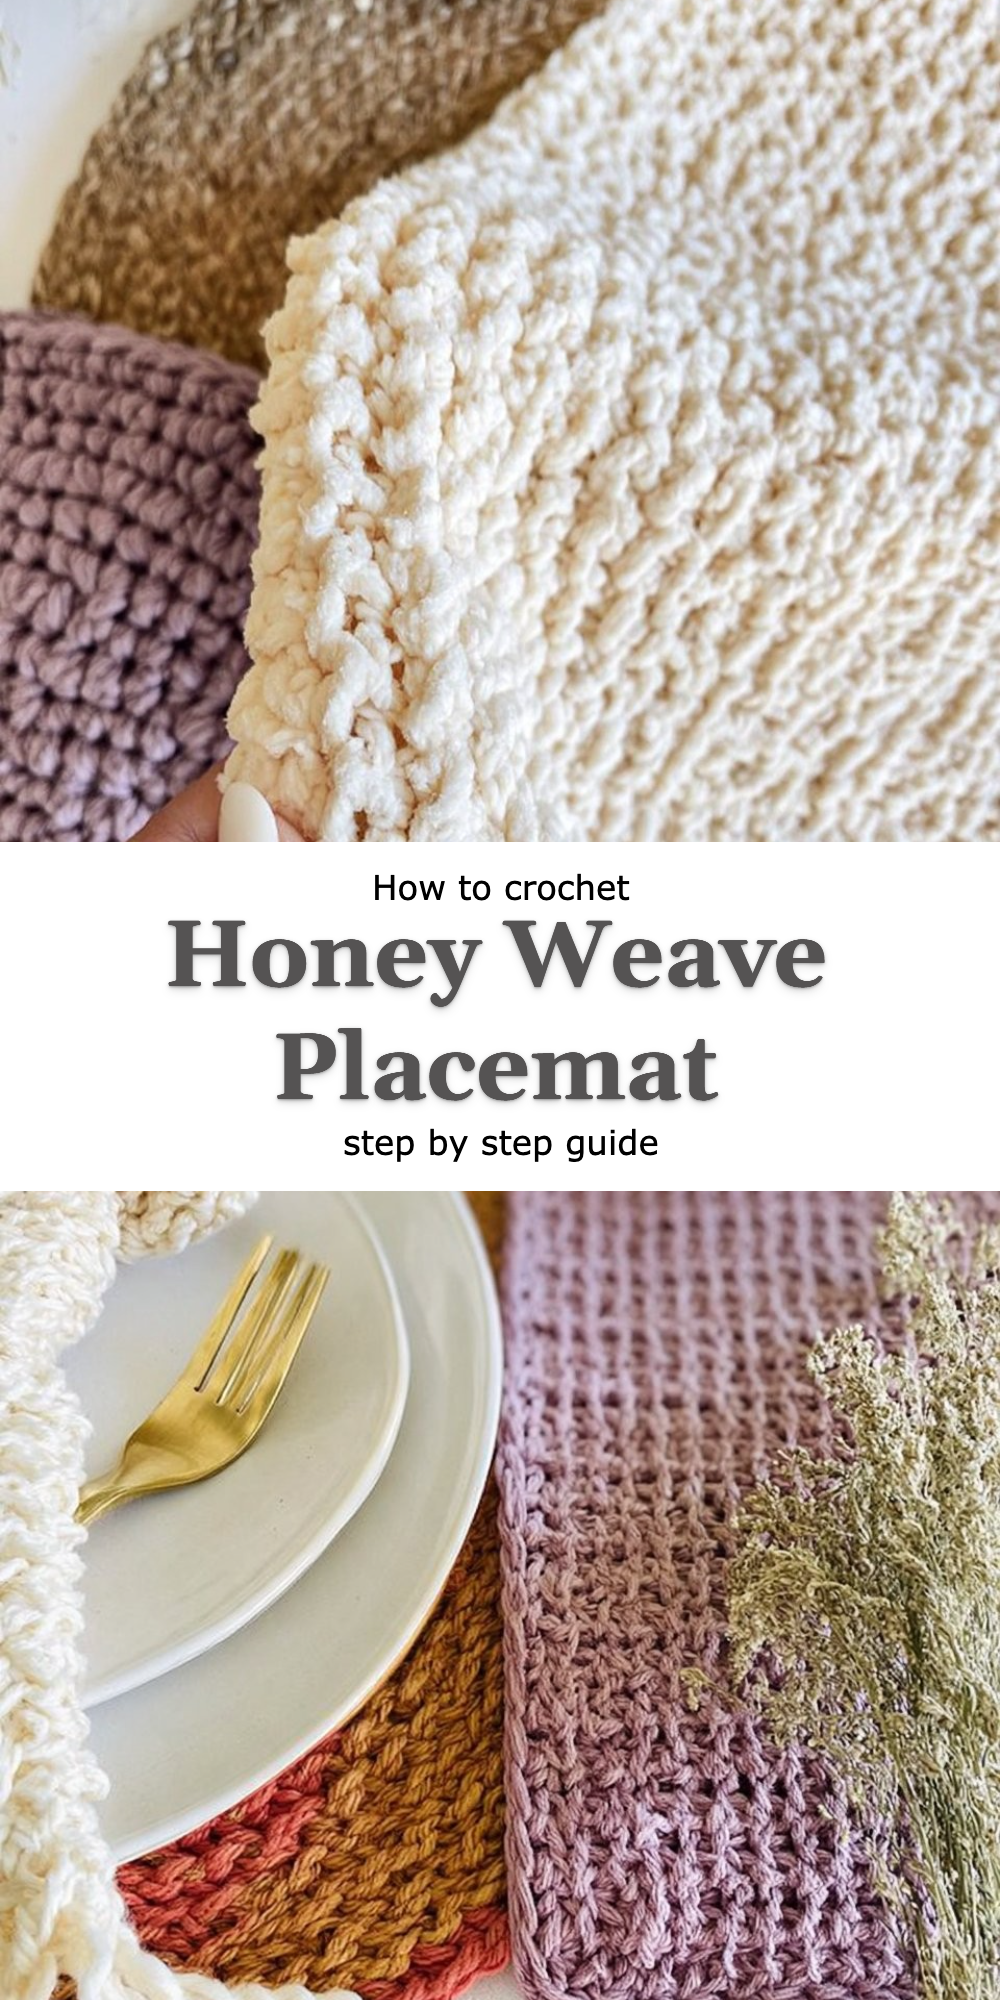
Honey Weave Placemat
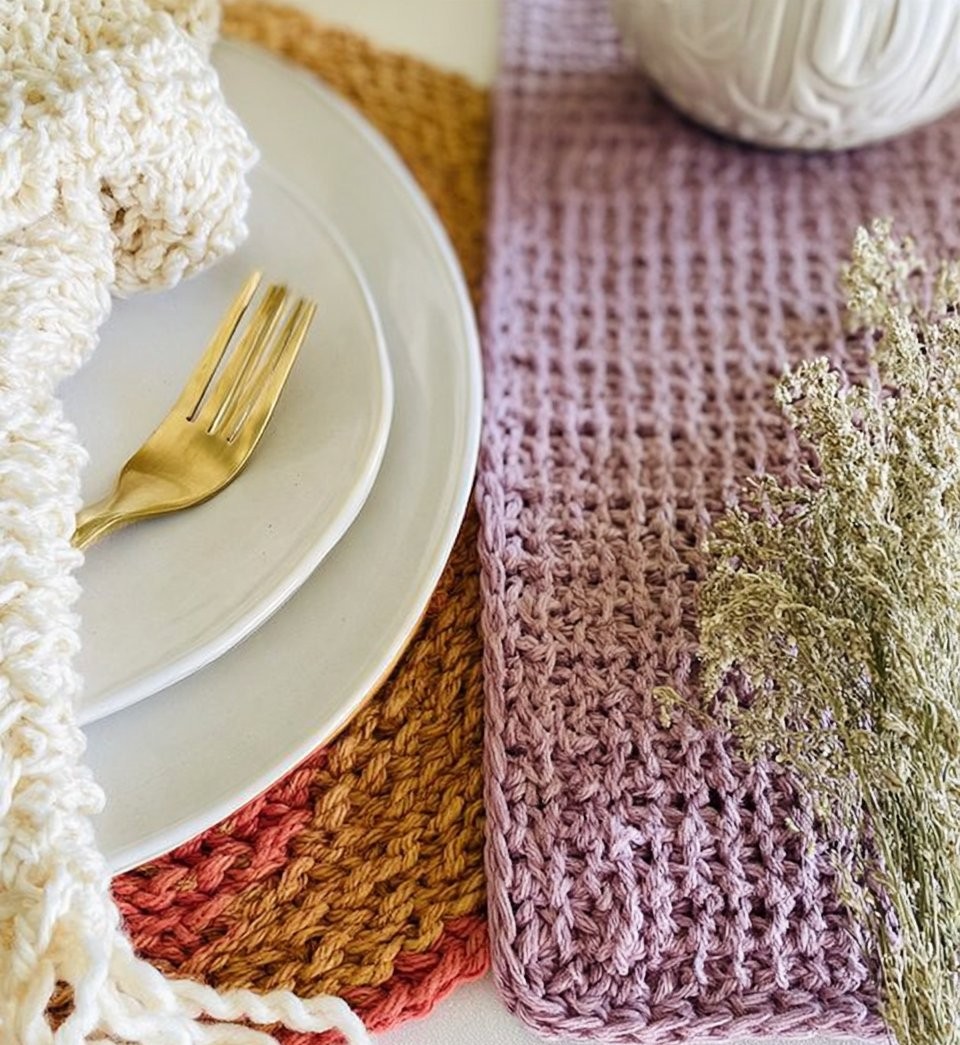
The idea of creating a beautiful Honey Weave Placemat fills me with joy. This unique piece not only elevates your dining space but also adds a personal touch that reflects your love for crafting. Unlike traditional placemats, the honey weave technique brings a textured elegance to the table, reminiscent of the intricate work that artisans have done for centuries. As I guide you through this free pattern, I assure you that it’s approachable even for a first-timer, blending simplicity with a touch of sophistication.
You’re about to embark on a journey of soft cotton blend yarn and delicate stitches, where each loop is steeped in purpose and creativity. Crocheting the Honey Weave Placemat is a delightful exploration of texture, color, and form, drawing you into the rhythm of the craft. Let’s dive into this satisfying experience together!
Why Honey Weave Feels Different
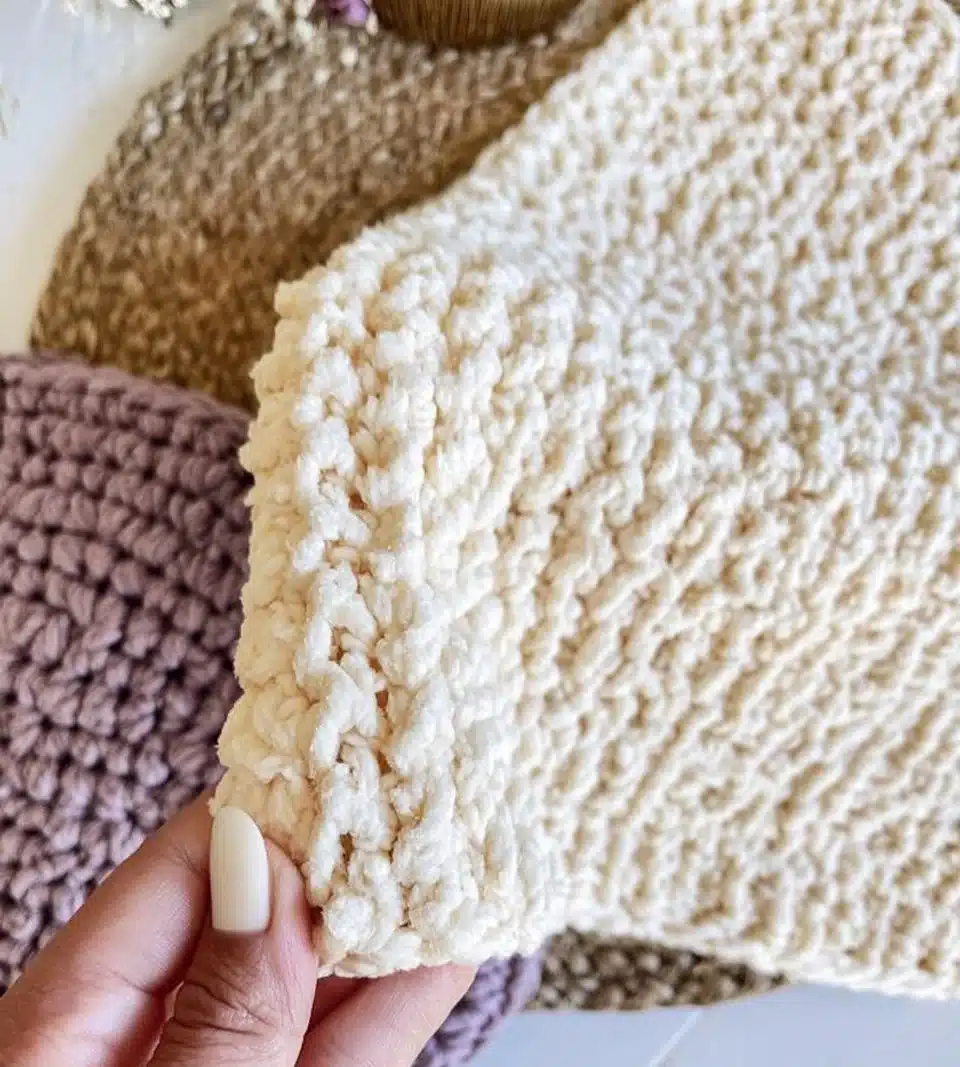
The honey weave technique distinguishes itself with an intricate pattern that creates depth and dimensionality in your fabric. While standard placemats often rely on basic stitches, the crossover treble crochet introduces a unique play of light and shadow, elevating the texture to a captivating level.
What makes this variation worth trying:
- Adds visual interest to your dining decor.
- Creates a soft, yet durable fabric suitable for everyday use.
- Perfect for showcasing unique yarn colors and blends.
- Provides a satisfying crochet rhythm that feels meditative.
What You’ll Need: Materials Table
Before we get our hooks dancing, it’s essential to gather your supplies. Here’s what you’ll need for your Honey Weave Placemat:
| Item | Recommended Type | Approximate Amount |
|———————|—————————|——————–|
| Soft Cotton Blend Yarn | 4 weight (worsted) yarn | 2 skeins |
| Crochet Hook | Size H (5.0 mm) | 1 |
| Scissors | Sharp, fabric scissors | 1 |
| Tapestry Needle | Large-eye for yarn | 1 |
If you’re in a pinch, substituting with a wool blend can also yield delightful results, adding warmth and texture to the finished piece.
Sizing Guide
While this pattern is designed to be versatile, you can adjust the size of your Honey Weave Placemat to fit your aesthetic. Here’s a simple sizing guide to get you started:
| Size/Variant | Dimensions |
|————–|———————————|
| Small | 12 x 18 inches |
| Medium | 14 x 20 inches |
| Large | 16 x 24 inches |
Remember to create a gauge swatch to ensure your final piece meets your desired dimensions. A simple 12 x 12 square will do the trick!
Step-by-Step: How to Crochet the Honey Weave Placemat
Step 1: Start the Base
- Make a slip knot and place it on your hook.
- Chain a desired length for your placemat; I recommend starting with 40 chains for a medium size.
- Double crochet in the fourth chain from the hook; this counts as your first double crochet.
- Continue double crocheting across the chain until you reach the end.
You should now have a sturdy foundation of double crochet stitches.
Step 2: Crochet the Core Technique Section
- Turn your work and chain 3 to begin the next row.
- Double crochet in each stitch across the row until you reach the end.
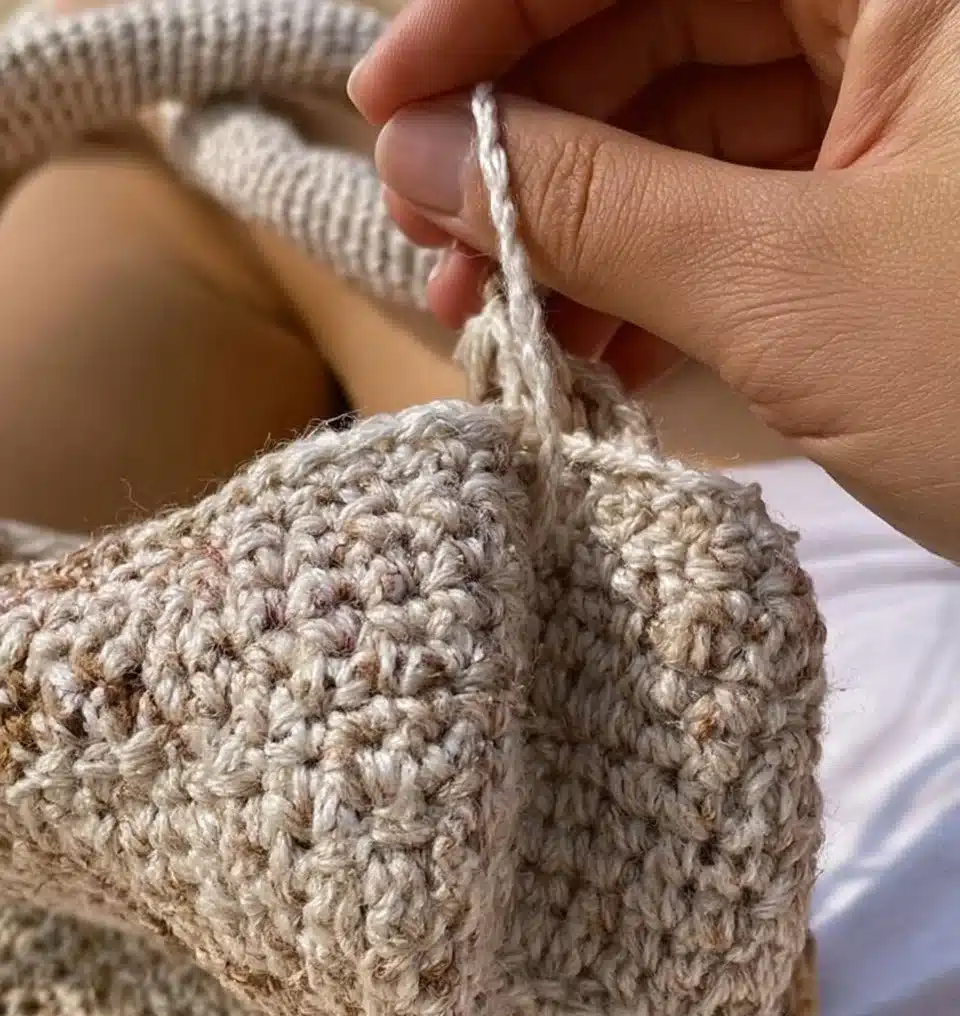
- Introduce the crossover treble: yarn over twice (for a treble), skip the next stitch, insert your hook in the stitch two rows below, yarn over and pull up a loop, yarn over and pull through two loops twice.
- Repeat this crossover treble at regular intervals to create the honeycomb effect.
The crossover treble should create a beautiful weaving of texture, contrasting beautifully with your base stitches.
Step 3: Crochet the Shaping/Assembly Section
- Continue working rows until your placemat reaches the desired length.
- Once you’re satisfied, finish your last row of double crochet.
- Fasten off the last stitch, leaving a long tail for weaving.
- Turn the placemat over to prepare for the shell stitch border.
Step 4: Add the Finishing Touches
- Join a new color yarn at any corner.
- Chain 2, then create a shell stitch in the same stitch (5 double crochets in one stitch).
- Skip two stitches, and single crochet in the next stitch, then shell stitch in the next corner.
- Continue this pattern across all edges until you return to your starting point.
- Weave in any loose ends using your tapestry needle for a polished finish.
This shell stitch border will give your Honey Weave Placemat a finished look that frames your hard work beautifully.
Tips for Clean, Even Honey Weave
- Maintain even tension throughout your work to keep the pattern uniform.
- Use stitch markers to track your rows, especially when introducing the crossover technique.
- Practice your stitches on a swatch before beginning the project for confidence.
- Ensure the first and last stitches of each row are consistent for a symmetrical look.
Common Mistakes to Avoid
- Skipping stitches — this leads to uneven spacing.
- Overly tight stitches — results in a stiff and unflattering placemat.
- Forgetting to chain 3 at the start of double crochet rows — this affects row height.
- Neglecting to check gauge — risking incorrect sizing for your final piece.
Frequently Asked Questions
What is the honey weave technique?
The honey weave technique involves alternating between double crochet and crossover treble crochet stitches to create a beautiful, textured fabric.
What type of yarn is best for this pattern?
A soft cotton blend yarn is ideal for the Honey Weave Placemat, providing comfort and durability.
Is this pattern more difficult than a standard placemat?
While the honey weave technique adds complexity, it remains approachable for crocheters of all skill levels.
How much yarn do I need?
You will need approximately 2 skeins of soft cotton blend yarn, depending on your desired size.
Can I use this technique for other projects?
Absolutely! The honey weave technique can be adapted to various patterns, including bags, blankets, and even scarves.
Conclusion
Creating a Honey Weave Placemat is a rewarding experience that not only enhances your dining space but also serves as a cherished handmade memento. The unique texture and personal touch of this placemat make it a delightful addition to any home.
I encourage you to dive into this project, embrace the process, and share your finished pieces with our wonderful crochet community. Let your creativity shine, and may every stitch bring warmth and joy to your table. Happy crocheting!