Wallflower Granny Stitch Hat
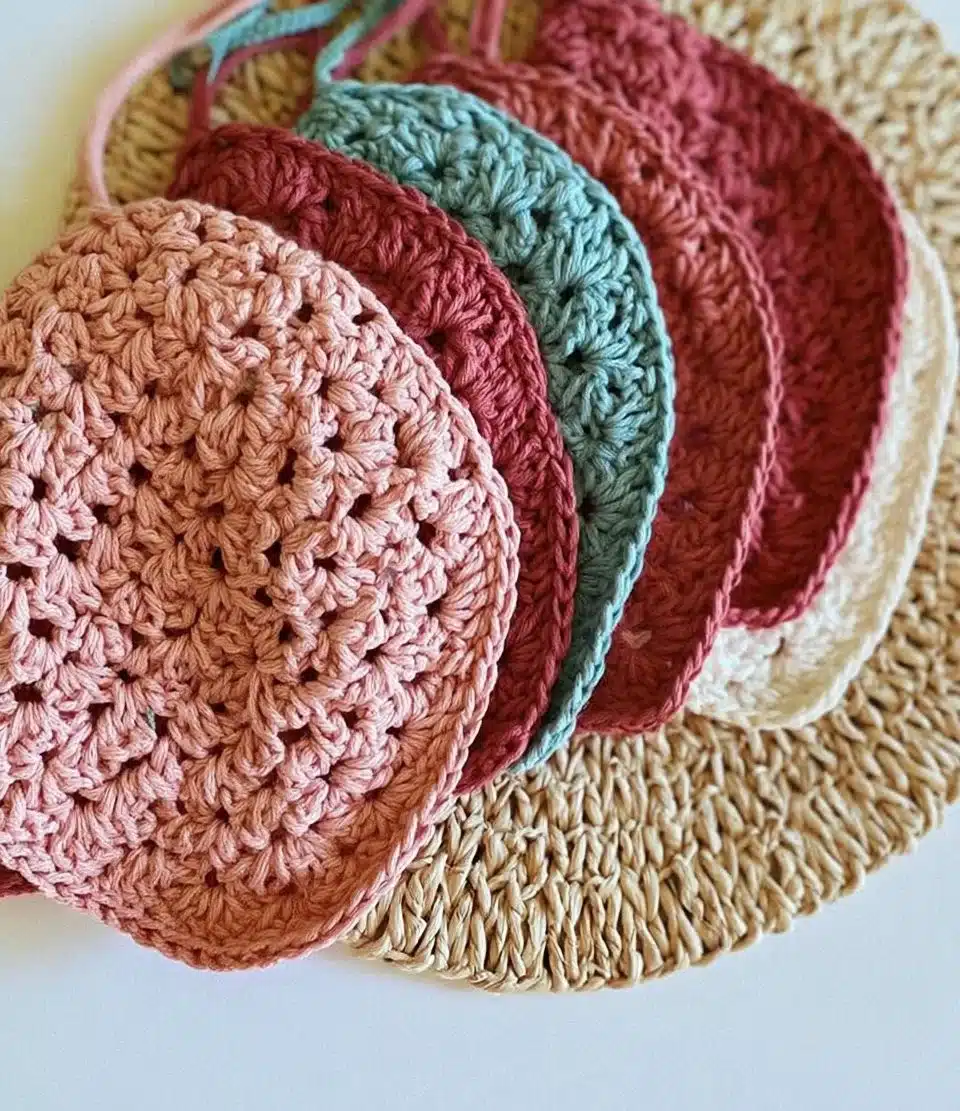
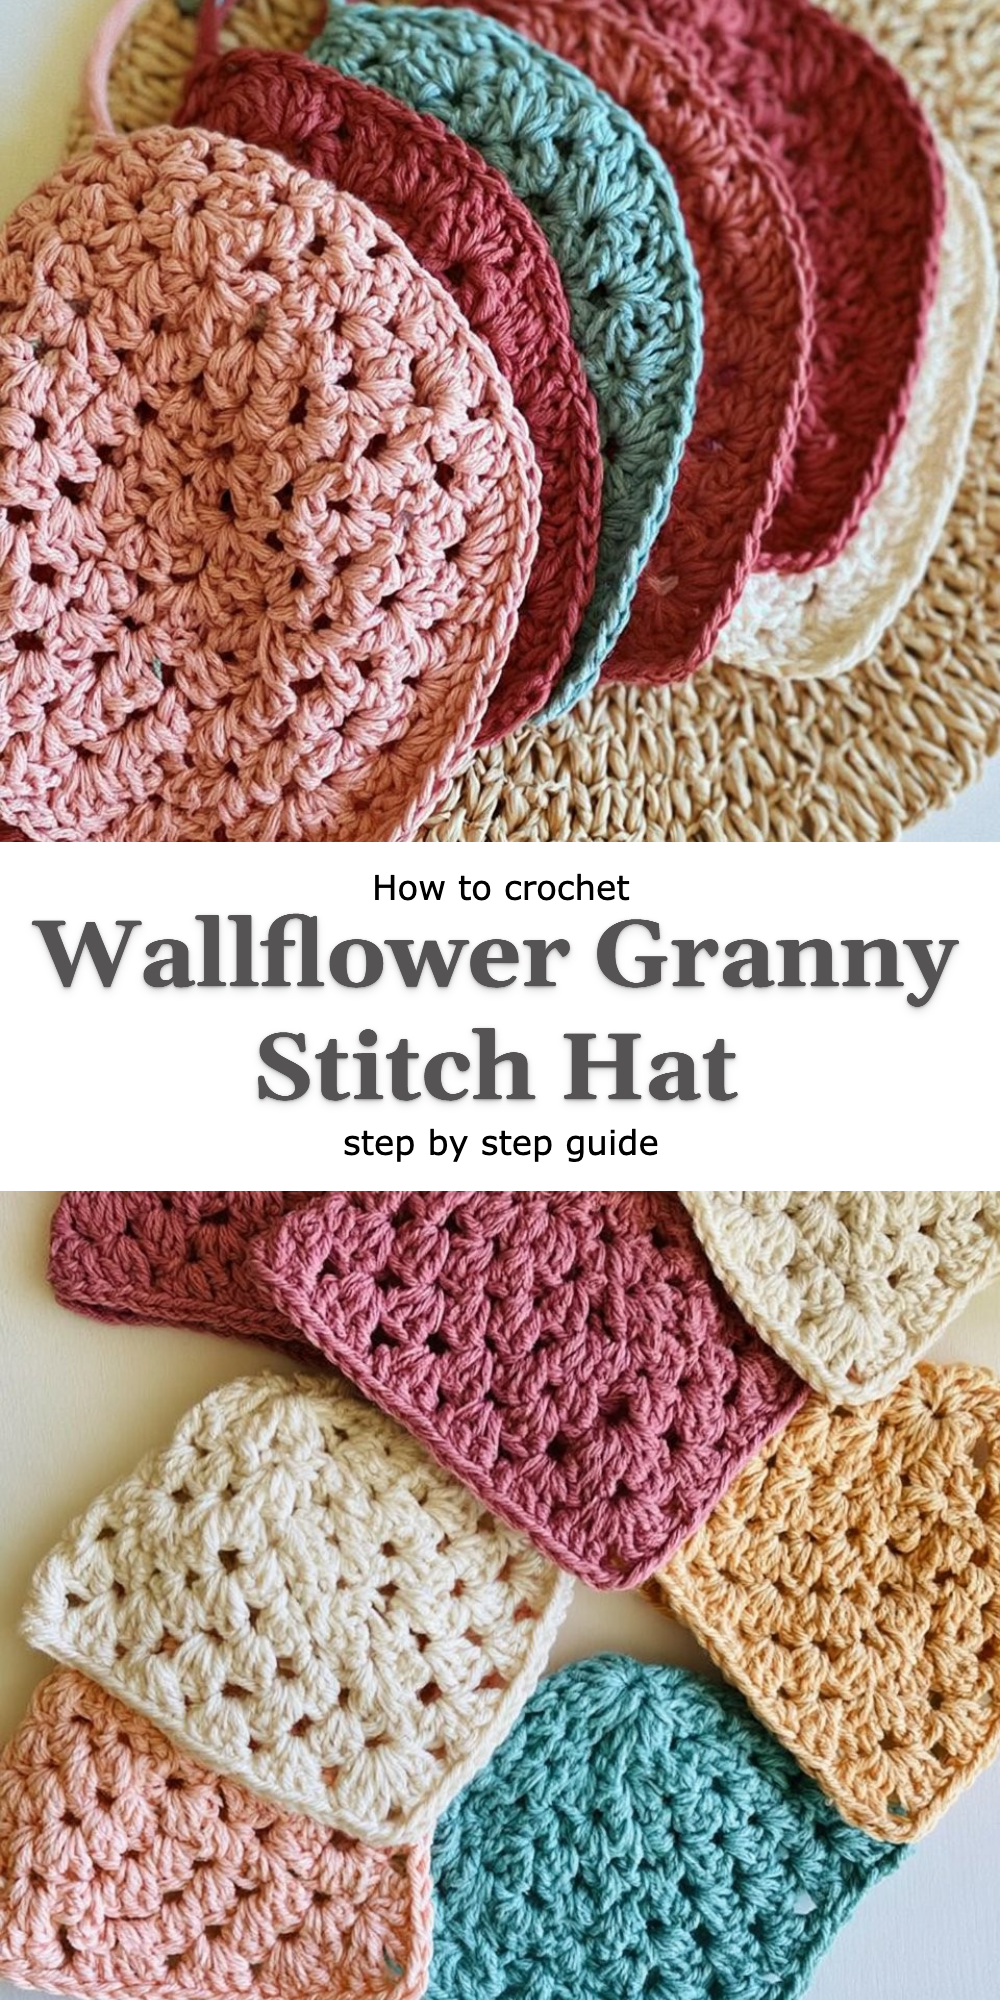
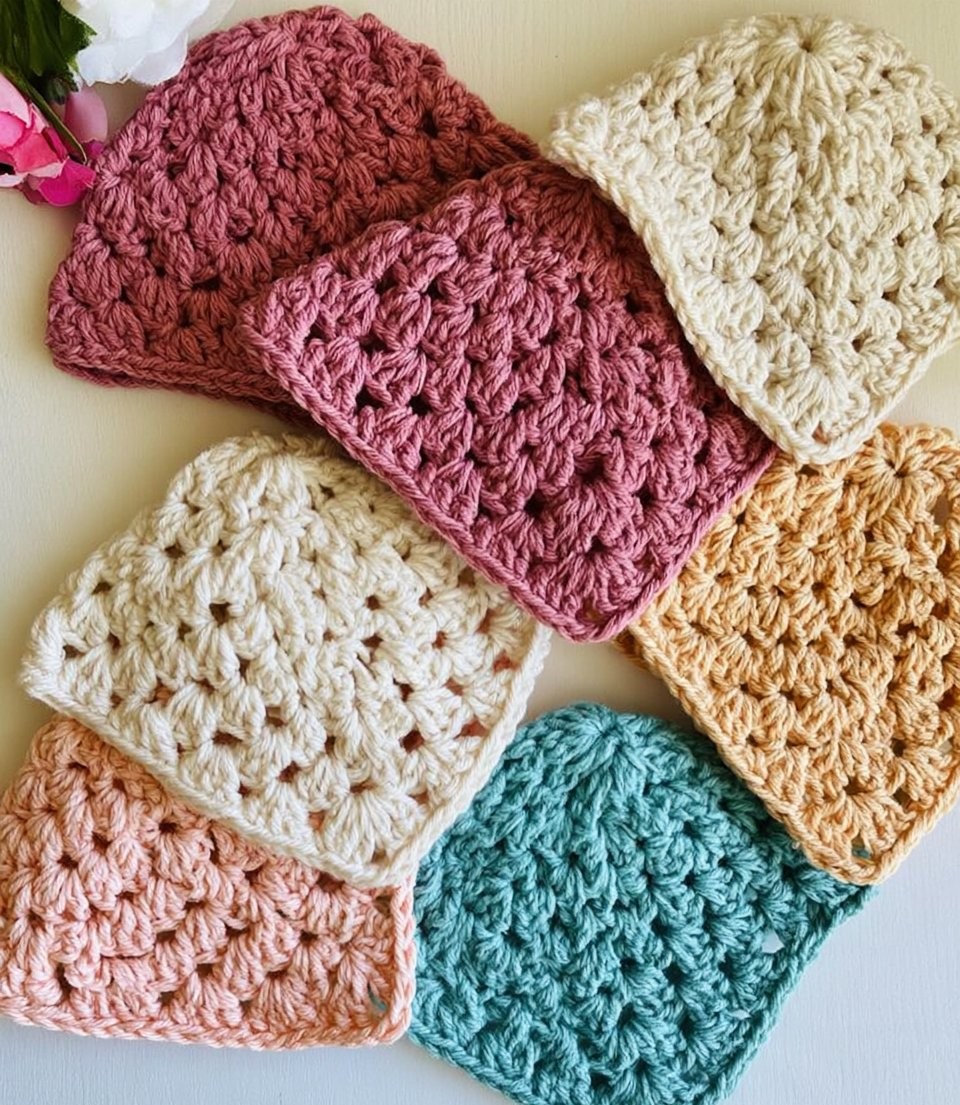
The air is crisp, and the vibrant colors of autumn leaves remind me of cozy evenings spent wrapped in warmth. Among my favorite cozy accessories is the Wallflower Granny Stitch Hat, a piece that embodies the softness of the season while embracing the classic crochet granny stitch technique. Unlike the basic version, which often consists of uniform stitching, the Wallflower Granny Stitch Hat introduces delightful variations—bringing a richness in texture and charm that radiates through your craft.
This free pattern will guide you step-by-step through the process, making it approachable even for those who may be venturing into granny stitches for the first time. Grab your yarn and hook as we embark on a journey of creativity and warmth!
Why Granny Stitch Feels Different
The beauty of the granny stitch lies in its open, airy patterns contrasted with the cozy density typically found in basic hats. This layered texture creates a fabric that is not only visually striking but also incredibly supple and soft against the skin. When you wear the Wallflower Granny Stitch Hat, you’ll notice how it cradles your head without feeling restrictive, allowing for breathability while providing warmth.
What makes this variation worth trying:
- Textured Aesthetics: The unique stitch pattern adds visual interest beyond standard styles.
- Versatile Fit: The granny stitch framework facilitates a flexible fit for various sizes.
- Quick to Create: Faster construction means you’ll have your new favorite accessory in no time.
- Layering Potential: Perfect for adding layers and combining with other crochet techniques.
What You’ll Need: Materials Table
Before we dive into crafting this lovely hat, it’s essential to gather all your supplies. Here’s what you’ll need:
| Item | Recommended Type | Approximate Amount |
|——————|——————|——————–|
| Yarn | Medium weight | 150-200 yards |
| Crochet Hook | Size H/8 (5.0 mm) | 1 |
| Scissors | – | 1 |
| Yarn Needle | Tapestry needle | 1 |
Feel free to play with different yarn choices—like opting for a wool blend versus acrylic—based on your personal preference and the desired warmth of your hat.
Sizing Guide
For those interested in crafting a Wallflower Granny Stitch Hat for various sizes or ages, it’s crucial to ensure a proper fit. Here’s a simple sizing guide:
| Size/Age Range | Circumference |
|—————–|—————–|
| Toddler | 16-18 inches |
| Child | 18-20 inches |
| Adult Women | 20-22 inches |
| Adult Men | 22-24 inches |
Remember to check your gauge by creating a swatch to achieve the exact sizing needed for the best fit.
Step-by-Step: How to Crochet the Wallflower Granny Stitch Hat
Follow the comprehensive step-by-step tutorial on YouTube to crochet the hat using granny stitch techniques.
Step 1: Start the Crown
- Chain 4 and join to form a ring.
- Chain 3 (counts as 1 double crochet), then work 2 double crochets into the ring.
- Chain 2, then work 3 double crochets into the ring.
- Repeat the last two steps until you have 4 sets of 3 double crochets.
- Join with a slip stitch to the top of the first chain-3.
Step 2: Crochet the Body
- Chain 3 (counts as 1 double crochet), then add 2 double crochets in the first chain-2 space from the previous row.
- Chain 2, then work 3 double crochets into the next chain-2 space.
- Continue the pattern across the round.
- Join with a slip stitch to the top of the first chain-3.
Step 3: Crochet the Sides
- Chain 3 and work 3 double crochets in the first chain-2 space.
- Chain 2 and work 3 double crochets in the next chain-2 space, repeating around.
- Join with a slip stitch to the top of the first chain-3.
Step 4: Add the Finishing Touches
- Fasten off your yarn and weave in all loose ends using the yarn needle.
- Optionally, add a pom-pom or other decorative embellishments on top.
Tips for Clean, Even Crochet
- Maintain consistent tension throughout your work, adjusting your grip on the yarn as needed.
- Track your stitches using a stitch marker to help follow your count easily.
- Practice a swatch to fine-tune your technique before starting your final piece.
- Keep stitches aligned by careful counting and consistent yarn pull to prevent stretching.
Common Mistakes to Avoid
- Too Tight Stitches — restricts the hat’s fit and comfort.
- Uneven Tension — causes a lumpy hat rather than smooth fabric.
- Ignoring Gauge — leads to sizing discrepancies resulting in ill-fitting hats.
- Forgetting to Join Rounds — creates confusion in pattern continuity.
Frequently Asked Questions
What is granny stitch?
Granny stitch is a classic crochet technique that uses a series of double crochet clusters and chain spaces for its iconic open pattern.
What type of yarn should I use?
While medium-weight acrylic works beautifully, cotton or wool blends can provide different textures and warmth, elevating the finished hat.
Is this hat more difficult than a standard one?
Not at all! The Wallflower Granny Stitch Hat is an engaging yet accessible project, perfect for both new and seasoned crafters.
How much yarn do I need?
Plan to have at least 150-200 yards of yarn, depending on the desired size and personal style.
Can I use this technique for other patterns?
Absolutely! The granny stitch can be a lovely addition to various crochet items, from blankets to scarves and beyond.
Conclusion
The Wallflower Granny Stitch Hat is more than just a cozy accessory; it’s an expression of creativity and warmth, perfect for snuggling up during chilly weather. By mastering this delightful technique, you can elevate your crochet repertoire and create gifts for loved ones or yourself that are cherished for years.
I encourage you to embark on this crafting adventure! Once you finish your own Wallflower Granny Stitch Hat, share your beautiful creations with our vibrant crochet community. Let’s celebrate our handmade journeys together!