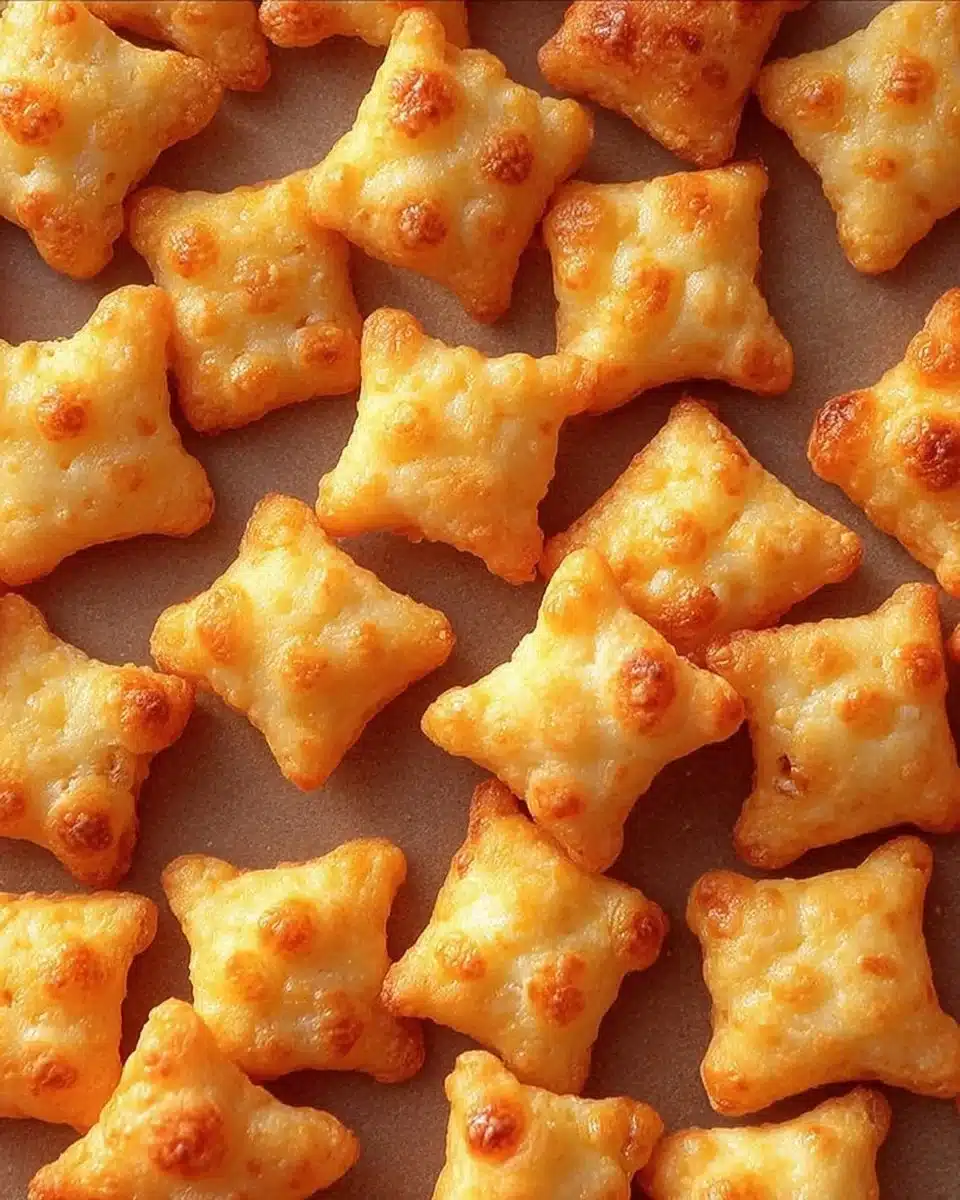
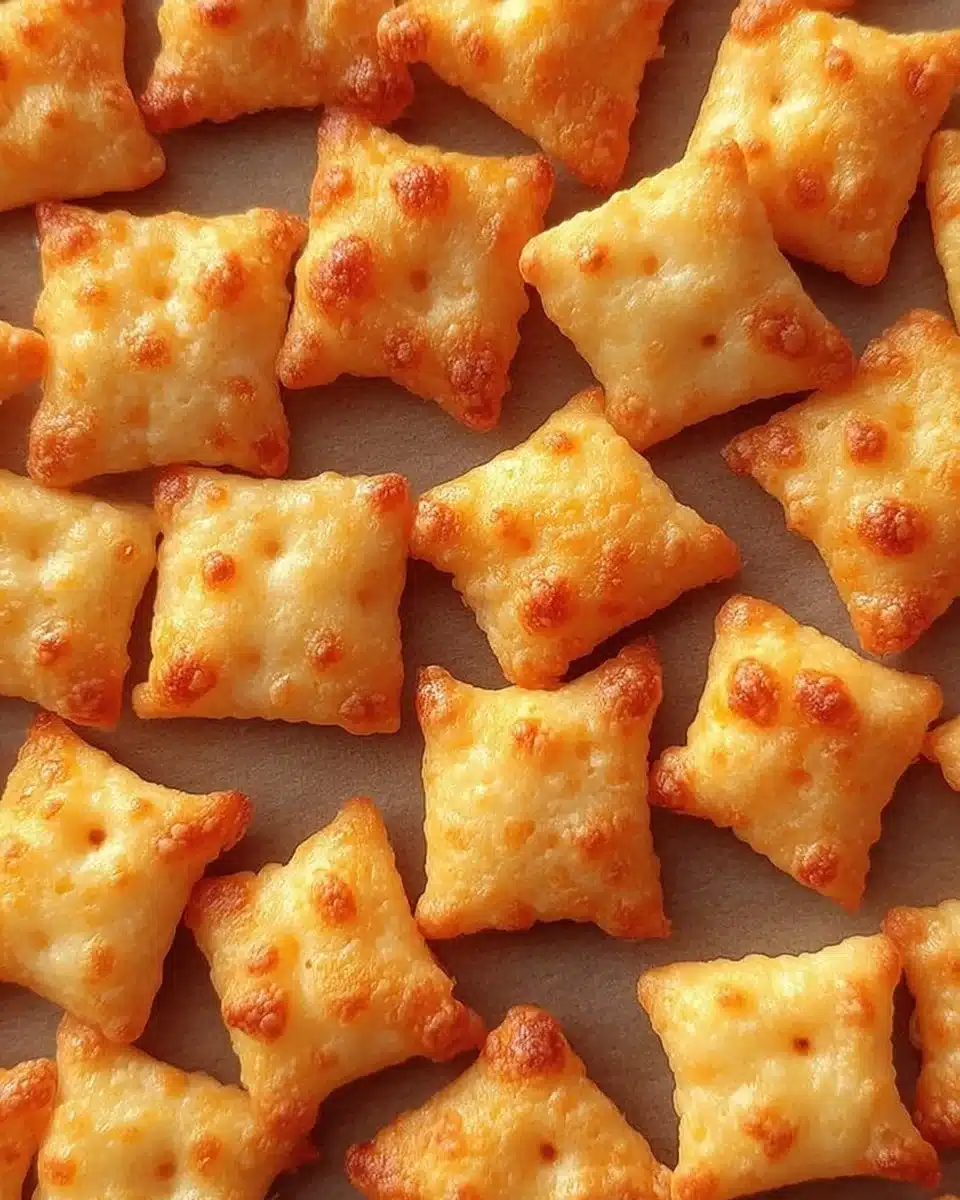
Cheez-Its
This post may contain affiliate links, learn more.
There’s something truly magical about homemade snacks. They cradle you in warmth, a gentle reminder of time spent in the kitchen, surrounded by family and laughter. Today, I’m sharing my cherished recipe for Homemade Cheez-Its. These delightful little squares of cheesy goodness are not only easy to make but serve as a perfect comfort food for any gathering or quiet evening at home.
Every bite of these Homemade Cheez-Its evokes memories of my childhood—snacking with friends, the sun streaming through the kitchen window, and the aroma of melted cheese filling the air. Packed with flavor and a delightful crunch, they are an irresistible treat that everyone loves.
Exploring the Roots of Homemade Cheez-Its
Homemade Cheez-Its tap into a beloved American tradition of snacking. Originating in the 1920s, these cheesy crackers have long been associated with childhood nostalgia and joyous gatherings. With their crispy texture and rich cheese flavor, they embody comfort in every bite. Crafting your own version allows you to avoid preservatives and artificial ingredients, embracing the culinary craftsmanship of homemade goodness.
The beauty of Homemade Cheez-Its lies in their simplicity. Using just a handful of wholesome ingredients, you can recreate the beloved flavor right in your kitchen. Whether inspired by helping your grandmother in the kitchen or watching cooking shows, making them from scratch ignites a sense of creativity and celebration in cooking.
Why You’ll Love This Homemade Cheez-Its
- Flavor Explosion: Bursting with the sharpness of cheddar cheese, every bite offers a delightful taste adventure.
- Easy to Make: With just a few steps, you can whip them up quickly, making them perfect for unexpected guests or family snacking.
- Made with Love: Knowing you created these from scratch adds that special touch of love that store-bought snacks simply can’t match.
- Fun for Everyone: Whether you’re a seasoned cook or a newbie in the kitchen, the process is straightforward and enjoyable.
Who Will Enjoy This Homemade Cheez-Its Most
- Busy Families: Easy snacks for after-school celebrations or game night.
- Health-Conscious Cooks: Made from quality ingredients with no preservatives.
- Budding Bakers: Beginners will find joy in this simple yet rewarding cooking experience.
- Cheese Lovers: A treat that elevates the everyday cheese experience to something extraordinary.
Perfect Moments to Enjoy Homemade Cheez-Its
- Weeknight Relaxation: Wind down your day with a cozy movie night and a bowl of these cheesy bites.
- Gatherings: Impress your friends at a potluck or casual get-together with a fresh, homemade snack.
- Holidays: Bring them to festive celebrations for a delicious twist on traditional snacks.
- Cozy Nights: Perfect for those chilly evenings when all you want is a warm snack and a good book.
How to Make the Perfect Homemade Cheez-Its
Creating your own Homemade Cheez-Its is a delightful experience that fills your home with comforting aromas and flavors. Here’s how to make them:
Ingredients
- 8 ounces sharp cheddar cheese, finely shredded
- 1 cup all-purpose flour
- 4 tablespoons cold unsalted butter, cubed
- 1/2 teaspoon salt
- 1/4 teaspoon paprika
- 1/4 teaspoon garlic powder (optional)
- 2 to 3 tablespoons ice water
Step-by-Step Instructions
- Preheat your oven to 375°F and line a baking sheet with parchment paper.
- Combine the shredded cheddar cheese, all-purpose flour, cold cubed butter, salt, paprika, and garlic powder (if using) in a food processor. Pulse until the mixture resembles coarse crumbs.
- Gradually add ice water one tablespoon at a time, pulsing after each addition until the mixture forms a cohesive dough ball.
- Transfer the dough onto a lightly floured surface and roll it out to about 1/8 inch thick.
- Cut the dough into 1-inch squares using a pizza cutter or sharp knife. Poke a small hole in the center of each square.
- Place the squares onto the prepared baking sheet, leaving space between them.
- Bake for 12 to 15 minutes or until the edges turn lightly golden and the crackers are crisp.
- Remove from the oven and cool completely on a wire rack before serving.
For People with Diabetes: Sugar Substitutes
- Stevia: A naturally derived sweetener without calories, ideal for various recipes.
- Monk Fruit: A natural sweetener that works well in baked goods.
- Allulose: A low-calorie sugar substitute that behaves like sugar when baking.
- Note: Avoid using honey or maple syrup as they can spike blood sugar levels.
Kitchen Tools & Equipment
- Food processor
- Rolling pin
- Sharp knife or pizza cutter
- Baking sheet
- Parchment paper
Pro Tips to Elevate Your Homemade Cheez-Its
- Chill the Dough: Letting the dough rest in the fridge for 20–30 minutes can enhance the texture and make rolling easier.
- Experiment with Cheeses: Try different cheese blends for varied flavors—pepper jack adds a nice kick!
- Season Wisely: Adjust spices to your taste; add cayenne for heat or Italian herbs for a twist.
- Keep an Eye on Baking: Ovens vary; watch closely in the last few minutes to avoid over-baking.
How to Store & Reheat Homemade Cheez-Its
- Room Temperature: Store in an airtight container for up to a week.
- Freezer: Freeze for longer storage; place in a sealed bag and enjoy when you crave them.
- Reheating: Crisp in the oven at 350°F for a few minutes to revive the crunch.
Common Mistakes to Avoid
- Using Warm Butter: Cold butter is essential for making flaky and crisp crackers.
- Not Poking Holes: Skip this step at your own risk; it helps steam escape, preventing puffy crackers.
- Overworking the Dough: Gently mix until just combined; too much handling can lead to tough crackers.
Frequently Asked Questions: Homemade Cheez-Its
- Can I make these without a food processor? Yes, you can mix using a pastry cutter or your hands, though it may take longer.
- Are these crackers gluten-free? No, not unless you substitute the flour for a gluten-free alternative.
- Can I add more spices? Yes, it’s versatile; feel free to get creative with your favorite seasonings!
- How long will these last? They can be kept fresh for about a week in an airtight container.
- Can I double the recipe? Yes, this recipe is perfect for scaling up for parties or gatherings.
Conclusion: Final Thoughts on Homemade Cheez-Its
There’s a special joy in creating something from scratch—even more so when it connects us to warm memories and loved ones. I hope you dive into the delightful experience of making Homemade Cheez-Its in your kitchen. Share your creations or let me know how they turned out in the comments below!
{image_template}
Print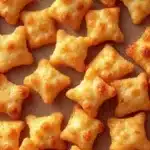
Homemade Cheez-Its
- Total Time: 35 minutes
- Yield: 4 servings 1x
- Diet: Vegetarian
Description
Delicious homemade Cheez-Its that are easy to make and perfect for snacking.
Ingredients
- 8 ounces sharp cheddar cheese, finely shredded
- 1 cup all-purpose flour
- 4 tablespoons cold unsalted butter, cubed
- 1/2 teaspoon salt
- 1/4 teaspoon paprika
- 1/4 teaspoon garlic powder (optional)
- 2 to 3 tablespoons ice water
Instructions
- Preheat your oven to 375°F and line a baking sheet with parchment paper.
- Combine the shredded cheddar cheese, all-purpose flour, cold cubed butter, salt, paprika, and garlic powder (if using) in a food processor. Pulse until the mixture resembles coarse crumbs.
- Gradually add ice water one tablespoon at a time, pulsing after each addition until the mixture forms a cohesive dough ball.
- Transfer the dough onto a lightly floured surface and roll it out to about 1/8 inch thick.
- Cut the dough into 1-inch squares using a pizza cutter or sharp knife. Poke a small hole in the center of each square.
- Place the squares onto the prepared baking sheet, leaving space between them.
- Bake for 12 to 15 minutes or until the edges turn lightly golden and the crackers are crisp.
- Remove from the oven and cool completely on a wire rack before serving.
Notes
Let the dough chill for 20–30 minutes for better texture. Try using different cheese blends for varied flavors.
- Prep Time: 20 minutes
- Cook Time: 15 minutes
- Category: Snack
- Method: Baking
- Cuisine: American
Nutrition
- Serving Size: 1 serving
- Calories: 200
- Sugar: 1g
- Sodium: 300mg
- Fat: 10g
- Saturated Fat: 5g
- Unsaturated Fat: 3g
- Trans Fat: 0g
- Carbohydrates: 22g
- Fiber: 1g
- Protein: 6g
- Cholesterol: 20mg