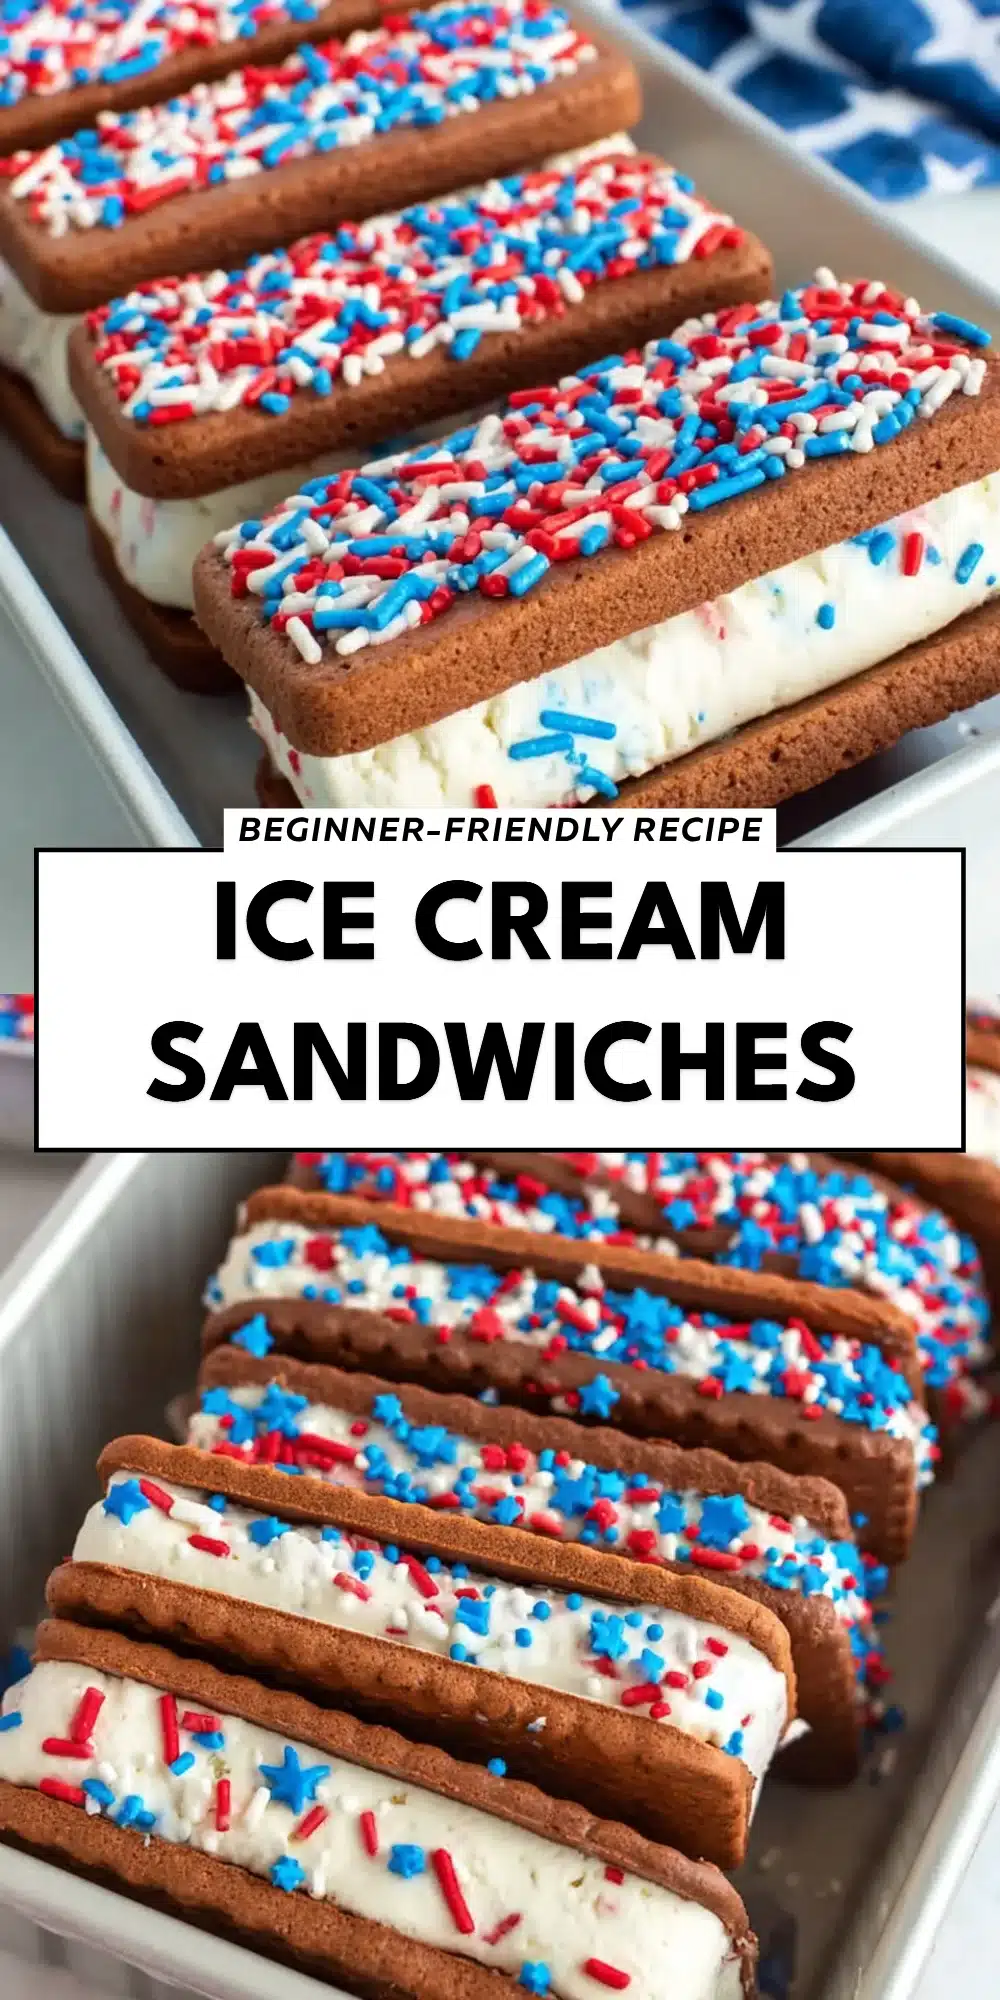
Ice Cream Sandwiches
This post may contain affiliate links, learn more.
There’s something truly magical about the 4th of July—families gather, fireworks light up the sky, and the air is filled with laughter, love, and usually something delicious on the grill. As a passionate home cook, I always look for ways to bring a sweet touch to these summer celebrations. That’s where my beloved 4th of July Ice Cream Sandwiches – Baking You Happier come into play. These delightful treats not only satisfy my family’s sweet teeth but also evoke warm memories of summertime fun.
In my kitchen, the aroma of freshly baked cookies mingling with the creamy sweetness of ice cream feels like a hug on a plate. With each bite of these ice cream sandwiches, I’m reminded of the joy of sharing delicious food with loved ones. The ingredients meld to create a nostalgic, yet innovative dessert that everyone can appreciate. Let me take you through the delightful journey of crafting your own 4th of July Ice Cream Sandwiches – Baking You Happier!
Understanding the Magic of 4th of July Ice Cream Sandwiches – Baking You Happier
The joy of 4th of July Ice Cream Sandwiches – Baking You Happier lies in their simplicity and adaptability. Rooted in classic American traditions, ice cream sandwiches bring a sense of nostalgia, often reminding us of childhood summers spent licking ice cream cones under the sun. The combination of fresh cookies and creamy ice cream gives a unique twist, making it an all-time favorite.
These delightful desserts can be filled with any ice cream flavor you love, making them a customizable option for family gatherings, picnics, or just a cozy night at home. Imagine biting into a soft, chewy cookie that gives way to the cold, creamy bliss of ice cream; it’s like a party in your mouth! Who wouldn’t want to create this moment?
Why You’ll Love This 4th of July Ice Cream Sandwiches – Baking You Happier
- Versatile Flavors: Use your favorite ice cream flavors for unique combinations that cater to everyone’s taste buds.
- Kid-Friendly Fun: Involve the kids in the assembly—it’s a wonderful way to create lasting memories in the kitchen.
- Make Ahead: Prepare your cookies and ice cream ahead of time for a stress-free celebration.
- Perfect for Sharing: These sandwiches are the ideal treat for gatherings, as they are easy to serve and eat.
Who Will Enjoy This 4th of July Ice Cream Sandwiches – Baking You Happier Most
- Busy families looking for a quick and fun dessert.
- Health-conscious cooks wanting to use alternative ingredients.
- Kids of all ages who love getting their hands messy in the kitchen.
- Foodies eager to experiment with flavors and recipes.
Perfect Moments to Enjoy 4th of July Ice Cream Sandwiches – Baking You Happier
- Summer barbecues and family reunions.
- Outdoor movie nights under the stars.
- Cozy evenings after a day of summer adventures.
- Holidays that call for sweet treats, particularly the 4th of July.
How to Make the Perfect 4th of July Ice Cream Sandwiches – Baking You Happier
Now that your taste buds are tingling, let’s dive into how you can bring this sweet treat to life. It’s a straightforward process that is fun to follow!
Ingredients
- 1 cup unsalted butter, softened
- 1 cup granulated sugar
- 1 cup brown sugar, packed
- 1 tablespoon vanilla extract
- 2 large eggs
- 3 cups all-purpose flour
- 1 teaspoon baking soda
- 1 teaspoon salt
- 2 cups chocolate chips
- 1 pint of your favorite ice cream
Step-by-Step Instructions
- Preheat your oven to 350°F (175°C).
- Cream together the softened butter, granulated sugar, and brown sugar in a large mixing bowl until light and fluffy.
- Add the vanilla extract and eggs, one at a time, mixing well after each addition.
- Whisk together the flour, baking soda, and salt in another bowl.
- Gradually combine the dry ingredients with the wet mixture, mixing until well blended.
- Stir in the chocolate chips until evenly distributed.
- Scoop tablespoon-sized portions of cookie dough onto parchment-lined baking sheets, leaving enough space between each scoop.
- Bake for 10–12 minutes, or until the edges are golden brown but the centers are still soft.
- Remove from oven and allow cookies to cool on the baking sheet for 5 minutes.
- Transfer the cookies to a wire rack to cool completely.
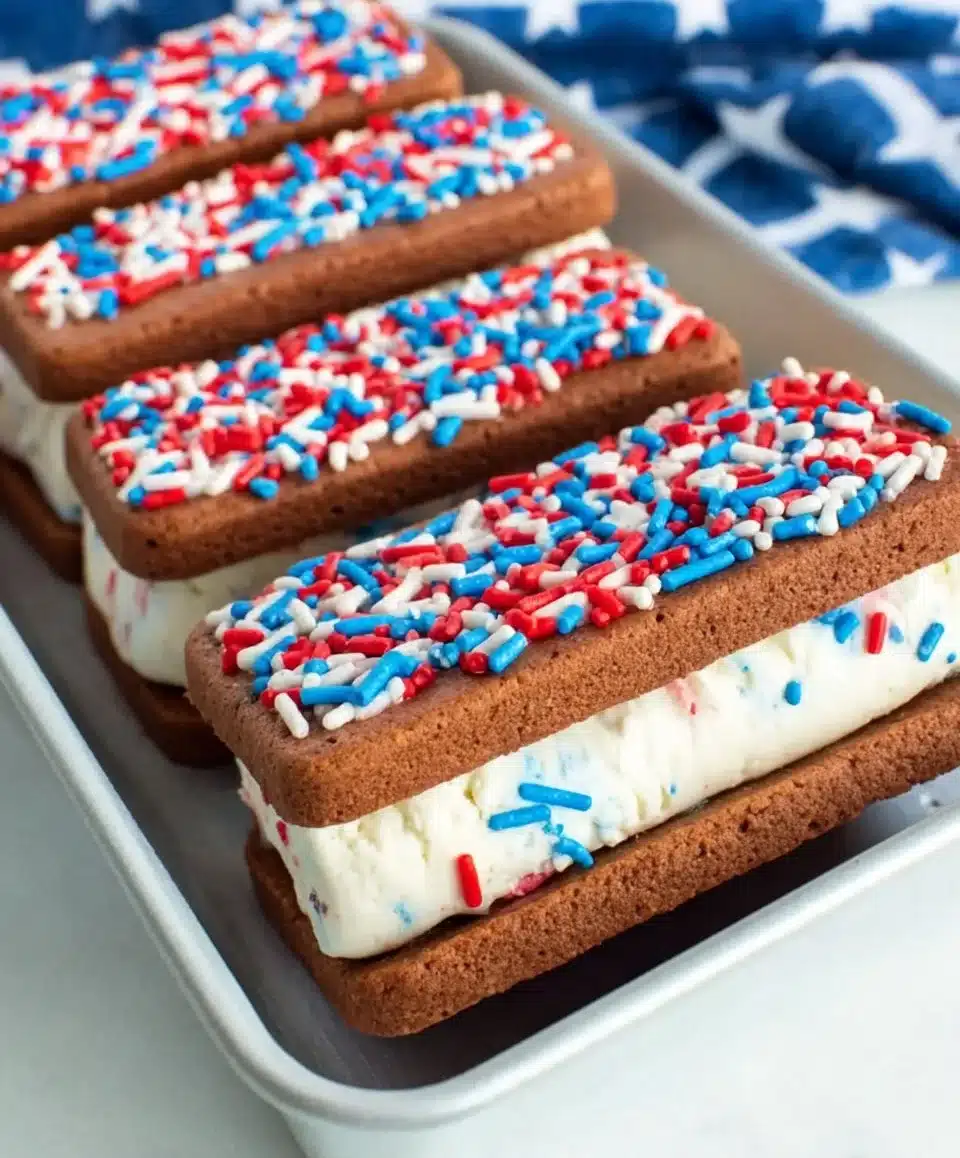
- Scoop your favorite ice cream onto the bottom of one cookie and press another cookie on top to create a sandwich.
- Repeat with remaining cookies and ice cream.
- Freeze the sandwiches for at least 30 minutes to ensure they hold their shape.
For People with Diabetes: Sugar Substitutes
- Stevia
- Monk fruit
- Allulose
Avoid using honey or maple syrup, as they can still spike blood sugar levels.
Essential Tools for 4th of July Ice Cream Sandwiches – Baking You Happier
- Mixing bowls
- Baking sheets
- Parchment paper
- Wire cooling rack
- Ice cream scoop
Pro Tips to Elevate Your 4th of July Ice Cream Sandwiches – Baking You Happier
- Experiment with different cookie types, like oatmeal raisin or peanut butter, for unique flavors.
- Chill your ice cream for easier scooping before assembling sandwiches.
- Roll the edges of the ice cream sandwiches in sprinkles or crushed nuts for added texture and presentation.
How to Store & Reheat 4th of July Ice Cream Sandwiches – Baking You Happier
- Fridge: Store any leftover sandwiches in an airtight container for up to 3 days.
- Freezer: Freeze them for up to 2 weeks for a longer-lasting treat.
- It’s best to serve them straight from the freezer for the best texture.
Mistakes That Ruin 4th of July Ice Cream Sandwiches – Baking You Happier
- Overbaking the cookies can lead to crunchy sandwiches instead of soft and chewy.
- Not cooling cookies completely before adding ice cream can result in a melty mess.
- Skipping the chilling time after assembling can cause the ice cream to ooze out.
Your 4th of July Ice Cream Sandwiches – Baking You Happier Questions Answered
- Can I use gluten-free flour? Yes! Gluten-free flour can be substituted for a fantastic result.
- Is it okay to use store-bought cookies? Yes, but homemade adds a special touch.
- Can I make this in advance? Yes! Assemble them a day or two before and freeze.
Wrapping Up: The Joy of 4th of July Ice Cream Sandwiches – Baking You Happier
Every bite of the 4th of July Ice Cream Sandwiches – Baking You Happier brings joy, comfort, and a dash of nostalgia. These little indulgences are perfect for any gathering and are sure to make your summer celebrations unforgettable. I encourage you to try this recipe and share your joyful experiences in the comments below. Happy baking!

4th of July Ice Cream Sandwiches
- Total Time: 45 minutes
- Yield: 12 servings 1x
- Diet: Vegetarian
Description
Delicious and customizable ice cream sandwiches made with freshly baked cookies and your favorite ice cream, perfect for summer celebrations.
Ingredients
- 1 cup unsalted butter, softened
- 1 cup granulated sugar
- 1 cup brown sugar, packed
- 1 tablespoon vanilla extract
- 2 large eggs
- 3 cups all-purpose flour
- 1 teaspoon baking soda
- 1 teaspoon salt
- 2 cups chocolate chips
- 1 pint of your favorite ice cream
Instructions
- Preheat your oven to 350°F (175°C).
- Cream together the softened butter, granulated sugar, and brown sugar in a large mixing bowl until light and fluffy.
- Add the vanilla extract and eggs, one at a time, mixing well after each addition.
- Whisk together the flour, baking soda, and salt in another bowl.
- Gradually combine the dry ingredients with the wet mixture, mixing until well blended.
- Stir in the chocolate chips until evenly distributed.
- Scoop tablespoon-sized portions of cookie dough onto parchment-lined baking sheets, leaving enough space between each scoop.
- Bake for 10–12 minutes, or until the edges are golden brown but the centers are still soft.
- Remove from oven and allow cookies to cool on the baking sheet for 5 minutes.
- Transfer the cookies to a wire rack to cool completely.
- Scoop your favorite ice cream onto the bottom of one cookie and press another cookie on top to create a sandwich.
- Repeat with remaining cookies and ice cream.
- Freeze the sandwiches for at least 30 minutes to ensure they hold their shape.
Notes
Experiment with different cookie types and flavors of ice cream. Store leftovers in an airtight container in the fridge for up to 3 days or freeze for up to 2 weeks.
- Prep Time: 15 minutes
- Cook Time: 12 minutes
- Category: Dessert
- Method: Baking
- Cuisine: American
Nutrition
- Serving Size: 1 sandwich
- Calories: 300
- Sugar: 20g
- Sodium: 250mg
- Fat: 14g
- Saturated Fat: 8g
- Unsaturated Fat: 4g
- Trans Fat: 0g
- Carbohydrates: 38g
- Fiber: 1g
- Protein: 3g
- Cholesterol: 40mg