Dill Pickles
This post may contain affiliate links, learn more.
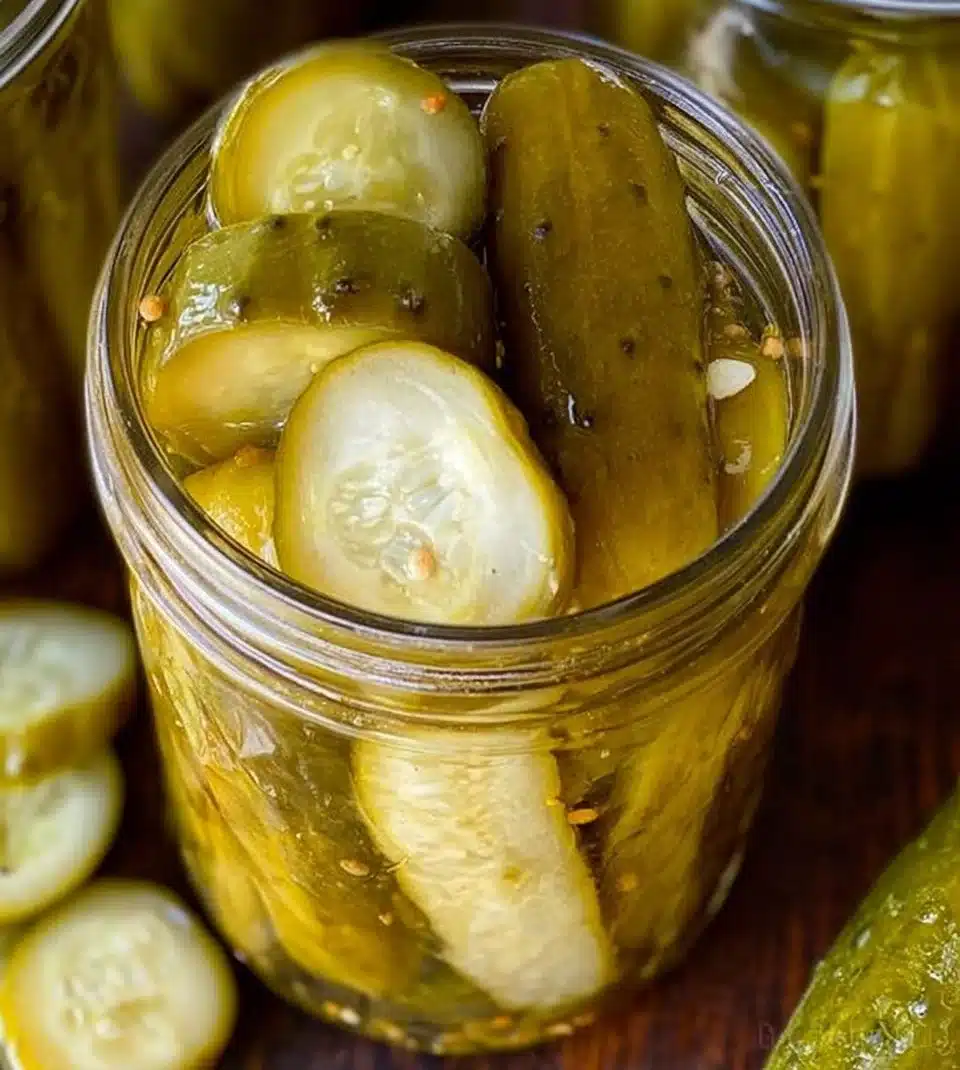
There’s something magical about the aroma of freshly made Dill Pickles wafting through the kitchen. As a passionate home cook, I often find myself reminiscing about summer days spent in my grandmother’s garden, where the gardens flourished with fresh cucumbers and fragrant herbs. The way she transformed simple ingredients into jars of tangy, crunchy goodness always left a lasting impression on me, and I can still hear the satisfying pop of the lids sealing. Today, I’m excited to share my beloved Dill Pickles recipe with you, a timeless treasure that’s brimming with flavor and memories.
Whether you’re a pickle aficionado or a casual snacker, there’s nothing quite like that first bite of a homemade Dill Pickle. With just the right balance of tartness and spice, these pickles elevate sandwiches, burgers, and even cheese boards. Let’s have a heart-to-heart about Dill Pickles while we craft our own batch to preserve the essence of summer in each glorious jar.
Exploring the Roots of Dill Pickles
Dill Pickles have an extensive history that goes back centuries. Originating in ancient times, they’ve graced tables from Europe to America and have become synonymous with comfort and nostalgia. Historically, pickling was a method of food preservation long before the advent of refrigeration, and it has since evolved into a culinary art form cherished worldwide. In markets, you can still find vendors selling their homemade jars, each boasting a unique recipe that reflects family traditions and local tastes.
To me, Dill Pickles symbolize the essence of community and craftsmanship. They are not just a condiment; they’re an experience, showcasing the love and stories passed down through generations. Whether you’re indulging in a sandwich with a crunchy pickle on the side or savoring one straight from the jar, it’s a small bite of history that encapsulates flavor and story.
Why You’ll Love This Dill Pickles
- Bold Flavor: Each bite bursts with a delightful tang, perfectly complemented by garlic and fresh dill.
- Health Perks: Cucumbers are low in calories and packed with hydration, offering a guilt-free snack option.
- Customization: You can tweak the spices and flavorings to make it your own, whether you prefer a little heat or a touch of sweetness.
- Family Comfort: There’s a hint of nostalgia woven into each pickle, evoking memories of family gatherings and summer picnics.
Perfect for These Home Cooks
- Busy families looking for quick, healthy snacks.
- Health-conscious individuals wanting to incorporate more fresh flavors into their meals.
- Beginners who want to try their hand at home canning.
- Food lovers eager to explore traditional recipes and flavor profiles.
Perfect Moments to Enjoy Dill Pickles
- An easy weeknight dinner alongside sandwiches or wraps.
- Summer barbecues where you can serve them chilled and crunchy.
- Holiday gatherings to elevate your appetizer spreads.
- Cozy movie nights as a zesty snack to munch on with friends.
How to Make the Perfect Dill Pickles
Creating homemade Dill Pickles is not only fulfilling but also allows you to connect with the essence of cooking. The process is simple and rewarding, filling your home with delightful aromas.
Ingredients
- Fresh cucumbers
- Water
- White vinegar
- Salt
- Garlic cloves
- Dill sprigs
- Black peppercorns
- Mustard seeds
Step-by-Step Instructions
- Wash and slice the cucumbers into spears or rounds.
-
In a pot, combine water, vinegar, and salt to make the brine. Boil until salt dissolves.

-
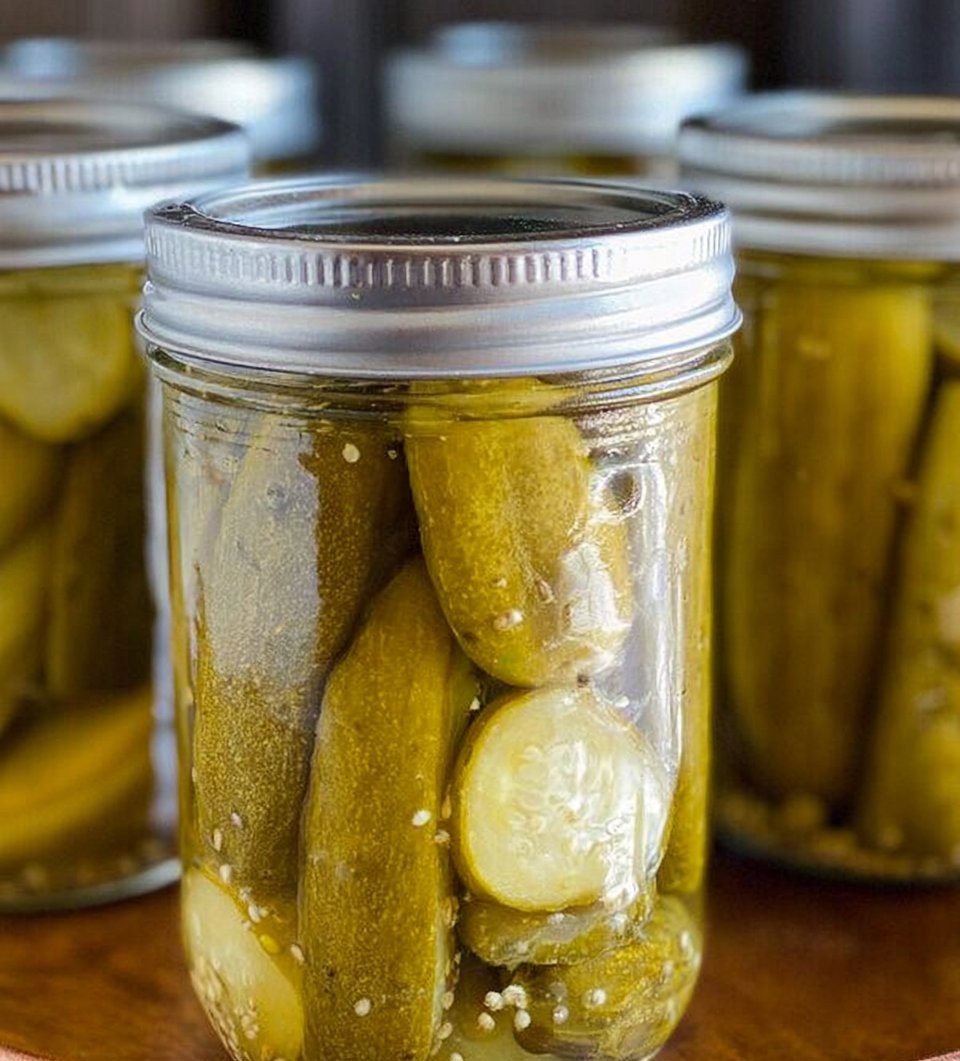
Pack cucumbers, garlic, dill, and spices into clean jars.
-
Pour hot brine over the cucumbers, leaving some headspace.
-
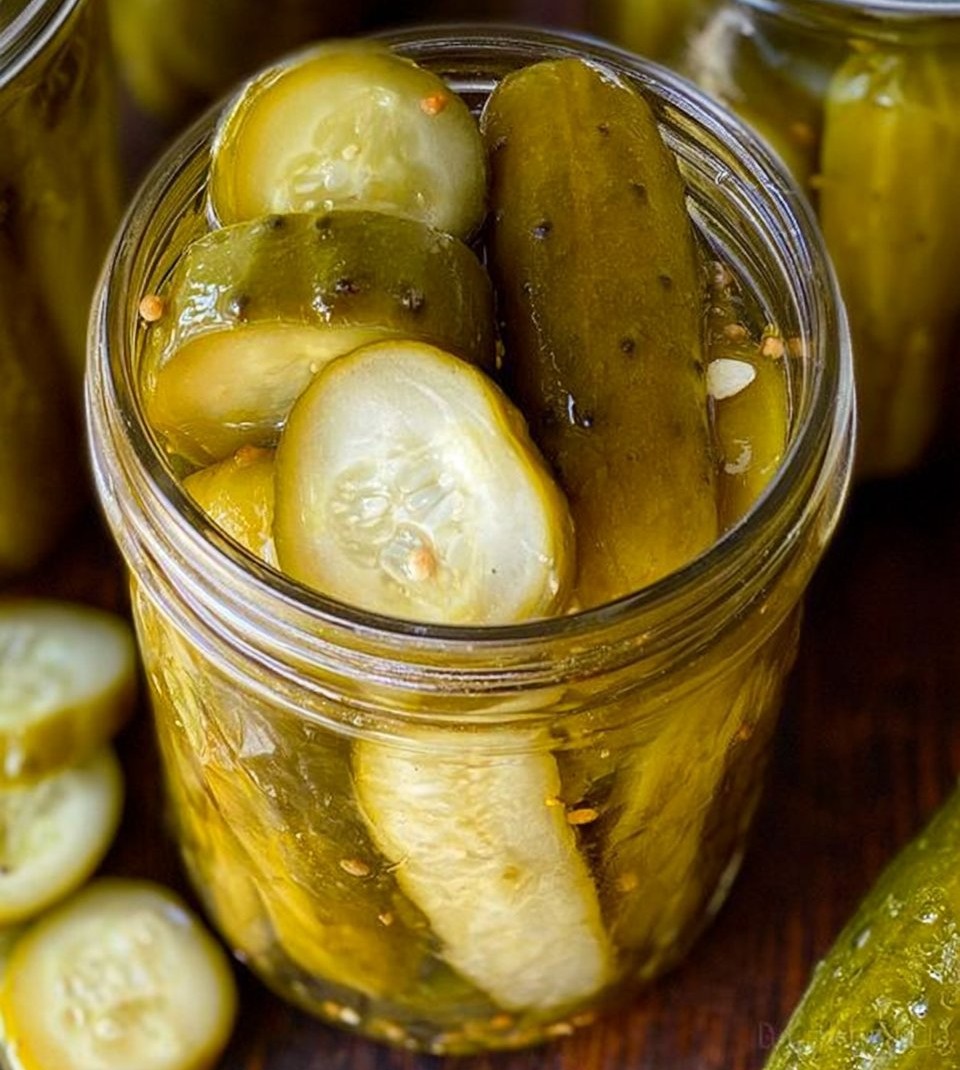
Seal the jars and let them cool before refrigerating or processing for shelf stability.
For People with Diabetes: Sugar Substitutes
If you’re looking to keep your pickling process friendly for those with dietary restrictions, consider using sugar-free alternatives like stevia, monk fruit, or allulose. Avoid using honey or maple syrup, as they can increase sugar levels significantly.
Must-Have Tools for This Recipe
- Clean glass jars with lids
- Large pot for boiling
- Measuring cups and spoons
- Cutting board and knife
- Tongs or a jar lifter for safe handling
Pro Tips to Elevate Your Dill Pickles
- Use fresh ingredients: The quality of your cucumbers, dill, and garlic will greatly enhance the flavor.
- Experiment with spices: Feel free to add red pepper flakes for a spicy kick or swap dill for other herbs to create unique flavors.
- Consider fermentation: For a tangier profile, try fermenting your cucumbers instead of traditional pickling.
- Let them rest: After canning, give your pickles at least a week to flavor before diving in to allow the brine to penetrate thoroughly.
Storing and Reheating Tips
- Refrigerate: Store in the fridge for up to 2 months for maximum crunch and freshness.
- Canning: For longer shelf life, process them in a water bath for about 10-15 minutes.
- Avoid freezing: Freezing is not recommended, as it alters the texture of the cucumbers.
Common Mistakes to Avoid
- Ignoring cleanliness: Make sure all jars and utensils are sterilized to prevent spoilage.
- Overcooking the brine: Boil just until the salt dissolves; excessive boiling can alter the flavors.
- Skipping headspace: Leaving too little headspace can cause brine overflow during sealing, leading to spoilage.
- Not using the right cucumbers: Choose pickling cucumbers for the best results—regular slicing cucumbers may become mushy.
Your Dill Pickles Questions Answered
Q: Can I use regular cucumbers for this recipe?
Yes, but pickling cucumbers are recommended for better crunch.
Q: How long do dill pickles last?
It depends; if refrigerated, they last for about 2 months. If canned properly, they can last a year.
Q: Can I customize the brine?
Yes, feel free to experiment with different herbs and spices to suit your taste!
Q: Do I need to refrigerate after canning?
No, if processed correctly, they can be stored at room temperature until opened.
Q: Is it possible to make these pickles spicy?
Yes! Just add red pepper flakes or jalapeños to the brine for a kick.
Wrapping Up: The Joy of Dill Pickles
In closing, there’s a certain joy that comes from making Dill Pickles at home. Whether for a family gathering, a summer picnic, or just a wholesome snack, you’re not just preserving cucumbers; you’re creating cherished memories in the form of delicious, tangy dill goodness. I invite you to share your own experiences and any variations you’ve tried in the comments below. Why not let a little of this joy spill into your kitchen today?
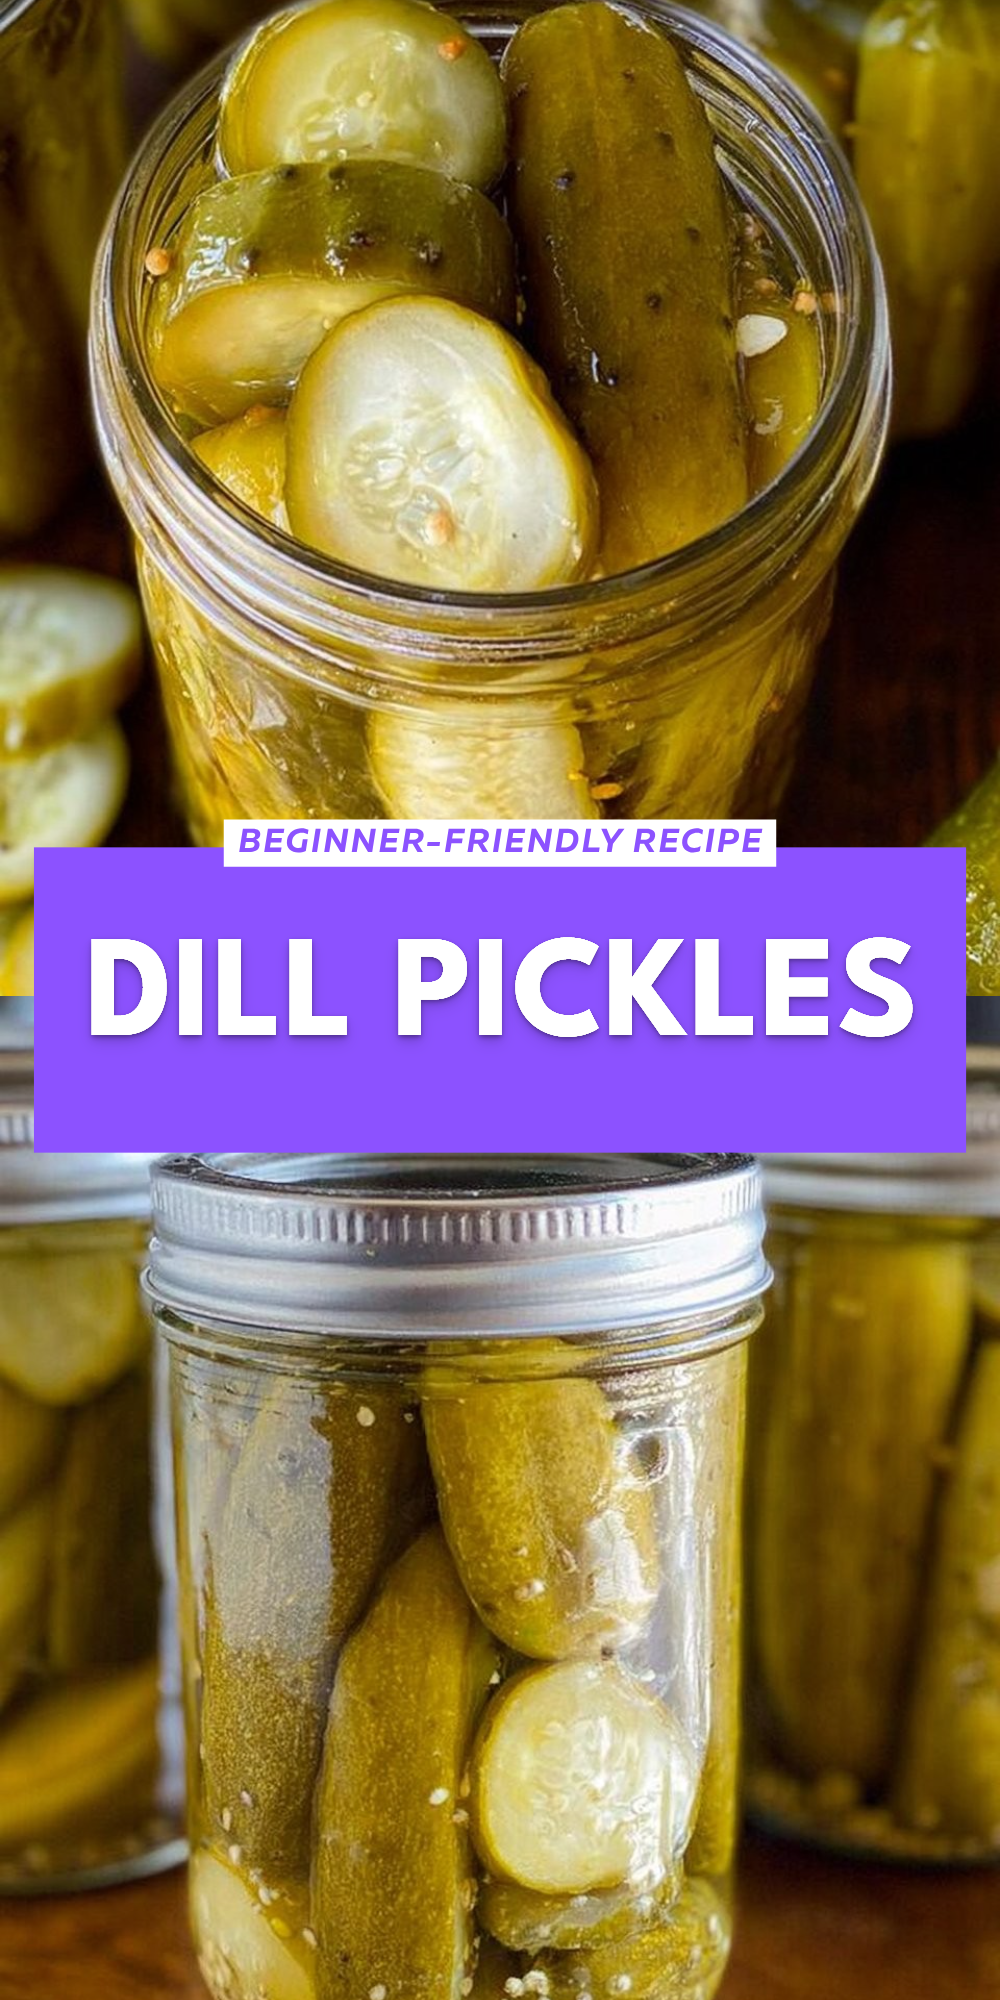
Homemade Dill Pickles
- Total Time: 25 minutes
- Yield: 4 servings 1x
- Diet: Vegetarian
Description
Create your own batch of tangy, crunchy dill pickles that preserve the essence of summer.
Ingredients
- Fresh cucumbers
- Water
- White vinegar
- Salt
- Garlic cloves
- Dill sprigs
- Black peppercorns
- Mustard seeds
Instructions
- Wash and slice the cucumbers into spears or rounds.
- Combine water, vinegar, and salt in a pot to make the brine. Boil until salt dissolves.
- Pack cucumbers, garlic, dill, and spices into clean jars.
- Pour hot brine over the cucumbers, leaving some headspace.
- Seal the jars and let them cool before refrigerating or processing for shelf stability.
Notes
Use fresh ingredients for the best flavor. Let the pickles rest for a week before serving.
- Prep Time: 15 minutes
- Cook Time: 10 minutes
- Category: Condiments
- Method: Pickling
- Cuisine: American
Nutrition
- Serving Size: 1 serving
- Calories: 50
- Sugar: 0g
- Sodium: 300mg
- Fat: 0g
- Saturated Fat: 0g
- Unsaturated Fat: 0g
- Trans Fat: 0g
- Carbohydrates: 11g
- Fiber: 1g
- Protein: 1g
- Cholesterol: 0mg