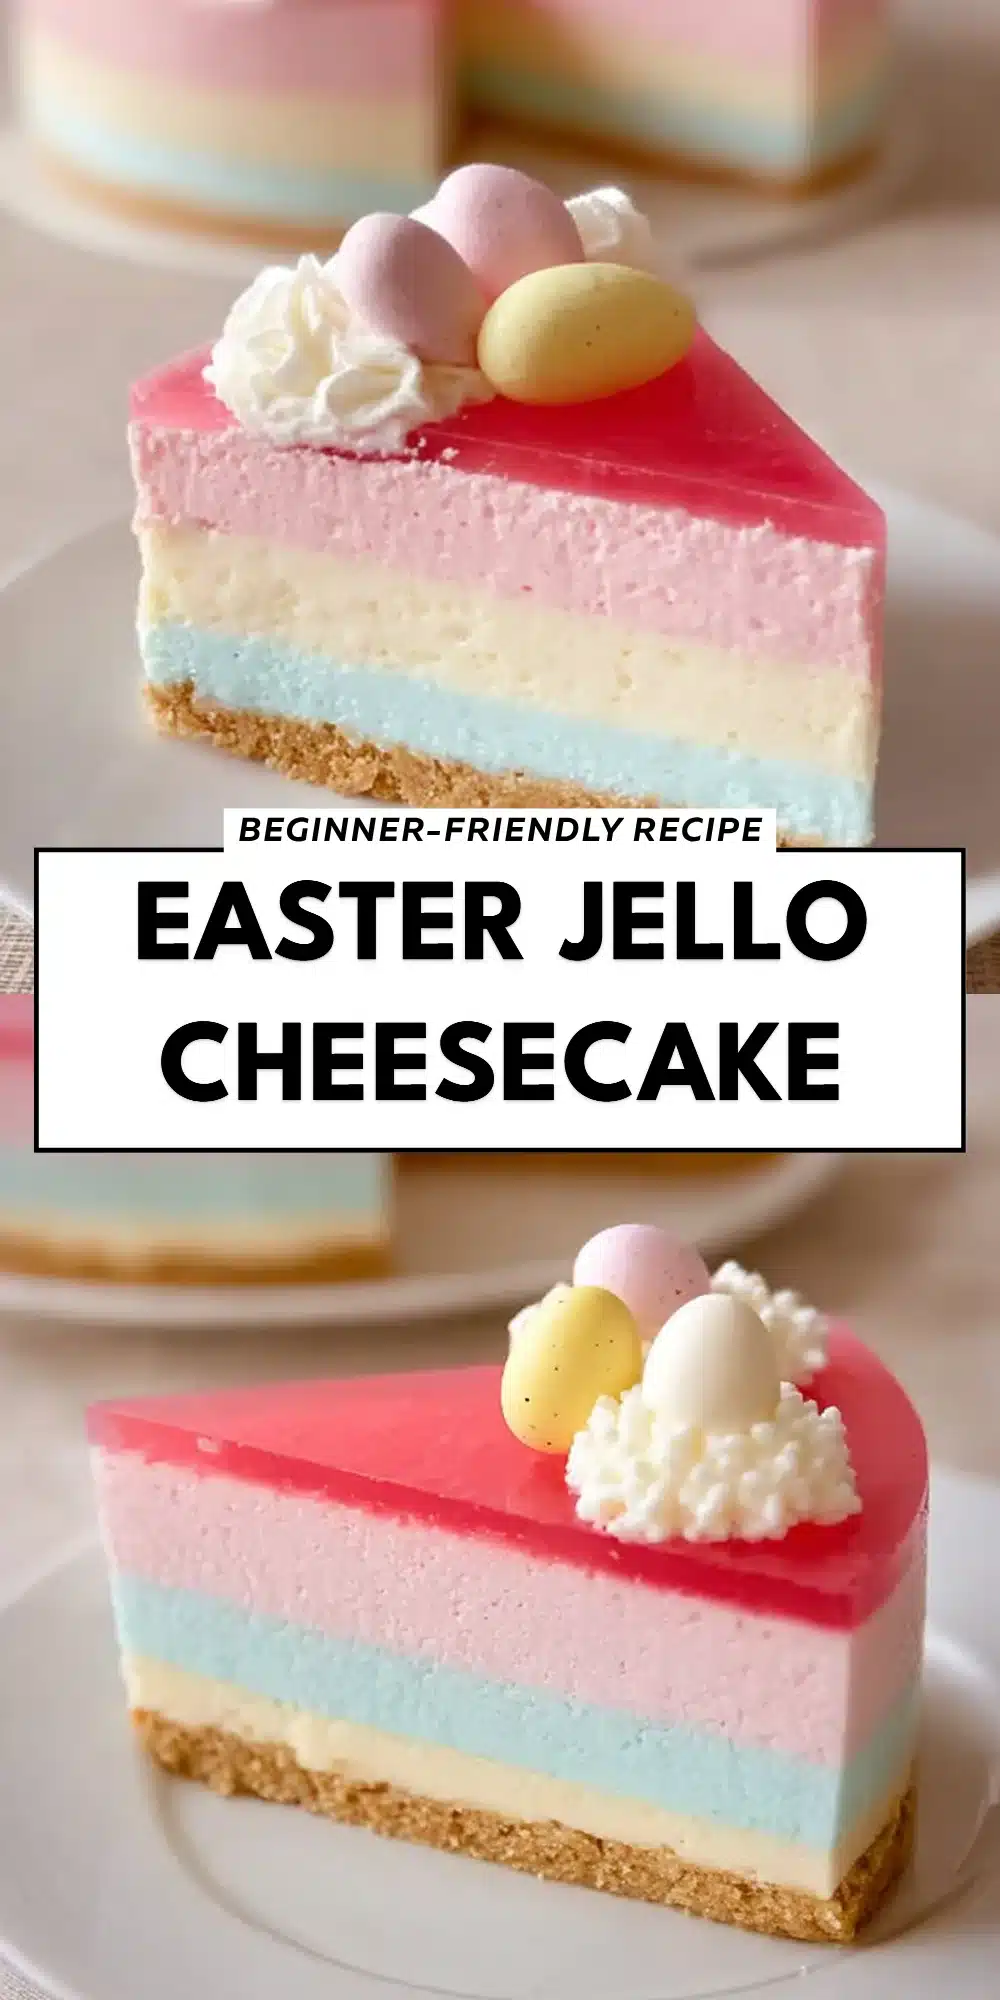
Easter JELLO Cheesecake
This post may contain affiliate links, learn more.
As the chill of winter fades and the vibrant blooms of spring emerge, our kitchens transform into bubbling cauldrons of creativity and love. This is the time when I can’t resist whipping up a delight that embodies the spirit of the season—Easter JELLO Cheesecake. With creamy layers and bursts of color, this dessert goes beyond just a sweet treat; it’s a visual and sensory celebration, a canvas for joy during Easter gatherings with family and friends.
Easter JELLO Cheesecake is more than just a dessert; it’s a tradition that starts conversations and ignites laughter as everyone gathers around the table. It’s a recipe that stitches together cherished memories—moments filled with laughter, cookie-decorating disasters, and the pleasure of sharing sweet bites with loved ones.
Understanding the Magic of Easter JELLO Cheesecake
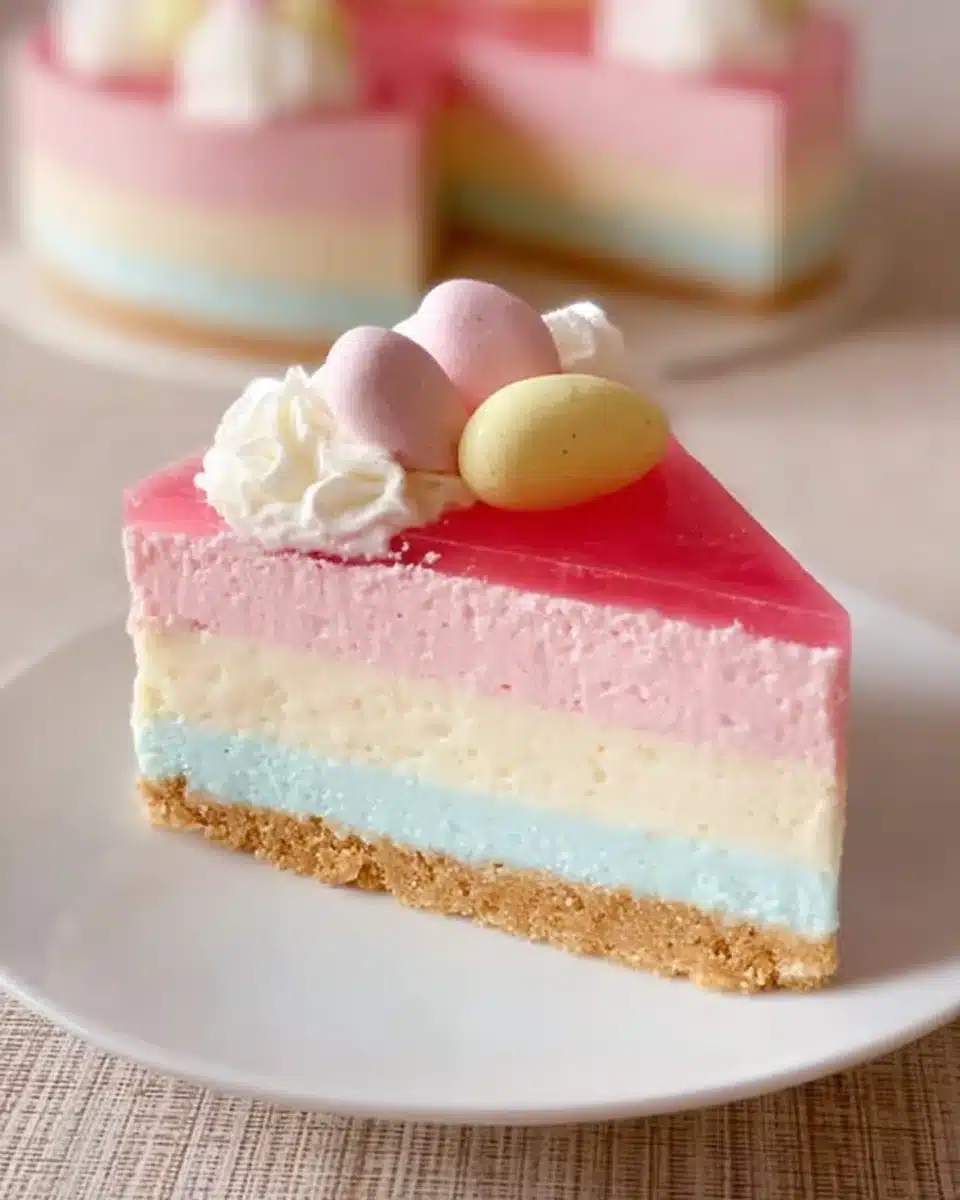
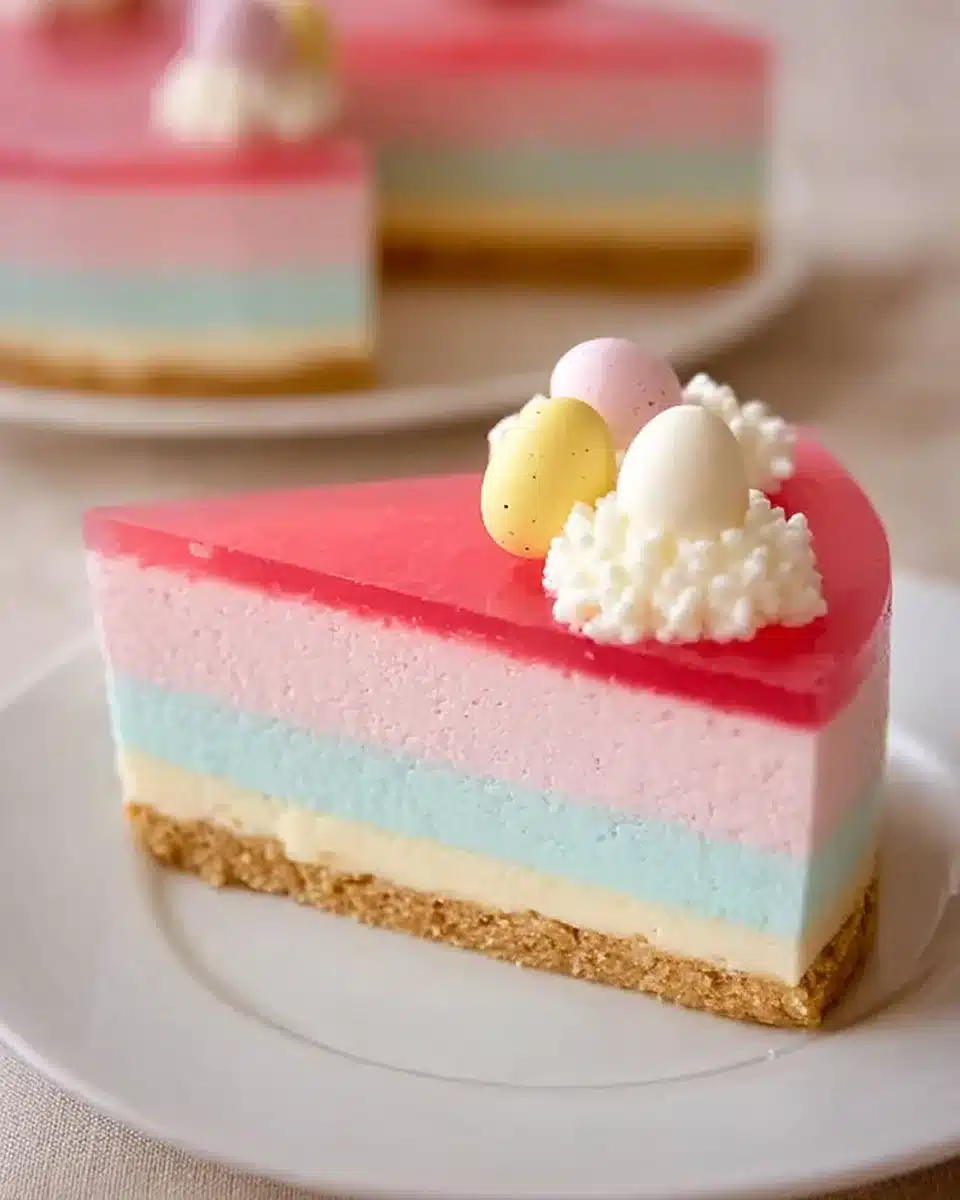
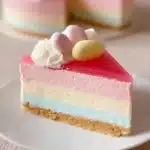
Easter JELLO Cheesecake marries the lush creaminess of cheesecake with the playful flavors and vibrant colors of JELLO, creating a stunning dish that is as delicious as it is visually appealing. This delightful concoction often graces our tables during Easter celebrations, reminiscent of family gatherings filled with love and laughter. The beauty of this dessert lies not only in its taste but also in its festive appearance, echoing the colors of blooming flowers and Easter eggs.
It’s fascinating to think about how various cultures intertwine with food traditions. For many households, Easter is a time to come together, celebrate with special meals, and indulge in treats that evoke nostalgia. The layers of JELLO and cheesecake create a refreshing experience, making it a favorite among young and old alike.
Why You’ll Love This Easter JELLO Cheesecake
- Irresistible Flavors: This cheesecake melds creamy, dreamy textures with delightful JELLO layers that burst with fruity flavors, offering a tantalizing contrast that keeps you coming back for more.
- Convenience: Using the Jell-O Classic No-Bake Cheesecake Mix makes this recipe friendly for home cooks of all skill levels, leaving us more time to enjoy conversations with our loved ones.
- Health-Friendly: This dessert can be easily adjusted for dietary preferences, allowing for lighter options and sugar substitutes that don’t compromise taste.
- Family Fun: Creating this colorful masterpiece is a joyful activity. Kids and adults alike can participate in layering and decorating, making it a cherished family tradition.
Who Will Enjoy This Easter JELLO Cheesecake Most
- Busy families looking for a quick yet delightful dessert.
- Beginner cooks eager to impress without the fuss of extensive baking.
- Foodies who love to experiment with flavors and textures.
- Anyone wanting to bring a piece of sweet spring joy to their celebrations.
When to Make This Recipe
- Easter Gatherings: Perfect for family brunches and festive dinners, this cheesecake embodies the spirit of celebration.
- Spring Parties: It fits beautifully into spring gatherings, birthday parties, or any occasion celebrating warmer weather.
- Cozy Nights: Treat yourself with dessert after a long day; it’s a delightful reward for everyday victories.
How to Make the Perfect Easter JELLO Cheesecake
Creating the perfect Easter JELLO Cheesecake is a labor of love that’s both achievable and rewarding. So grab your ingredients, and let’s dive into the bubbly, colorful world of JELLO!
Ingredients
- 1 box Jell-O Classic No-Bake Cheesecake Mix
- As needed Ingredients required per cheesecake box (milk, butter, etc.)
- 1 Cooking spray
- 3 tablespoons Blue Jell-O powder
- 3 tablespoons Strawberry or cherry Jell-O powder
- 3 tubs (8 oz each) Cool Whip
- 1/3 cup Boiling water for blue Jell-O
- 1/2 cup Ice cold water for blue Jell-O
- 1/2 cup Boiling water for red Jell-O
- 1/2 cup Ice cold water for red Jell-O
- Cadbury Pastel Mini Eggs (optional)
Step-by-Step Instructions
- Grease a 9-inch springform pan with cooking spray.
- Prepare the crust from the Jell-O Classic Cheesecake box and press it firmly into the bottom of the pan.
- Mix the cheesecake filling following the box directions. Pour it over the crust and refrigerate for about 30 minutes until slightly set.
- Dissolve blue Jell-O in 1/3 cup boiling water. Stir until smooth, then add 1/2 cup ice cold water and cool.
- Fold in one tub of Cool Whip. Chill for 30 minutes, then spread gently over the cheesecake layer.
- Refrigerate the blue layer for at least 2 hours.
- Dissolve strawberry or cherry Jell-O in 1/2 cup boiling water. Add 1/2 cup ice cold water, cool, then fold in one tub of Cool Whip.
- Chill for 30 minutes, then spread over the blue layer.
- Refrigerate the cheesecake for at least 4 hours or overnight until fully set.
- Spread or pipe the last tub of Cool Whip on top. Add pastel candy eggs if desired.
For People with Diabetes: Sugar Substitutes
- Stevia: A natural plant-derived sweetener, perfect for baked and cold desserts.
- Monk Fruit: A no-calorie sweetener that works well without the aftertaste.
- Allulose: A rare sugar lower in calories that mimics the taste and texture of sugar perfectly.
Avoid using honey or maple syrup; these can still spike blood sugar levels significantly.
Essential Tools for Easter JELLO Cheesecake
- 9-inch springform pan
- Mixing bowls
- Electric mixer or whisk
- Measuring cups
- Spatula
Pro Tips to Elevate Your Easter JELLO Cheesecake
- Chill Ingredients: Ensuring your Cool Whip and water are adequately chilled assists in achieving a smooth set on your JELLO layers.
- Layer with Love: Pour your layers gently to maintain the beautiful colors and avoid mixing them. A spoon can help maintain the separation.
- Decorate Uniquely: Use seasonal fruits or edible flowers as an alternative or addition to pastel mini eggs for a stunning presentation.
Storing and Reheating Tips
- Refrigerate: Keep the cheesecake in the fridge covered; it can last up to 5 days.
- Freeze: If longer storage is needed, it can be frozen for up to a month (leave off the Cool Whip topping until serving).
- Thaw: To enjoy, thaw in the refrigerator overnight before serving.
Common Mistakes to Avoid
- Skipping the Chilling Time: Impatience can lead to a not-so-firm cheesecake—make sure each layer has time to set.
- Overmixing: When folding in Cool Whip, use gentle motions to prevent deflating the mixture.
- Not Prepping the Pan: Forgetting to grease the pan can lead to sticking, making it hard to serve.
FAQs About Easter JELLO Cheesecake
Q: Can I make this cheesecake ahead of time?
Yes, it can be made a day in advance, making it perfect for busy holidays.
Q: How long should I refrigerate the cheesecake?
It’s best to refrigerate for at least 4 hours or overnight for full setting.
Q: Can I use sugar-free JELLO and Cool Whip?
Yes, using sugar-free options can still yield a tasty Easter JELLO Cheesecake.
Q: Is this recipe gluten-free?
It depends; confirm that the ingredients used are certified gluten-free.
Q: Can I substitute the JELLO flavors?
Yes, you can experiment with other flavors like lemon or lime for a zesty twist.
Wrapping Up: The Joy of Easter JELLO Cheesecake
As you prepare your Easter JELLO Cheesecake, remember that the most beautiful memories are created in the kitchen and shared at the table. This recipe is more than just dessert; it’s a celebration of spring, family, and love. I invite you to share your own cooking stories or variations of this delightful cheesecake in the comments below or share it with your friends. Let’s keep the joy of cooking alive!
Easter JELLO Cheesecake
- Total Time: 240 minutes
- Yield: 12 servings 1x
- Diet: Vegetarian
Description
A vibrant and creamy cheesecake layered with colorful JELLO, perfect for spring celebrations and Easter gatherings.
Ingredients
- 1 box Jell-O Classic No-Bake Cheesecake Mix
- As needed Ingredients required per cheesecake box (milk, butter, etc.)
- 1 Cooking spray
- 3 tablespoons Blue Jell-O powder
- 3 tablespoons Strawberry or cherry Jell-O powder
- 3 tubs (8 oz each) Cool Whip
- 1/3 cup Boiling water for blue Jell-O
- 1/2 cup Ice cold water for blue Jell-O
- 1/2 cup Boiling water for red Jell-O
- 1/2 cup Ice cold water for red Jell-O
- Cadbury Pastel Mini Eggs (optional)
Instructions
- Grease a 9-inch springform pan with cooking spray.
- Prepare the crust from the Jell-O Classic Cheesecake box and press it firmly into the bottom of the pan.
- Mix the cheesecake filling following the box directions. Pour it over the crust and refrigerate for about 30 minutes until slightly set.
- Dissolve blue Jell-O in 1/3 cup boiling water. Stir until smooth, then add 1/2 cup ice cold water and cool.
- Fold in one tub of Cool Whip. Chill for 30 minutes, then spread gently over the cheesecake layer.
- Refrigerate the blue layer for at least 2 hours.
- Dissolve strawberry or cherry Jell-O in 1/2 cup boiling water. Add 1/2 cup ice cold water, cool, then fold in one tub of Cool Whip.
- Chill for 30 minutes, then spread over the blue layer.
- Refrigerate the cheesecake for at least 4 hours or overnight until fully set.
- Spread or pipe the last tub of Cool Whip on top. Add pastel candy eggs if desired.


Notes
Use sugar-free options for a healthier variation. Make ahead for convenience.
- Prep Time: 30 minutes
- Cook Time: 0 minutes
- Category: Dessert
- Method: No-Bake
- Cuisine: American
Nutrition
- Serving Size: 1 slice
- Calories: 320
- Sugar: 28g
- Sodium: 200mg
- Fat: 16g
- Saturated Fat: 10g
- Unsaturated Fat: 4g
- Trans Fat: 0g
- Carbohydrates: 40g
- Fiber: 0g
- Protein: 4g
- Cholesterol: 35mg