Choco Tacos
This post may contain affiliate links, learn more.
There’s something inherently joyous about creating your own treats in the kitchen, a kind of magic where ordinary ingredients transform into delightful creations. The warmth of the oven, the sweet scent of melting chocolate, and the fun of assembling everything together makes baking a special ritual. Today, I’m inviting you into my kitchen to whip up some delightful DIY Choco Tacos, a nostalgic treat that’s sure to spark joy!
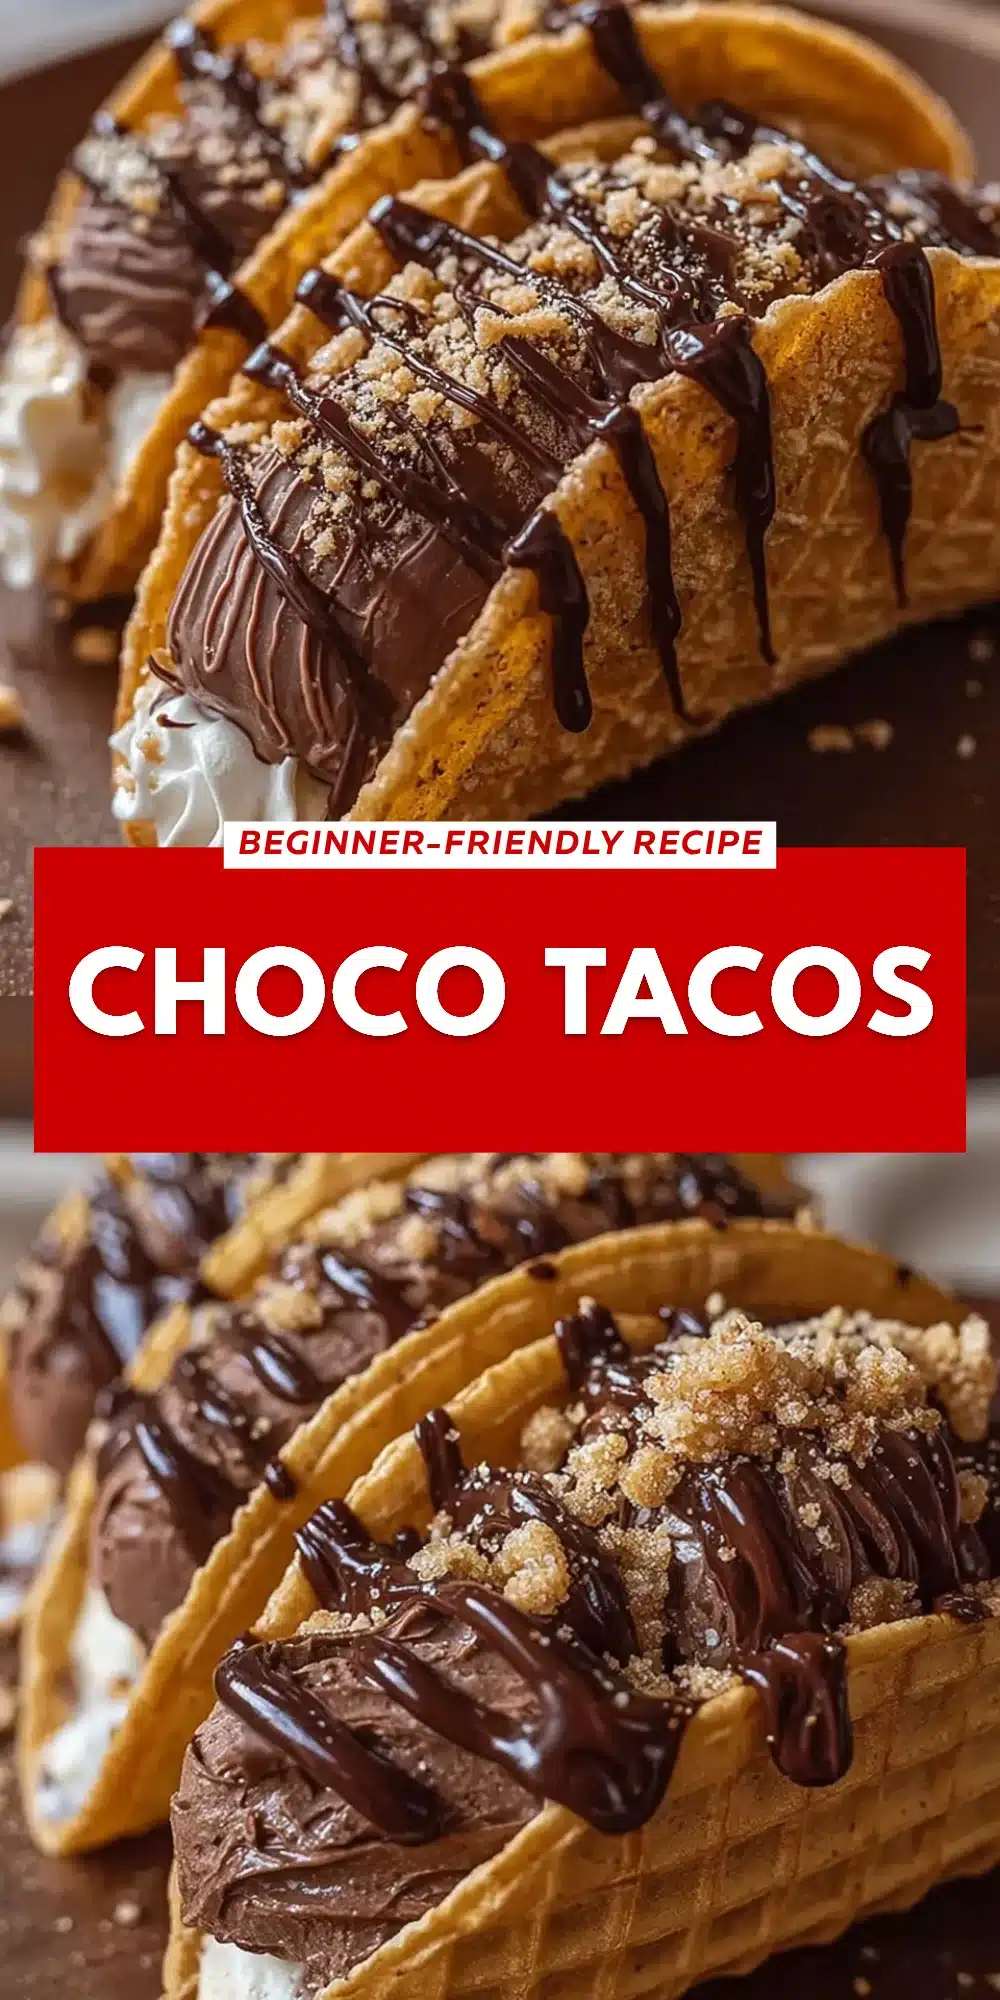
From my very first bite of a choco taco on a hot summer day, I was enamored by its unique combination of crunchy waffle shell, creamy ice cream, and rich chocolate coating. As an adult, my love for these unparalleled delights has only grown. Making DIY Choco Tacos at home not only satisfies your sweet tooth but also allows for endless customization!
The Story Behind DIY Choco Tacos
It’s often said that food tells a story, and the story of DIY Choco Tacos begins as many great recipes do—with love and joy. Originating from the classic ice cream truck treat popularized in the 1980s, choco tacos became a staple for nostalgic snackers, offering an unforgettable experience of sweet and creamy goodness wrapped in a crispy shell. Growing up, I remember racing outside to catch the ice cream truck, my heart racing with anticipation as I clutched my coins, ready to obtain this special delight.
Creating homemade DIY Choco Tacos is more than just a recipe; it embraces tradition while allowing modern twists. Using your favorite flavors of ice cream and adding a personal touch with toppings invites creativity into your kitchen while bringing families and friends together. The experience of crafting these tasty morsels is as delightful as the taste itself, making for memorable moments around the table.
Why You’ll Love This DIY Choco Tacos
- Flavor Customization: Choose any ice cream flavor you adore—from classic vanilla to daring matcha or even a decadent salted caramel.
- Convenience: Not only can you whip these up for a quick treat, but they also store beautifully, ensuring you have a delicious dessert ready at a moment’s notice.
- Family Fun: Kids and adults alike can enjoy assembling and decorating their own DIY Choco Tacos. It’s a fantastic way to spark creativity and share joy in the kitchen.
- Healthier Indulgence: You control the ingredients! Opt for healthier ice cream or toppings to meet your dietary preferences.
Who Will Enjoy This DIY Choco Tacos Most
- Busy Families: Perfect for quick weeknight treats or weekend bonding moments.
- Health-Conscious Cooks: Easy to swap in healthier options.
- Foodies: Endless flavor combinations encourage experimentation.
- Kids and Adults: A fun crafting experience that appeals to all ages.
Perfect Moments to Enjoy DIY Choco Tacos
- Summer Nights: Celebrate warm evenings with a cool, refreshing dessert.
- Family Gatherings: Bring everyone together to create unique flavor masterpieces.
- Movie Marathons: Enjoy while snuggling up with your favorite flicks.
- Birthday Parties: A hit for children and adults alike that encourages creativity.
How to Make the Perfect DIY Choco Tacos
Creating these scrumptious treats is a delightful journey. Here’s how you can make the perfect DIY Choco Tacos at home.
Ingredients
- Waffle shells
- Ice cream (your choice of flavor)
- Chocolate for dipping
- Chopped nuts (optional)
Step-by-Step Instructions
- Prepare the waffle shells according to your recipe or package instructions.
- Fill the shells with your desired ice cream flavor.
- Freeze the filled shells until the ice cream is firm.
- Melt the chocolate and dip the filled waffle shells into the chocolate.
- Sprinkle with chopped nuts before the chocolate sets.
- Place back in the freezer until ready to serve.

For People with Diabetes: Sugar Substitutes
If you’re looking for sugar-free alternatives, consider using:
- Stevia
- Monk fruit
- Allulose
Avoid using honey or maple syrup as they may spike blood sugar levels.
Essential Tools for DIY Choco Tacos
- Waffle iron or griddle
- Mixing bowls
- Measuring cups and spoons
- A saucepan for melting chocolate
- Baking sheet lined with parchment paper
Pro Tips to Elevate Your DIY Choco Tacos
- Chill Your Tools: Keep your mixing bowls, spatula, and sheets chilled for easier chocolate dipping.
- Experiment: Don’t hesitate to try unique flavors, like fruity sorbets or peanut butter ice cream!
- Use Quality Chocolate: For the best results, select high-quality chocolate that melts smoothly.
- Let Them Set: Ensure your chocolate coating is cooled properly before indulging to prevent a messy hand!
Keeping Your DIY Choco Tacos Fresh
- Fridge: Store in an airtight container for up to one week.
- Freezer: Keep for up to three months; just remember to layer them with parchment paper to avoid sticking.
Common Mistakes to Avoid
- Overfilling shells: Ensure not to overfill to prevent spills during freezing.
- Not freezing long enough: Patience is key; ensure your ice cream is well-frozen before dipping.
- Quality of ingredients: Using low-quality chocolate can lead to disappointing results. Always choose the best!
FAQs About DIY Choco Tacos
Can I use gluten-free waffle shells for DIY Choco Tacos?
Yes, many stores offer gluten-free options.
Is DIY Choco Tacos a good make-ahead dessert?
Yes, they freeze well for up to three months, making them perfect for prep!
Can I use dairy-free ice cream for my DIY Choco Tacos?
Yes, many delicious dairy-free options exist!
What can I use instead of nuts?
You can sprinkle with crushed cookies, sprinkles, or coconut flakes for added texture.
Do DIY Choco Tacos work with soft ice cream?
It depends—while they can hold their shape, firmer ice cream makes for easier assembly.
Final Thoughts on DIY Choco Tacos
DIY Choco Tacos deserve a special place in your dessert repertoire. Whether you’re enjoying a quiet evening at home or hosting a lively gathering, this treat brings smiles to everyone’s faces. I encourage you to sprinkle your love and creativity into each bite. Don’t forget to share your experiences and variations in the comments below!

DIY Choco Tacos
- Total Time: 35 minutes
- Yield: 4 servings 1x
- Diet: Vegetarian
Description
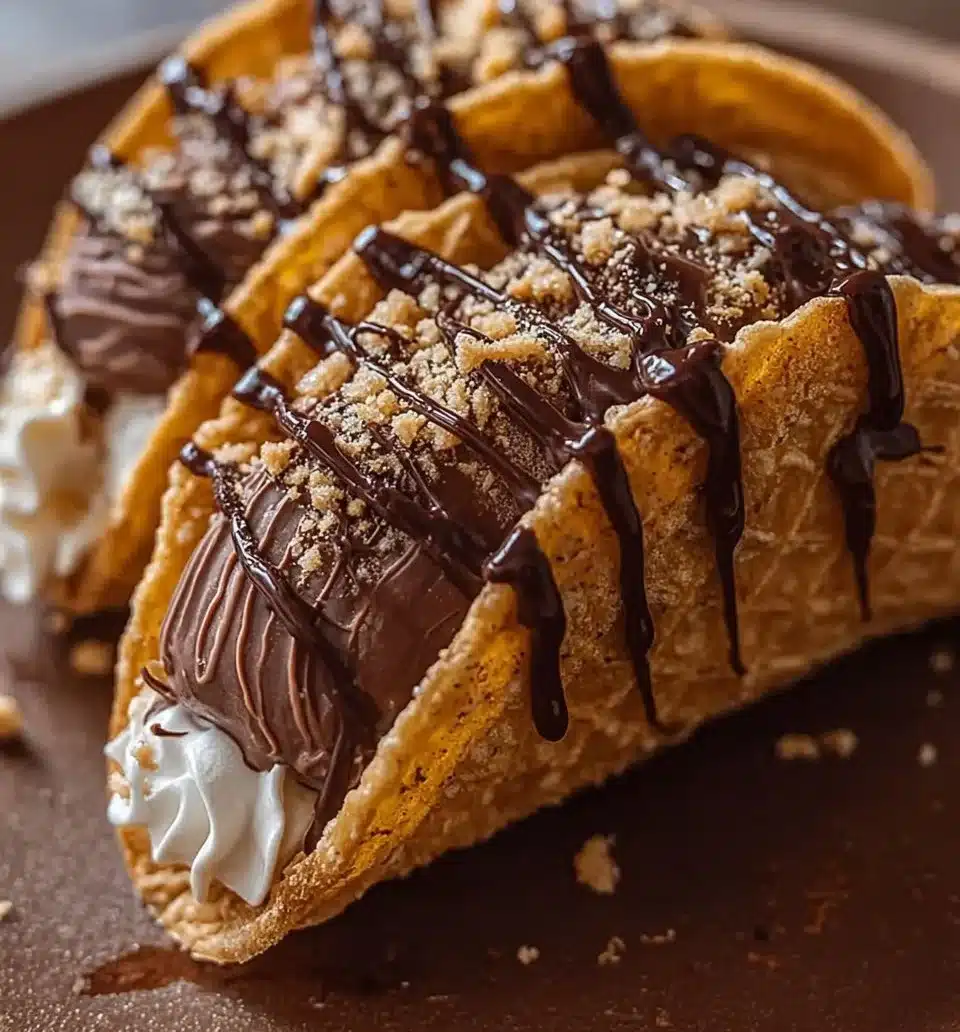
A nostalgic treat combining crunchy waffle shells, creamy ice cream, and rich chocolate coating that can be customized with your favorite flavors.
Ingredients
- Waffle shells
- Ice cream (your choice of flavor)
- Chocolate for dipping
- Chopped nuts (optional)
Instructions
- Prepare the waffle shells according to your recipe or package instructions.
- Fill the shells with your desired ice cream flavor.
- Freeze the filled shells until the ice cream is firm.
- Melt the chocolate and dip the filled waffle shells into it.
- Sprinkle with chopped nuts before the chocolate sets.
- Place back in the freezer until ready to serve.


Notes
For those seeking sugar substitutes, consider stevia or monk fruit. Avoid honey or maple syrup to prevent blood sugar spikes.
- Prep Time: 15 minutes
- Cook Time: 20 minutes
- Category: Dessert
- Method: No-Bake
- Cuisine: American
Nutrition
- Serving Size: 1 taco
- Calories: 450
- Sugar: 30g
- Sodium: 200mg
- Fat: 20g
- Saturated Fat: 10g
- Unsaturated Fat: 8g
- Trans Fat: 0g
- Carbohydrates: 60g
- Fiber: 2g
- Protein: 6g
- Cholesterol: 15mg